Film cameras
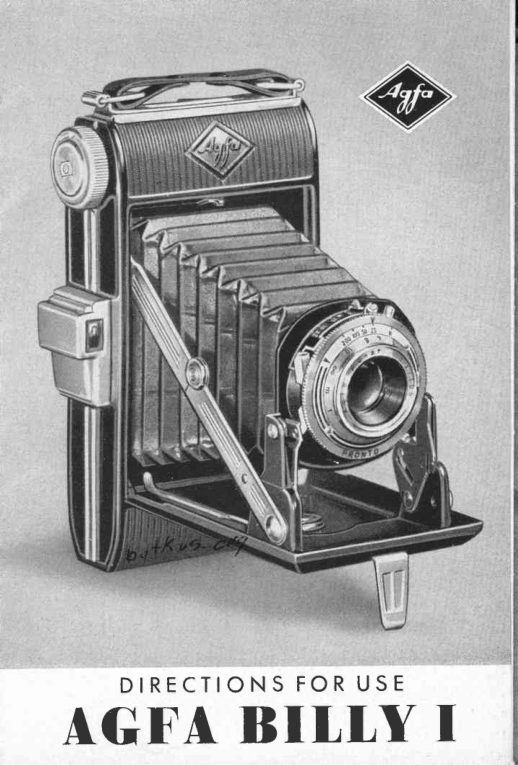
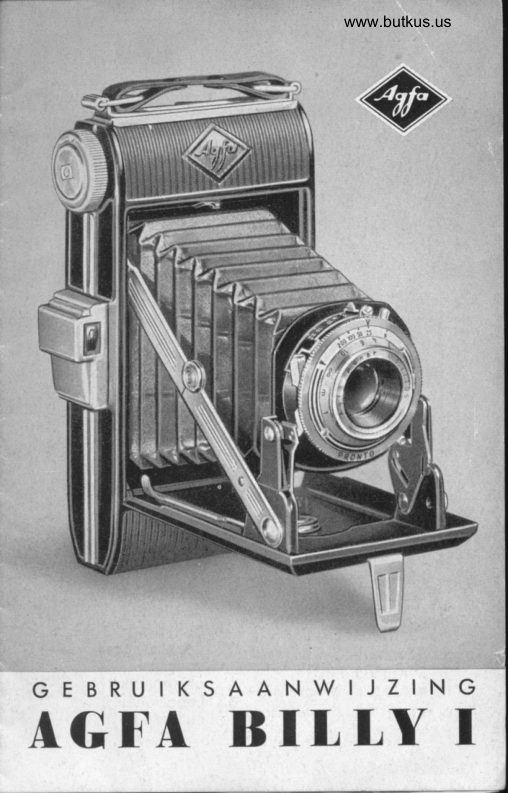
Agfa Billy I User manual
User manual for Agfa Billy I. 14 pages in English. Read the original PDF, download or print a copy without registration.
14 pagesEnglish1.7 MB PDF
Loading your manual…Open PDF directly
Document details
- Brand
- Agfa
- Model / document
- Agfa Billy I
- Document type
- User manual
- Language
- English
- Pages
- 14
- File size
- 1.7 MB
- Category
- Film cameras
- Document date
- Not specified in catalog
Search available document text
Find a term, then jump to its page in the original PDF. Image-only pages may not be searchable; check the PDF for exact wording and diagrams.
Page 2 · Read text
I  Bqck Lock               9 ShutterSpeedIndex
2 FilmTronsportKnob      l0  DistonceIndex
3 Opticol Viewfinder      11 FocusingMou nt
4 Cqble ReleqseSocket   12 Self-timer
5 ReleoseLever             Tension ing Lever
6 Aperture Lever                  I 3 Bqseboord Leg
7 ShutterTensioningLever    o nd Lock
B Flqsh Socket
   rle in. dio. (3 mm.)

                         www.orphancameras.com
View original page 2Page 4 · Read text
Openingqnd Loq
                               with Size 120
                                  for 8 Exposu


Push the lever on the corrying strop downwo rds
ond sidewoys (see orrow) to releose the lock in the
centre, ond open the comero bock.
Moke sure thot there is on empty spool in the upper
spool chqmber next to the film tronsport knob.


                                 Swing out the spool
                                            lrolder of the lower
                                     spool chomber.
View original page 4Page 6 · Read text
Venmo @mike-butkus-camera  Ph. 2083
PayPal Name  Lynn@butkus.org      www.PayPal.me/lynnbutkus
View original page 6
Page 7 · Read text
Mike Butkus  DigitallyDN:email=mike@butkus.org,Date:cn=Mike2025.04.22signedButkus,by19:49:55Mikeo, ou=Butkus.org,Butkusc=US-04'00'

    Push the bocking poper sidewoys on the toke-up
    spool if necessory,to mqke sure thot  it winds up
     straigbr q nd lig ht-tight between the spool flq nges.

   Closingthe Bock

     Fold down the cqmero bqck so thqt the locking pin
     e n g o g e s i n t h e  l o t c h .T h e n p u s h the strqp holderside-
                                woys CIs shown
                                           until it clicksin-
                                           to plo ce.
View original page 7Page 8 · Read text
Swing qside the
cover of the film
window. Turn the tronsportknob until the fig, re "1"
o ppeors in the window ofter the wo rn ing signo ls -
orrows, honds, dots. Close the window. The film is
now in position for the first exposure.

Opening the Comero Front
The boseboqrd leg o lso locks the boseboord. To
open the comero for shootihg,simply roise this leg
s l i g h t l y . ( l nc o l d
weother or ofter
prolonged stor-
0ge, pull out the
 bo seboqrd   by
 ho nd  if  it does
 not  spring out
 f u lly by itself.)


                        www.orphancameras.com
View original page 8Page 9 · Read text
The Pronto Shutter
Speeds: B, rfzs, rfso,
rfno, ond Llzoosecond,
with deloyed oction re-
leose (selftimer).

The Vorio Shutter
Speedst B, rlzq,Llso,qnd
      I    lzoosecond.
 Distonces: 3, 3.5, 4,5,6,
  B,I 0,13,20,30,50f eet,
  ond infinity(oo).
  Sto p s  f 16 . 3 , 8 ,ll, 1 6 , o n d 22.
    I  Distonce index. To focus, turn the front of the
     lens which cqrries the focusing scqle (7).
  2 Coble releose socket.
  3 Aperture lever.
  4 Shutter tensioning lever. Tension before every
    exposure,even of "8".
  5 Shutter speed index. To odiust the speed, turn
    the outer milled ring.
  6 Flosh socket rle in. dio. (3 mm.).                                     BII                                                  'l
  7 Focusingmount (see  obove).
  8 Self-timertensioninglever (see poge 8).
  The fixed, built-in synchronized flosh conlscl  f or                         p:)
  electric firing of flqsh bulbs ensuresthot the flosh             #i
  reqchesits feok  intensity when the shutter is fully
  open.
  As the vqrious flosh bulbs on the morket hqve diffe-
   rent firing deloy times ond flosh durotions, it is re-
  commend'edto use o shutter speed of  tl2s second
  with synchronizedflosh.
  Slip-onmountsfor filter I rle in. (30 mm.) dio.
View original page 9Page 10 · Read text
ShutterSpeeds
The shuttershove settingsfor exposuretimes of rf zs,
rlso,ond rlzoosecond,os well qs rfno second in the                                           ttBttcose of the Pronto shutter, ond o      setting for
time exposures.
The shutter requires tensioning before every expo-
sure,even when set to "8". Preferqblyset the shutter
speed before tensioning.Also moke q hobit of ten-
sioningthe shutteronly immediotelybefore mqking
the exposUr€;this eliminotesthe risk of occidentql
releose,ond protectsthe shutter mechonism.
The self-limer. To use the self-timer of the Pronto
shutter,proceed os follows,
     l.  Set the shutter speed.
   2. Pull the tensioninglever 4 to the left.
   3. Pull the self-timer lever 8 to the left.
   4. Releqse.
   The deloy time is obout 7 seconds.
Toking the Picture
To ensure sofe, steody releose,the releqse lever is
convenientlyploced on the boseboord within eosy
reoch of the right hond.


Releosethe shutter with
t h e t h u m b o f  t h e r i g h t
hond for verticol shots,
oncj with the right index
finger for horizontol
pictures.


                        www.orphancameras.com
View original page 10Page 11 · Read text
In order to moke the most of the high definitionof
the cqmero lens,olwoys toke up q firm stonce,hold
the comero steody ond level, ond releosethe shutter
gently ond evenly.Never ierk the releose.
Hold the eye close to the finder to get o view of
the full pictureqreo right into the corners.

When toking close-ups-3 to 6 feet owoy-the  view
in the finder needs some odiustment.For horizon-
tq I shots it will be sufficient if the cq mero is tilted
slightlyupwords so os to see q little more thqn is to
oppeor on the film. For verticol exposuresslightly
turn the comerq in the direction of the finder.
After eqch exposure wind the tronsport knob until
the next number qppeors in the film window. This
should be done immediotely the picture is token,
to ovoid double exposures.

Closingthe Comerq

   Simultoneously
press in the struts
on both sides of
the  cq merq  with
two  fingers, ond
pushup the hinged
bo seboord.  Fold
down  the  bose-
boord l"g to lock.


9
View original page 11
Page 12 · Read text
Unloqdingthe Comero
After the lqst-eighth-picture hos been token, wind
the tro nsport knob u ntil the end of the bocking
po per pqsses the  fi lm window. Open the cq merct
bqck. Swing out the top spool holder with the left
hond, qnd with the right hqnd hold the full spool
to prevent the bocking pqper from unrolling. Re-
move the spool, fold over the end of the bocking
pqper, ond seol. Wrop up the spool immediotely
in o light-tightpocking.
Trqnsfer the empty spool to the top chqmber. En-
goge the slotted end of the empty spool in the key
of the tronsportknob, roise the spool holder q little,
engoge its fixed peg in the ploin hole of the empty
spool, ond swing the spool holder bock into the
chcrmber.The comero is now reody for reloqding.

Get on Agfo Lens Hood ond Agfo Filters for your Billy  l. The
 f i l t e r s o r e o v o i l o b l e  i n   t h e  f o l l o w i n g c o l o u r s :
    L i g h t y e l l o w , M e d i u m y e l l o w , Y e l l o w g r e e n , O r o n g e r e d .
Both the lens hood ond the  filters ore sold  in hondy trons-
porent screw coses. They fit lens mounts of  ll/s  in. (30 mm.)
d io rneter.


                          www.orphancameras.com
View original page 12Page 13 · Read text
Depth of Field
This is the ronge of subiect distonceswithin which
everything is shorply defined in front of, o nd be-
hind, the subiectoctuolly focused on.
The depth obtoined is smoller of neqr focusing di-
stqncesthon of for ones.

                    ,                                r      High speed,'         Lorge operTYt":                       buT lifiie
                    e' g' r / o'r   depth of field.@
                      Low speed,         Smollopertures                           but greot
            e . s . t l 1 6 depth of field.@
By usingcr smolleroperture or stop (lorge f lnumber)
we therefore secure g reoter depth of  field. The
depth of field toble on poge 12 gives full informo-
tion obout the depth of field of vorious opertures
qnd distonces.
The lwo-point setting is the simplestond most con-
venient woy of utilisingthe fullest depth of field in
proctice. For this purpose the operture lever is set
to the red dot between t18 ond t111, ond the
distonce scole to either l0  or 30 feet, morked in
red. This gives the following zones, which should
be noted.

  Set o perture   Set distonceto   Depth of field

    Between     l0 ft. (neor zone)    8 to l4 feet
   f l B o n d f 1 1 1 30 ft. (for zone)      l4 feet to oo
View original page 13Related documents and language editions
From the M. Butkus Camera Manual Library. Original publisher and archive notices are retained.
Check the model and edition against your equipment.
PDF verified 2026-10-10.