Flashes & lighting
Agfa Flash Gun KL User manual
User manual for Agfa Flash Gun KL. 9 pages in English. Read the original PDF, download or print a copy without registration.
9 pagesEnglish1.4 MB PDF
Loading your manual…Open PDF directly
Document details
- Brand
- Agfa
- Model / document
- Agfa Flash Gun KL
- Document type
- User manual
- Language
- English
- Pages
- 9
- File size
- 1.4 MB
- Category
- Flashes & lighting
- Document date
- Not specified in catalog
Search available document text
Find a term, then jump to its page in the original PDF. Image-only pages may not be searchable; check the PDF for exact wording and diagrams.
Page 1 · Read text
www.butkus.us


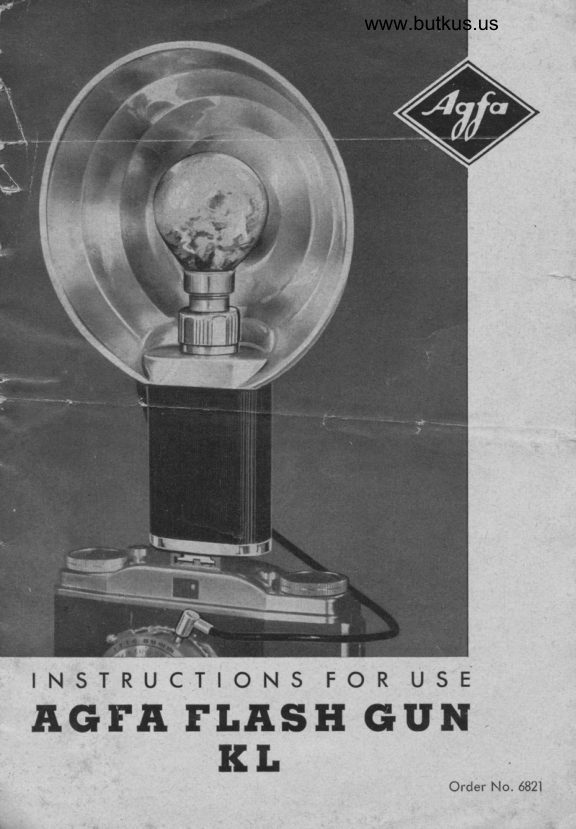
INSTRUCTIONS  FOR USb
AGTA FI.IISH GUN
      Kt                        Order No. 6821
View original page 1Page 2 · Read text
The Agfo Flosh Gun KL will toke normolly ovoiloble fiosh
bulbs ond con be used for comeros with o flosh contoct.
 For syncltronized, releose the flosh is fired by o con-  J
                                                                                  1toct in the shutter. Here it is of fundcrmentol importonce --
thot the oction of the shutter ond the firing of the flosh ore    Iso timed thot the peok of the flosh coincides with ihe full  *
opening of the shutter. An exposure time o1 t125lh second   .i-,
should be used.                                                                                                             ,',
                                                                                                                                                       :Speed-syncbronizec{  releose ollows the use of the shortest
exposure times even with flosh bulbs hoving on oppreci-
oble firing deloy. Here o built-in synchronizing mechonism
deloys the opening of the shutter by opproximotely
l6 milli-seconds to ensure thot with these types of flosh
bulbs the peok brightness still coiniides with the full open-
ing of the shutter.
For detoils refer to the respective instructions for use. The
Agfo. Flosh Gun KL reireves you of oll worries over insuffi-
cient light, for exomple, with indoor sncrpshots, etc.
The built-in copocitor ensures full reliobility in use with
mony hundreds of successful exposures, ond cuts out
foilures due to exhousted botteries.
The new method of dismontling the Agfo Flosh Gun KL      !
provides o hondy pocketoble unit which, in coniunction
                                                                                                                                                                                                                                                                                                         :with the smoll zipp fostener cose, mqkes  it the icjeol in-
strument to toke on holidoys or irovels.
The bottery ond copocitor, os well os the flosh coble ond
shutter contoct, con be tested with the testing lomp which
is supplied seporotely


                                                                                                                                                                                                                                                                                                                                                                                                                                                                                                                                                                                                                                :
Anode boiteries os used in this flosh gun ore well pro-
tected ogoinst decomposition ond moy sofely be left in the
instrument for long periods of time.

2
View original page 2Page 3 · Read text
www.butkus.us


   Fostening nut,
  olso serving os
  lomp socket.
   Supporting
   brocket of the
   reflector.
3 Threoded stud.
4  Reflector.
5  Flosh coble ond
    plug.


The bottery cose on which the reflector is mounied for
oction (see frontispiece) is conveniently stored inside the
reflector.
It is therefore necessory to toke the bottery cose out of
the reflector ond to fosten it from outside on the opposite
side of the reflector. For this unscrew the fostening nut ".l"
in on onti-clockwise direction ond drqw the cose out of the
            brocket. The obove figure shows the dismontledlupportingflosn gun.
View original page 3Page 4 · Read text
Venmo @mike-butkus-camera  Ph. 2083
PayPal Name  Lynn@butkus.org      www.PayPal.me/lynnbutkus
View original page 4
Page 5 · Read text
Fostening nut,
                                            olso serving os lomp
                                            ,'\           socket.                                             t2\         Supporting brocket
                                            of the reflector.
                                          3  Threqded stud.                     {gi
                                          4  Reflector.                   ,9
                                          5  Flosh coble.
                                          6  Shutter plug.


                                            Digitally signed by Mike Butkus
                                 DN: cn=Mike Butkus, o=Butkus camera
                                    manuals, ou=butkus.org,Mike Butkus email=mike@butkus.org, c=US
                                       Date: 2022.07.18 00:13:36 -04'00'


     Put the threoded stud "3' from outside throuoh the hole
     of the supportinq brocket "2" and tiohten  it b-v meons of
     fostening' nul "1-". The opening focing the reflector will
     serve os o socket for the flosh bulb to be inserted.
     In order to insert the botterv into the flosh oun unscrew
      (in on onti-clockwise  directioh) ttre nut which Zon be seen
     ot the bose of the body. Whdn the instrument is shut the
     nut serves os o foot which con be ottoched to the comero.

     For dismontling the flosh gun refer to fig. l.

     4
View original page 5Page 6 · Read text
www.butkus.us
    INSERTING THE BATTERY
     The onode bottery used gives
      22.5 volts, is 2 x I x sis inches
       (50 x 24 x '15 mm.) in size, ond
     of the type generolly used in
      heoring oids.
     Remove the foot ond pull off the
       plostic body downwords.
I     The illustrotion of the open flosh
     gun shows on the left the built-in
      copocitor, ond on the right hond
      side of the centrol support, the
     spoce for the bottery.
     Push the bottery sidewoys right
     home into the U-section. The two
     bottery contocts should ihen
     beor firmly ogoinst the top ond
     bottom contocts of the flosh gun.

                                                            Fis. 3

     See thot the posifive terminol of the bottery is connected
    to the positive, upper, termino l in the cose which is
    morked red.
      Inserling fhe bottery the wrong wdy round ruins the
                              copocilor!
    To moke quite_ sure, therefore look for the plus sign on
     the bottery before you inserl  it.
   Now push the plostic body bock over the bottery ond
     copocitor ond screw the foot home reosonobly tightly on
     to the protruding threod.
View original page 6Page 7 · Read text
METHODS OF TESTING
Flosh Gun wilh Shutter: Before beginning to toke pictures
the whole instrument con be checked by meons of the
6 volts, .07 omp. test lomp, supplied seporotely. lnsert
this info the lomp socket (1), pressing it slightly ogcinst the
sprung centre pin ond lock by turning in o clockwise or
onti-clockwise direction. Insert the shutter plug (6) into
the contoct socket of the shutter. lf the shutter of the
empty      comero            now                is                        releosed, the test lomp should              't;lcleorly         light up                for             o moment.
Flqsh Gun on ils own:  lf the comero is olreody looded with
film the flosh gun socket with coble connot be tested ony
more in coniJnction with the shutter. lt is still possibli:
however to test the Flosh Gun on its own by meons of the
inserted test lomp to see whether the firing circuit is in
order. To do this, simply short-circuit the tw-o contocts of
the shutter plug (6) (Figure 2). lf the centre pin ond the
externol tube qre connected with o pin, the test lomp
should light up for o moment while contoct is mode.
Releosing the Flash for Time Exposures: The method iust
described con olso be used in speciol coses, if the flosh is
to be releosed independently of the shutter.  lt is then only
necessory to insert the flosh bulb into the socket in ploce
of the test lomp.

PREPARING FOR THE PHOTOGRAPH
Inserting the Flosh Bulb: The socket of the flosh gun will
toke oll bulbs with smoll centre contoct boyonet cops
(S.C.C.). Insert the flosh bulb in the some woy os the test
lomp. Fit both pins into the slots of the socket, push the
bulb in the direction of the flosh gun cose ond lock by o
slight right or left-hond turn. Allowing for the length of
the bulbs, the types mentioned in the following toble con
be used in the Agfo Flosh Gun KL.

6
View original page 7
Related documents and language editions
From the M. Butkus Camera Manual Library. Original publisher and archive notices are retained.
Check the model and edition against your equipment.
PDF verified 2026-10-10.