Film cameras
Agilux Agimatic User manual
User manual for Agilux Agimatic. 5 pages in English. Read the original PDF, download or print a copy without registration.
5 pagesEnglish1.0 MB PDF
Loading your manual…Open PDF directly
Document details
- Brand
- Agilux
- Model / document
- Agilux Agimatic
- Document type
- User manual
- Language
- English
- Pages
- 5
- File size
- 1.0 MB
- Category
- Film cameras
- Document date
- Not specified in catalog
Search available document text
Find a term, then jump to its page in the original PDF. Image-only pages may not be searchable; check the PDF for exact wording and diagrams.
Page 1 · Read text
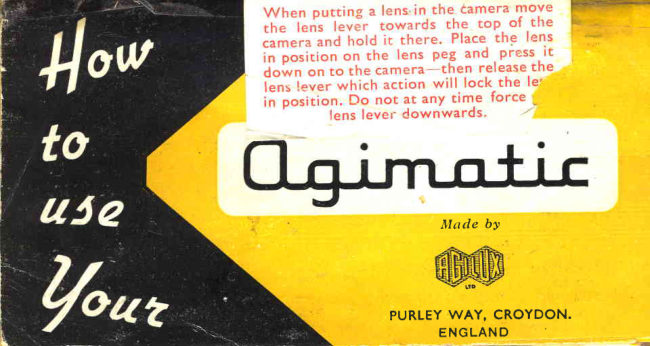
When putting a lens-in the
the lens ards t
camer there. Place the

g and press it

in position on the lens peg

down on to the camera—then release the

lens lever which
in position. Do not at any time force
lens lever downwards.

ction will lock the le
View original page 1
Page 2 · Read text
Before using the AGIMATIC for the first time, please read
this folder carefully and so make sure that you are familiar with
the simple instructions. A few minutes study will well repay
you and enable you to get the best results.

THE LENS

The lens (a f/2.8 Agilux colour corrected four component anastigmat of 45 mms,
focal length) is ‘coated’, thereby reducing internal reflection and increasing the
light transmission efficiency of the lens. The focussing scale is marked from
3 feet to infinity.

THE SHUTTER
The. shutter has 9 speed settings—B, I, }, 1/5, 1/10, 1/25, 1/50, 1/100, 1/200,
1/350 sec. which are selected by the speed setting ring (Fig. 2). The shuster-is-

automaticall the firing | bel “Making an Exposure’’),
‘ioe eliminating ay possi of dated deals enpo ;

mes

‘In the film indicator (Fig. 2) 9 ne, Goumting. film
Wenastcss “unexposed firing Scale Movement Viewfinder
portion of film in the focal plane. Colevlotor Lever’ °~ Indicator ~ Indicator “Burton

RANGEFINDER

When looking through the view-
finder (Fig. 3) you will see a
golden square in the centre of
the picture. Inside the square
there will appear a second image,
which will move when the
rangefinder dial (Fig. 3) is
rotated.

To measure the distance from
the camera to the subject being
photographed, rotate the range-
finder dial until the two images
formed by the object are coin-
cident. The distance can then be
read offsfrom the scale"on, the. —
rangefinder dial. FSR
For the best results

when adjusting for coincidence. Always remove your finger from the rangefinder
dial before taking your eye from the viewfinder, so that should the wheel be
accidentally displaced when removing your finger, it will be noticed.

FOCUSSING THE LENS

Measure the distance from the camera to the subject co be photographed with
the rangefinder, (as described above), then rotate the lens focussing scale on
the front of the camera (Fig. 2) until the number, representing the distance in
feet, is in line with the arrow on the depth of focus scale (Fig. 2).

DEPTH OF FOCUS

The depth of focus scale (Fig. 2), engraved on the front lens mount, shows at a
glance the distance in front of and behind the principal object at which other
objects will be acceptably sharp. Thus, with the focussing scale of the lens set
at 10 feat.and the iris set at f/4 the range of acceptable sharpness is from 8 feet
to 5 feet. By stopping down ¢6'f/8an increased range of from 6 feet to 30 feet
is obtain r
View original page 2
From the M. Butkus archive. Original publisher and archive notices are retained.
Check the model and edition against your equipment.
PDF verified 2026-10-10.