Film cameras
ANSCO Vest Pocket Speedex No. 3 User manual
User manual for ANSCO Vest Pocket Speedex No. 3. 14 pages in English. Read the original PDF, download or print a copy without registration.
14 pagesEnglish2.4 MB PDF
Loading your manual…Open PDF directly
Document details
- Brand
- Ansco
- Model / document
- ANSCO Vest Pocket Speedex No. 3
- Document type
- User manual
- Language
- English
- Pages
- 14
- File size
- 2.4 MB
- Category
- Film cameras
- Document date
- Not specified in catalog
Search available document text
Find a term, then jump to its page in the original PDF. Image-only pages may not be searchable; check the PDF for exact wording and diagrams.
Page 1 · Read text
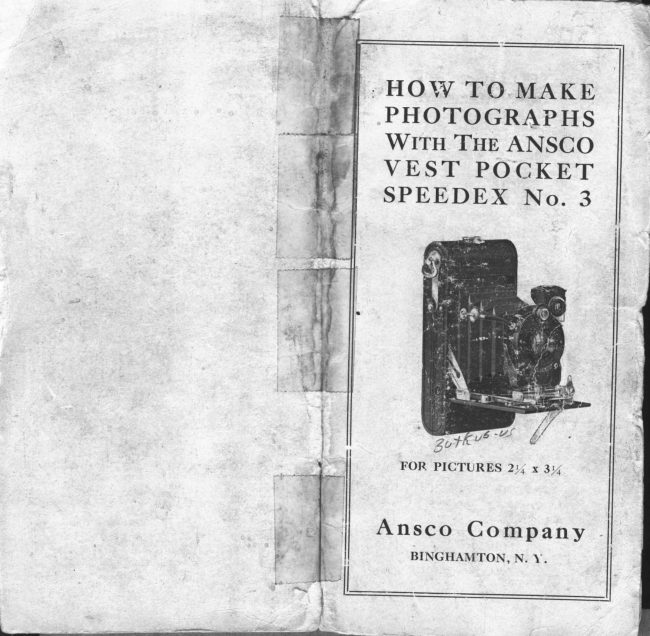
HOW TO IUAKE
 PHOTOGRAPHS
 WTTH TUB ANSCO
VE ST' POCKE,T
SPEEDEX  I{o. 3


Ansco  Company
View original page 1Page 4 · Read text
chamber or pocket, pressing the while on film
     spool; give  ltre  u'inding  kpy  a few  turns  to
      .".nr"  tne paper and  to keep  it  as taut  as


                     Threading  the Black PaPer

     possible. The black paper must be threaded
      straight and should be started absolut"l^Y even '
      for  if" the paper d,oesnot wind true the film  will
     overrun  the^ flanges.  To  replace the back  ofiI   camera, hold its 6ody  with the left,hand, and
                               the back on the dowelsI    with the right hand hbok
      at one end, then  close down and  fasten  the
     hinged, catch.  Next  turn  winding -key to  thel"-      righl  until  the figure  I appears in front  of the
        little rubv windorv.


      Back  Replaced.  Film  for  First  Exposure  Indicated  bY
                   Number  in RubY Window
View original page 4Page 5 · Read text
PART  II.
                                                   SECTION TWO

                                                 The Shutter


                                                      The shutter controls the rapidity  with which
                                                                the picture is taken, and the r-apidity must vary
                                                             according  to the strength  of the  fiaht and  th'e
                                                                   size of the opening.

            Bubbles in Lenses
            It  is practically  impossible to eliminate small
      air  bells  or  tubtles    in  the  manufacture   of
     optical  glass' for anastigmat  lenses, because of
     the  faci  that   in  the  process of  manufacture
     various  chemicals must  be  fused  together  a
     given  length  of time  at a certain  d9gree.  At
      [n"  critica]l moment the process must be stopped
    whether  all the  air has been driven out or not.
     This  is necessary  if the optical  qualitieis of the
     glass are to be retained.
      The small bubbles are caused by the  air  left
      in the glass, and should be taken as a gaafantee
     of quafity  rather than a detriment  to a lens, fo1
     the^ actu-al loss of  light   is inappreciable,  . and
     the bubbles,'effecteven when near the surface, have
       little  or no      on the optical  quality  of the                        Acme Speedex Shutter
    image or the speed of the lens.                    On the small  circular  disk at the top  of the
                                                                 shutter are indicated  the various exposures of
                                                         which the shutter  is capable, expressea in frac-
                                                                    tions  of seconds. Ths speed is regulated by
                                                                 revolving  the disk so that  the pointer indicates
                                                               the  desired exposure.  The  letters B  and  T,
                                                             standing  respectively for  bulb and  time,  also
                                                        appear upon this diak, and are explained under
                                                               the proper headings for bulb and time exposures.
                                                                                                    7
I
View original page 5Page 8 · Read text
Tntno-Set   the  shutter  by  pressing up on
 the lever at righthand side of the-shuttei dir^ectlv               PART  II. beneath the view finder, to the limit  of motion,
 or until   it  catches, where  it  will remain  untii                  SECTION  F'OUR
 the exposure is made.
  F ounrs-Press   the finger release or  flexible               Operating the Camera
 wire plunger to open the shutter, and remove
pressure           to close                              it.                      This                      makes                                   the                                    exposure.^as                                              1.   Instantaneous Exposures-The shutter                  will                 remain                       open                              as                                    long                                              the
pressure is maintained.
  NorE.-Do    not  oil any part  of the shutter.   In ca'se of                  "Snapshots"
accident return  shutter  to your  dealer or  to Ansco Com-
peny, Binghamton, N. Y., for repairs.
  - As a general rule make exposures by  pressing the wire
plunger and not with  the finger release, a3 the wite release
is less likely  to jar the camera.


                                                                                 Opening the Front

                                                 To  take  instantaneous pictures  the  object
                                                       should be in  bright  sunlight,  but  the camera
                                                       should  not.  The  sun should be behind  the
                                                   back or over the shoulder of the operator.

                                              Focusing on the Subject
              fi


                                                                                    Extending  the Bellorvs

                                                                                                                                                             r 3
View original page 8Page 9 · Read text
f. Press the nickeled button as shown in the            front  of camera  to  limit   of  motion,  and  the
     illustration,  and push down  the bed  of  the        ANsco will be in focus for the distance for which
   camera to the limit  of motion.                          yog have set the catch.    If you have already
                                                                 pulled out the front  of the camera and wish to          If.  With  forefinger and thumb  of right hand                                                        'the         change focus, simply press the lever and move    press the two upright knobs at the front  of                                                                                                                 it to the distance desired as marked on the scale.   camera and draw the bellows out to the extreme
     limit  of motion.                                                     In  photographing   objects  which  are  at  a
        .  III.  Set the  focusing lever  at  the  distance          distance of. z5 or 50 feet,  it  is not necessary to
    required as marked on the scale.                         estimate  the  distance  any  more  than   wittr
                                                          approximate accuracy.  For general street work                                                              corre-                                              by  feet                     focusing                               scale                                                 is marked      Norn.-The
                                                  and                                                                the          the focus may be kept at z5 feet, but when greab                                             the  camera    sponding                             between                  to  the                        distance
     obj ect.                                                 sharpness or definition is required on any specific
                                                                object the exact distance should be ascertained,
                                                     and the pointer moved  to  the required point
                                                    ?    , on  t4"  scale.  The  best rule  to  follow   irr  this
                                                        case 1s to pace off the required distance.  The
                                                        average person's step is about 3 feet.  Do not
                                                                               try  to photograph any object nearer the camera
                                                           than  4  feet, unless a  portrait  attachment   is
                                                        employed,  nor  moving  objects  at  a  shorter
                                                             distance than 25 feet from the camera.


                   Automatic  Focusing Device
                                                                                                          If  the object be low down, like a small child
                                                                  er a dog, the camera should be held down level     The  automatic  adjustable  focusing  device,                                                                with  the center of the object.    which  is on the right side of the camera bed, is
     different  from  any  other means employed for
    quick and accurate focusing.
     By means of the automatic  device the  front                Locating the Image
    locks automatically at 4, 6, ro, 25 and roo feet,
    but unlike any other automatic focusing device,                                                     Aim  the camera at the object  to be photo-        if  after  extending  and  locking  the  bellows a                                                        graphed and  locate  the image  in  the  finder.     different focus is desired, the distance may be                                                           For a hori zontal. picture hold the camera on its    changed by moving the lever on the scale.                                                                    side, revolving  the finder a quarter  turn  to the
     To set the focus press down on lever and move              left.  Always look into the finder from  directly
       it  to the required  place on scale, then pull out         over it-not   at an angle.
L                                                                                                                                       r 5
View original page 9Page 10 · Read text
i


                                                       iiiiiiii:iiiiiii:ir:i::ii:.ijjiiiif  ri?':'J':

           Camera in Position  for Horizontal  Exposure


                                                                         Making  an Eiposure  by Means of Finger Release
                                                                       After making "the exposure be sure to turn a
                                                 new section of film into position.  Turn the key
                                                                              in top-numberof camera slowly  to the  right_ until  the
                                                              next         appears before the red window-
                                                        Three or four turns  will be sufficieni to accom-
                                                                      plish  this.  The  warning  hand  ?Ppears olly
                                                            before No.  I.  Repeat the foregoi.tg operation
                                                                           for each picture.
                                                       2. Time Exposures-Interiors


            Camera in Position  for Vertical Expo.sure


        F'or a vertical  picture  the camera must be
     held upright as shown in the illustration.
      To  make  an  instantaneous  exposure   it   is
II     simply  necessary  to  press the  wire  plunger,
II    which operates the shutter, opening and closing
ii        it with one movement.     When making  art exposure without  the use ofiI     the wire release, grasp the bed of the camera
i     firmly  with  the  left hand, steady  it  with  the
      right, and with  the thumb  of the  right hand
      lightly  touch the finger release.                                     Camera supported by Footrest
                           r6                                                                                                              r 7
View original page 10From the M. Butkus archive. Original publisher and archive notices are retained.
Check the model and edition against your equipment.
PDF verified 2026-10-10.