Film cameras
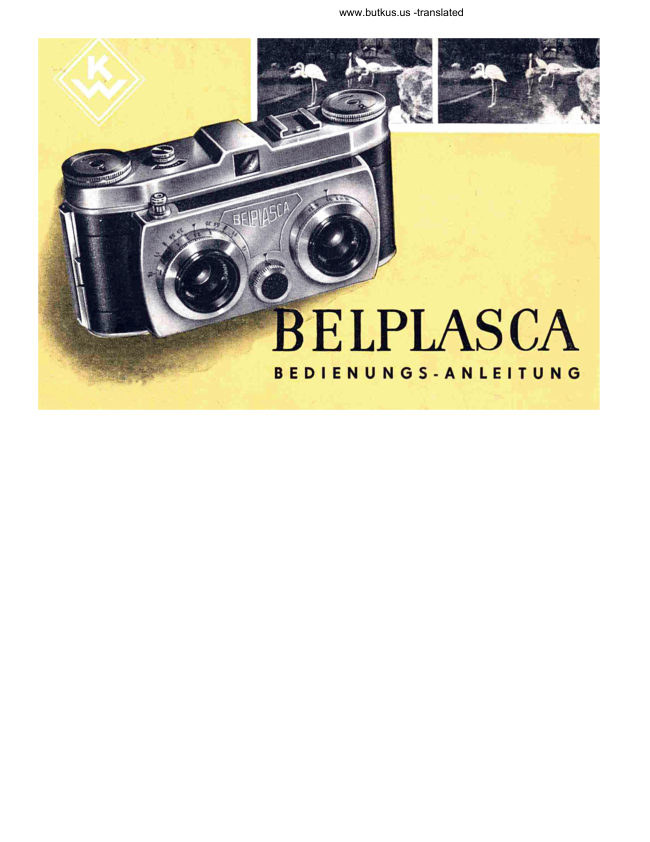
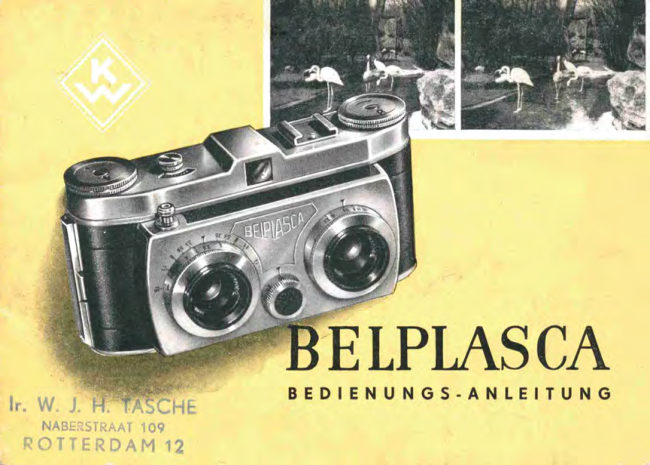
Belplasca Stereo - - Translated User manual
User manual for Belplasca Stereo - - Translated. 10 pages in English. Read the original PDF, download or print a copy without registration.
10 pagesEnglish7.2 MB PDF
Loading your manual…Open PDF directly
Document details
- Brand
- Belplasca
- Model / document
- Belplasca Stereo - - Translated
- Document type
- User manual
- Language
- English
- Pages
- 10
- File size
- 7.2 MB
- Category
- Film cameras
- Document date
- Not specified in catalog
Search available document text
Find a term, then jump to its page in the original PDF. Image-only pages may not be searchable; check the PDF for exact wording and diagrams.
Page 3 · Read text
www.butkus.us -translated


                                                                      www.butkus.us


13 Knurled ring with distance indicator     20 Tripod nut
14 Shutter cocking button               21 Left reel compartment
15 Viewfinder eyepiece                 22 Film face plate (below, transport teeth
16 Rewind lever                              of the measuring roller)
17 Back panel                        23 Film stage
18 Flash contact (X)                   24 Pressure plates
                                   25 Fixed film reel
                                                    (right reel compartment)
View original page 3Page 4 · Read text
With the Belplasca

You not only own a camera of the highest precision, but also a camera that ideally fulfills our current
requirements: the simplest operation with the greatest performance. Despite its unique nature as a
stereo camera, it is operated like any simple single-lens 35mm camera. Equipped with two high-
quality lenses, it guarantees excellent photographs. The focus and aperture settings can be adjusted
and checked from the top. The special shutter can be set in the same way. With its wide time range
from 1 second to 1000 seconds, it opens up a broad range of applications. A flash contact
synchronized with the shutter allows for the use of flash units. Furthermore, the Belplasca has
features to prevent double exposures and blank frames, as well as a built-in telescope finder with
automatic parallax adjustment. A clearly arranged frame counter
allows you to keep track of the number of shots already taken. Accessories
can be attached to the hot shoe on the top cap.

For the amateur, the camera offers an additional advantage by ensuring the image windows on the
film are in a specific position relative to the perforations. This allows for effortless mounting of the
image pair into stereo slide mounts when using reversal film after developing and cutting out the two
half-frames. When using negative film, proceed as described under "Stereo Slides".
The Belplasca uses standard daylight film cartridges for 20 to 22 stereo image pairs.
35mm film refill packs and perforated film cut to any size from 35mm wide to 1.6m long can be used.
The nominal half-frame format is 24 x 30mm.
The Belplasca is a precision instrument and requires careful handling. Therefore, to ensure the
camera functions smoothly at all times, it is advisable to carefully study the following operating
instructions.

Inserting
the film


Image 1 Removing the back panel


                                          www.butkus.us
View original page 4Page 5 · Read text
www.butkus.us -translated


1. Opening the camera back

After flipping up the tab on the back lock (12) of the camera,
the back is detached from the housing (see Figure 1).

2. Loading the film
The rewind knob (4) is pulled outwards and the film cartridge is inserted into the left reel compartment
(21) so that the film leader is still facing the permanently installed film reel (25). As the film passes
between the film gate (23) and both film guide plates (22), it engages with the teeth of the measuring
roller (22), thus activating the film transport mechanism. The film is pulled out of the film reel until its
clamping in the tongue of the built-in film reel (25) is possible. If the measuring roller (22) jams during
loading, the shutter cocking knob (14) on the back of the camera must be pressed towards the rewind
knob (4) until it stops, and the camera must be released by pressing the shutter release button (10).
This releases all locks in the camera, and the film can be loaded as described above. The rewind
knob (4) should be pushed back into the camera with a slight turn. To ensure that the tooth of the
transport drum engages easily with the film perforation, it is recommended to ensure that the film lead
passes through a perforation hole. If this is not the case, it is advisable to trim the lead accordingly.


Image 2 Interior view with film inserted


                                        www.butkus.us
View original page 5Page 6 · Read text
Image 3 Closing the back panel


3. Closing the Back
The back is inserted into the groove of the camera (see Figure 3) and then pressed against the
camera body until the latch on the camera back audibly clicks into place.

4. Setting the Frame Counter
The frame counter is set to 18 by turning the knob (8). The camera is then released after cocking the
shutter (see "Shooting Techniques," paragraph 5) and the film is advanced to the stop. This process
is repeated once more; the frame counter now reads "0". Loading the film is now complete.


Admissions

1. The Viewfinder
The built-in telescopic viewfinder (6) shows the clearly defined field of view formed by the lenses. To
prevent parallax (image distortion), it is coupled to the focusing mechanism of the lenses and thus
always shows the correct field of view.

Photo: Tedznik

2. Setting the Focus
The focus is set for both lenses by turning the knurled ring (13) on the right lens. The ring should be
turned until its scale, below the mark on the camera's front cap, indicates the distance to the subject.

The distance values given are measured from the film plane; this corresponds practically to the
camera's back. The red numbers on the distance scale indicate the range in which a wedge
attachment designed for the Belplasca should be used. The attachment is placed on the lens mounts
and clicks into the grooves provided there.

Furthermore, the distance scale, in conjunction with the aperture values marked on the camera's front
cap, allows the corresponding depth of field to be read for each aperture setting (see paragraph 3).
Example: set distance 6 m, depth of field range at aperture f/8 from 2.6 m to approximately infinity.
View original page 6
Page 7 · Read text
www.butkus.us -translated

4. Shutter Speed Setting
The special shutter coupled for both lenses allows exposure times from 1 second to 1/200 second
and time-lapse photography of any duration (8).

The setting is made by turning the focusing knob (2) located between the lenses, aligning the desired
exposure time with the marking on the front cap.
(The engraved numbers 1, 2, 5, 10, 25, 50, 100, and 200
represent fractions of a second; the times are therefore 1/1 sec., 1/2 sec., 1/", 1/10 sec., etc.)
For time-lapse photography, the value "B" must be below the marking.

5. Cocking the Shutter
After setting the focus, aperture, and shutter speed, the shutter is cocked.


The shutter cocking knob (14) on the back of the camera must be pressed fully towards the rewind
knob (4) until it stops. Upon release, the knob springs back to its starting position.

The camera is now ready to take a picture.

Image 4 Posture during the recording


6. Shutter Release

The shutter is released by pressing down the shutter release button
(10) until it clicks (press the shutter release button lightly and quickly to avoid blurring the image).
The shutter can also be released using a cable release, which is screwed into the thread of the
shutter release button.


                                    No binding regulations should be given for
                                                  holding the camera. The
                                          main thing is that the camera rests firmly and
                                                   without shaking in the hands.

                                   A position in which the camera rests firmly in the
                                           palms of both hands has proven advantageous
                                               (see Figure 4). The shutter release is then
                                               operated with the index finger of the right hand.

                                        The viewfinder must be held close to the eye
                                                  during the exposure so that a precisely defined
                                          image area is obtained.


                                    www.butkus.us
The Recording Image
Image 4 Posture during the recording
View original page 7Page 8 · Read text
Flash limit contact

The built-in flash synchronization contact (X-contact) in the camera enables flash photography even with
instantaneous exposure times
with flash lamps (photo flashes), tube flash units (electronic flashes) and capsule flashes (powder flashes).


The flash unit required for this is attached to the tripod nut on the bottom of the camera using a
retaining strip.

The electrical connection between the flash contact in the camera and the flash unit is made by a cable that
must be fitted with a plug that fits into the contact pin on the camera.

Perfect synchronization of the shutter with the flashbulb or flash tube requires an exposure setting that
corresponds to the characteristics of the flashbulb.

The shutter contact is made when the shutter is fully open (X-contact).

The following guidelines apply to the selection of exposure times:

1. Any exposure time can be set for flashbulbs.

2. The table shown applies to flashbulbs.

3. For instantaneous flashes (powder flashes), an electrical trigger is required to achieve shutter
synchronization for momentary intervals.

The respective shutter speed setting can be found in the manufacturer's specifications.


Usable flash lamps on the Belplasca                   Shutter Speed

Philips PF 100                                      1/10 sec and longer
Sylvania Type 3
Amplex No. 50
General Electric

RFT F 32. F 40. CF 40
Osram XM 1. XM.:i, SO. XO
Philips PF 1. PF 14, PF 25. PF 3. PF 60               1/25 sec and longer
sylvanla M-2. Bantam 8. Type O. Type 2. Press 25,
Press 40
Amplex #5, #11. #22, PF 2. PF 3. PF 4
General Electrical PH. 8, PH.' 5. PH , 11, PH . 22


RFT F 19
Osram XP                                          1/50 sec and longer
General Electric


Sylvania SF
Amplex SM                                        1/100 sec and longer
General Electric SM
View original page 8
Page 9 · Read text
www.butkus.us -translated

For general use of powder flashes without shutter synchronization, the shutter must be set to "8" and triggered
using a special cable release - which acts as a self-locking mechanism when the shutter is opened and
releases on the second press.


Film tour

After exposure, the film is advanced by turning the transport knob
(9) in the direction of the arrow until it stops. Due to the arrangement of the image pairs, the Belplasca has an
irregular advance rate, meaning the film can only be advanced alternately for a longer and a shorter time.
Double exposures or blank frames are impossible because the shutter can only be released after the film
advance is complete and the shutter has been cocked. After exposing the 20 to 22 possible image pairs, the
exposed film must be rewound into the film canister. To do this, the rewind lever (16) on the back of the
camera is pushed towards the transport knob (9) until it stops, held in this position, and the rewind knob (4) is
turned in the direction of the arrow. At the end of this process, a slight, perceptible resistance must be
overcome. This indicates that the film leader is sliding out of its holder in the take-up spool.
The rewind knob (4) can then be turned very easily.

The camera back can now be removed (see under
"Loading the Film", paragraph 1) and the film cartridge can be easily removed after pulling
the rewind knob (4).

Quick tips
1. Photographs of distant objects do not appear three-dimensional, either in natural vision or in 3D imaging.
Therefore, it is advisable to include the foreground.

2. Blurry 3D images appear unnatural. Therefore, pay close attention to the depth-of-field scale. The short focal
length of the lens allows for a depth-of-field range of 3.5 m to 00 m (infinity) even at f/5.6.

3. Shutter speed and aperture are closely related. The more light is "removed" by stopping down to f/8.11 or
higher, the more exposure time must be "added."

4. Taking stereo high-angle photographs is not recommended, as these do not correspond to the natural
position of the eyes.

Example

If, in one case, you need to expose at f/5.6 = 1/00 sec., then you can just as easily use f/8 and 1/50 sec. or f/11
and 1/25 sec. The sequence can be continued up or down as desired.
Only the depth of field of the image changes.

Camera Care

A carrying case is available to protect the Belplasca.

It does not impede the speed of operation and provides the camera with sufficient protection against
mechanical damage.

For cleaning, use only a soft brush and keep the parts that come into contact with the film meticulously clean at
all times.
View original page 9
Page 10 · Read text
All lenses on our cameras are coated, meaning they are covered with a bluish, anti-reflective coating.

This coating must never be touched with fingers. Fingerprints on the lens not only lead to blurry images but are
also harmful to the coating and polish. A clean, soft brush or a soft, dust-free cloth is sufficient to remove dust.

We advise against attempting any modifications to the camera's mechanism, as well as against subsequently
oiling or greasing the moving parts. Repairs should only be carried out by a qualified technician! Furthermore,
we are always happy to provide advice and information about the Belplasca.

Stereo Slides

To make things easier for amateurs, the following services have been provided:

Developed negative films (black and white and color) can be sent to the company listed below, which will
produce slides from the desired image pairs.

These can be mounted in slide mounts or obtained loose from the company. The loose image pairs are copied
onto ready-to-mount film strips, which are inserted into the lugs of the slide mounts with the emulsion side
facing the viewer. The negative films must be sent in uncut.
Developed reversal films (black and white and color) can also be sent for mounting in slide mounts. If mounting
in the provided slide mounts yourself, the half-images must be separated and mounted so that the right half-
image (with the triangular marking on the long side of the image) is mounted in the right-hand image window of
the slide mount. Specifically, the emulsion side must be facing away from the viewer and the triangular marking
must be at the top edge of the image. The slides are placed onto the lugs of the slide mount and thus achieve
their correct position relative to the image window and to each other.

CAMERA-WERKE NIEDERSEDLITZ
View original page 10
Related documents and language editions

From the M. Butkus archive. Original publisher and archive notices are retained.
Check the model and edition against your equipment.
PDF verified 2026-10-10.