Film cameras
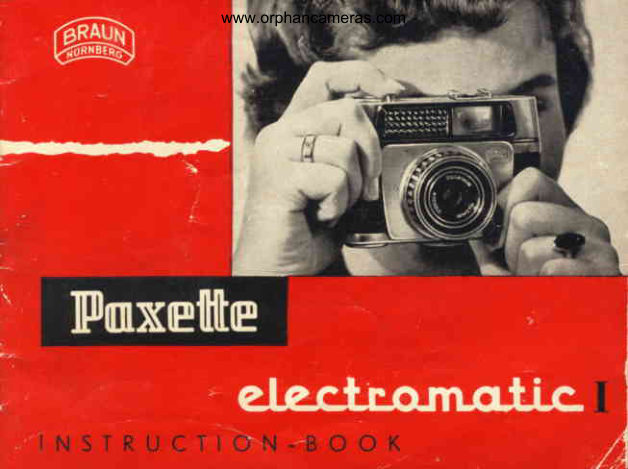
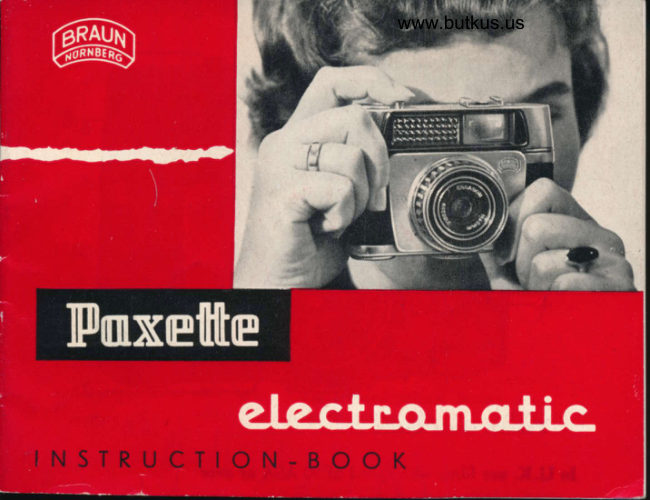
BRAUN PAXETTE ELECTROMATIC I User manual
User manual for BRAUN PAXETTE ELECTROMATIC I. 21 pages in English. Read the original PDF, download or print a copy without registration.
21 pagesEnglish2.7 MB PDF
Loading your manual…Open PDF directly
Document details
- Brand
- Braun
- Model / document
- BRAUN PAXETTE ELECTROMATIC I
- Document type
- User manual
- Language
- English
- Pages
- 21
- File size
- 2.7 MB
- Category
- Film cameras
- Document date
- Not specified in catalog
Search available document text
Find a term, then jump to its page in the original PDF. Image-only pages may not be searchable; check the PDF for exact wording and diagrams.
Page 3 · Read text
10
 8                                                11
 9                                                12


 l. Exposure counter                    6. Large image viewfinder with
                                  Iuminous frame2. Shutter releaee
                                            7. Locking device for cameraback
3. Honeycomb window of auto.    B. Control signal for film
  matic expoeure meter                transport
4. Lens Ennagon f. 40 mm           9. Rapid rewind lever
                                      10. Viewfinder eyepiece
5. Acceesory ehoe with flaeh       11. Rewind release button
  contact                             12. Rapid winder
View original page 3Page 5 · Read text
www.orphancameras.com

Now you have got her  in your hands, the fully  automatic paxette
electromaticl and you may  rightfully  say:,,Why  do   I need an
instructio^n-book,  if  the camera" i.  ,oppo."d   to  ;ork    fully  auto-
matically?"
Well you are perfectlf   right. To  take a  picture  you  don't  negd
anything elee to do  but  raise  the camera  to your  eye  -   catch
your scene through  the luminoue  frame viewfinder  -   and  if  the
light signal is green, just release!
Neverthelees, we  believe  that you  are  etill  interested  in  a few
more details about your camera, you eventually may want  to load
or unload your camera yourself. You  also may be  interested  in
knowing how  to take pictures  if  the available Iight does not alrow
fully  automatic operation any more, as you can  easily take  nice
flash pictures with your Paxette electromatic I, too ! Thai's what this
little  booklet  ie meant  for.
while   taking  a  picture  hold  your  Paxette  electromatic I  etable
and eteady with  both  hands. Press the  releaee button  with  one
gentle_conlinuoue movement and never try  to release unless you
have decided to take that picture. Leave  the  releasing finger on
the- releaee button, until  the shutter has fully completed its opening
and cl-osing cycle. There                                   .is no adjustment  of  diitance  necessary.
Everything  from 6 feet  (2  meters)  to  infinity   will  be sharp on
your pictures.
View original page 5
Page 6 · Read text
Things you have to wateh:
Use only films with an ex-
posure index of ASA 10,
ASA 32 or ASA 64.
The fully automatic exposure
meter of the Paxette electro-
matic is adjusted to these film
speeds only. When buying a
film alwaye specify the ASA
rating 10, 32 or 64 no matter
what you take, colour or black and white. That's what your
Paxette electromatic digests best.
The film speed, which is given on the package, hae to be eet on
your camera by adjusting the film speed lever to the relative ASA
rating. For flash photos set the lever on the lightning mark.
For colour negative film of an ASA 40 speed set the lever on ASA
32, for colour revereal film of an ASA 50 epeed eet it on ASA 64.
View original page 6
Page 7 · Read text
www.orphancameras.com

                        ttGOt'Green   light  means
After  transporting the  film  with  the rapid winder  of your Paxette
electromatic I you will  notice when looking  through  the viewfinder
(11) of your camera a green signal light in the middle of the upper
luminous frame, provided there is enough light available to guaran'
tee a perfectly exposed picture. If  the green light does not appear
you better uso your  flash gun  to  get a correctly exposed picture
or forget about taking   it.
Important:   The fully automatic exposure control can only operate
after the 6lm hae been advanced with  the  rapid winder  and the
release button (2) visibly protrudes over the camera top plate. At
one glance you will eee whether your Paxette electromatic I  is ready
for  shooting, since the release button  (2) will  be raieed above the
top  of the camera head plate only  after the  film was transported
and the automatic mechaniem is in operation.
As parallax compensation for  picturee taken with  close'up lenees
the luminoue frame viewfinder  is  fitted with  two  horizontal  mar-
kings (M). These markinge  in  the upper  half  of viewfinder  define
the picture frame when ueing close'up lene  I  or  II.
View original page 7Page 9 · Read text
www.orphancameras.com

fl   Loading  and  urrloading  the camera:

    Loading:                     Unloading:

     1. Remove camera back            l.  Prees rewind release
     2. Insert film cartridge         2. Rewind  film  with  rapid  rewind
        'I'hread     3.           film  onto take-up     lever  in  direction  of  the arrow
        spindle
                                                                      jl' Make sure that film  is rewound
     4. close camera back
                                  hack  all  ihe way into  cartridge
     5. Set exposure counter
                           .     ,__r__.   :.r_    4. Open <'ameraback     o. LvIaKetwo strokeB wrtn
        rapid winder                  5. Take out exposed film  in
     7. Set film speed                cartridge

    Do  not  use any  lilters.
    Never use any filters with your Paxette electromatic I which call for
    an  extended expoeure time  due  to  their  colouring and  light
     absorption. This doee not include haze or UV  filterg which may
    be used. For special filter see page 18.
View original page 9Page 10 · Read text
To open camera

To open camera back
turn the milled diec (7)
on camera baee to the
left until back ie loose
and can he detached
from camera body by
pulling down.


                         www.butkus.us
View original page 10Page 11 · Read text
www.orphancameras.com

l0   To  insert   film
     '
     ,o.o  cartridge holding'lever upwards until  it stops and place 35 mm
     fiIm cartridge in  film compartment, then turn  holding  lever down-
    wards until   it  securely holds  cartridge  in  its place.

    As the next step, lift  film  pressure plate up and pull leader of film
     out  far enough to be able to thread the end completely through
     the  slot of the take-up spool. Make sure that the film  is held  by,
     notch in  slot of take-up spool. To guarantee undieturbed  transport
     operation, push  rewind  releaee button  (12)  in  direction  to  the
     rapid wind lever and turn take-up spool until  the  film  is teneioned
    and film perforation, is engaged with sprocket wheel of film transport.
    Swing back film pressure plate and replace camera back by sliding
          it upwards and turn  loc,king disc (B) on base until   it  Btops.
View original page 11Page 13 · Read text
www.orphancameras.com

12  The  exposure  eounter
                                                                                                                       -
    The exposure counter (1) at the right of the release buttori showe the
    number of pictures remaining on your  film. After film  ie inserted           ,
    and camera closed, turn  dial  in  direction  of arrow  until  tho  red               i
     dot on the camera body is opposite the red  dot on  dial.  If you
    use a 20 exposure film,  line up the green dot on the  dial with
     the red dot on camera body.
   Now advance film with one  full and one half motion  of the rapid         {
    winder (I3) until  it blocks. Then press release button (2) and advance
     film once more until   it stops. Number 36  (or number 20) on the
                                                                                                                                                                                                                                               {i
     film counter  ie now oppoeite the red dot on the camera body and
    your camera is ready for  the  first exposure.
View original page 13Page 17 · Read text
www.orphancameras.com

L6  Unloading    of eamera
                                                                                                                                               :i
    As soon ae number one shows up on the  film counter the film  is
      fully exposed. Before the film can be removed it has be to respooled
     c o m p l e t e l y i n t o t h e f i l m c a r t r i d g e . T o d o t h i s , p r e s s r e w i n d r e l e a s e
     (12) on the back of the camera top in  direction to the rapid wind
     lever and rewind  film  with  even strokes with  the  rapid  rewind
     lever (10) on left of camera top in direction of the arrow. Towarde
     the  end  of  the  rewind  operation a  tension can be  felt, which,
    when overcome, shows that the film has been respooled completely    4
     into  the  cartridge. The  camera back can now be removed and
     the exposed fihn replaced by a freeh  roll.

   IMPORTANT:    The rewind releasebutton (12) has to be kept
    pressed down  until  the rewind  cycle is completed.


                                                                                    o
View original page 17Page 19 · Read text
www.orphancameras.com

lB   Control   signal   for  Film   transport
    To have a control, ae to whether  the  film  ie being  transported
     correctly or not, a eignal (9) ie visible right above the rapid rewind
     lever on the upper  left  side  of  the camera. A small  slot shows
    a black and white  signal diec which  ehould  rotate  evenly, while
     the film  is being transported. If  the disc does not  rotate, the fifm
    wae wrongly  inserted and  it  iytsl   being transported.
                                            '...
      Filters   for  the  Pay*t€aelectromatic          I
    With  the Paxette'6lectromatic I  only  filtere can be used which to
     not  call  for an  extented exposure time. Therefore  the  following
     special filters have been designed:
         l.  Grey filter  for use with  colour revergal films when shooting  in
         bright sun at 6ea, at snow and in  high mountains.
     2. Yellow  filter use with  black and white  films  for more  picture
        contrast (clouds, etc.).
     3. For distancee shorter than 6 feet (2 m) uee:
       Close-up lensee I  for appr. 29rlz  inchee (75 cm) distance
       Close-up lens II  for appr. 17 inches (43 cm) dietance
View original page 19Page 20 · Read text
The special flash gun
 for the Paxette electromatic
 fits right onto the accersory
 shoe and does not need any
 cablee or special connections.
 Just clip it on, insert a bulb
 and shoot. That'e all  !


Conslruclion fealures subject lo change
View original page 20
Related documents and language editions
From the M. Butkus archive. Original publisher and archive notices are retained.
Check the model and edition against your equipment.
PDF verified 2026-10-10.