Film cameras
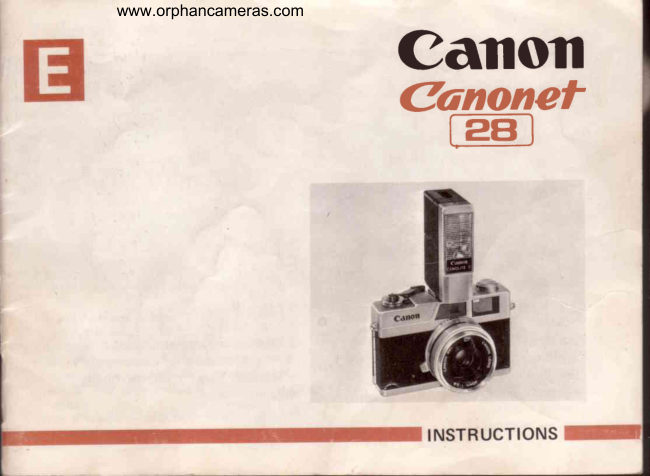
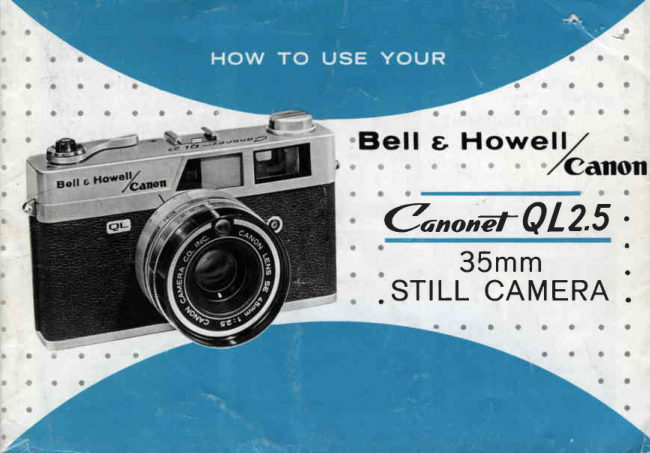
CANONET/ B&H 2.8 User manual
User manual for CANONET/ B&H 2.8. 16 pages in English. Read the original PDF, download or print a copy without registration.
16 pagesEnglish2.2 MB PDF
Loading your manual…Open PDF directly
Document details
- Brand
- Canon
- Model / document
- CANONET/ B&H 2.8
- Document type
- User manual
- Language
- English
- Pages
- 16
- File size
- 2.2 MB
- Category
- Film cameras
- Document date
- Not specified in catalog
Search available document text
Find a term, then jump to its page in the original PDF. Image-only pages may not be searchable; check the PDF for exact wording and diagrams.
Page 7 · Read text
T,efer,erf.ce  glJide

                                 tr
 Sight through viewfinder  and  set
 focus according to type of subject.             ZoneMarksF

                                                                              IndexNeedle


 Check Meter Needle in Viewfinder
 for Correct Exposure Range. Com-
 posePicture and press Shutter Re-
 Iease Button. Wind Film  for next
 exposure.


 Move Rewind ReleaseButton and
 Rewind Film  into cassette. Open
 cover and remove cassette.
                       www.orphancameras.com
View original page 7Page 9 · Read text
engage   fihn


    Rotate  take-up   spool  with   your
    finger tips by means of the knurled
    edge, until  the  film  slot  is  visible.
    Insert  the  film  leader seeurely  into
    the film  slot. Engage  sproeket  holes
    o n    t o o t h  o f    t h e    t a k e  u p  s p o o l
    (arrow). Also engage sprocket holes
   on  teeth  below   shutter   openitg,
       ( arrorv ) .  Press  shutter   button     if
      filrrr  stops  rvinding.  Remove  any
    slack in the filnr by turning  the re-
    rvind crank  in a clockwise direction
     until  the   filnr   is  taut.  Close  the
    back  cover, and  lock  by  pushing
    dorvn tight.

wind    filrn
    When  the cover  is elosed, the  Ex-
                                           ((S".    posure Counter  Dial  rvill be on
        1. Advance  the Windine  Lever
            Fully  and press the Shutter
          Release Button.   ( Page 5 )
        2.  Repeat Operation  1 again.
        3.  Advance  the Winding  Lever
          once more,  but  clo not  press
           the Shutter  Release Button.
    The  Exposure  Counter  Dial   rvill
    now be on 1  ( Dot between 0 and 2)
     indicating   that  the   fir'st   f t'ame  is
     ready  to be exposed.


                        www.orphancameras.com
View original page 9Page 11 · Read text
Mark that cor_respondswith the type
qt  subject _that  you-    are  taking.
There are detents that can be feTt
when turning  the Ring and visible
Dots on the Ring thaf Correspond
with  the zone marks  in  the view-                       ParallaxCorrectionFrame
finder. The lens can also be focused
by setting the exact distance on the
FocusingMark.zRing opposite the Index
                                                                                                                                                                                             IrI               Index
                                                                                                       I 2s0    L25    60


When taking close-upsand portraits
the Parallax  Correction Frame  in-
dicates an imaginary frame (dotted
line.) that should be used when com-
poging your  subject. Keeping your
subject within these lines will pre-
vent cropping the tops and sides of
your pictures.


   3. Exposure


Turn  the camera toward  the subject
w h i l e     l o o k i n g    t h r o u g h     t h e  v i e w -
finder  and  the  Meter  Needle  will
give  an  exposure  reading.    If  the
needle stops  in  the  "Cor.rect  Ex-
posure Range"  between 30 and 250
O/so see. and  \6so sec. )  the  fricture
will be correctly  exposed. The aper-
ture   is programmed   automatically
to correspond with  the shutter  speed.
Compose your  subject  in  the view-
finder and press the shutter Release
Button    all  the  way  down  to  take
the picture.
                    www.orphancameras.com
View original page 11Page 13 · Read text
mark)    it  is necessary to use flash to
obtain proper exposure.
Slide the flash unit  into  the Acces-
sory  Shoe    f rom  the  rear   of  the
camera. Push the cord into the Flash
Terminal  Socket as illustrated.
Complete synchronization  can be ob-
tained  using  both M  and  F  class
bulbs and electronic flash.


  Convenient
   flastr  guide


When  using  baseless  type   flash
bulbs, the Canonet 2.8 can be ad-
 j u sted  for'   fl ash photography  very
sintply, u'ithout  the necessity of  r.e-
fen'ing  to guide numbers.
Be  certain   that   the  A SA  Index
Mark  is ltrolterly  set for the type  of
 filnr you ale using.
Then, look at the bottonr of the aper-
ture ring and turn   it  until  the blue
ol' t'erl arrow  points  at  the nunrber
 ( 5 , 7 , 1 0 , 1 5 , 2 0 , 3 0 )  t h a t  r e p r e s e n t s
the distance froln eanlera to subject,.
 ( This number  should correspond to
the nunrber set on the distance scale
rvhen  the  distance   is  set  exactly
rather  than by the "Zone Focusing
Method." )
Use  the  Blue  Arrorv  rvhen  using
Blue  Bulbs.  U se  the  Red  Arrorv
rvhen using clear' flash bulbs. Then,
focus the lens, conlpose the subject
in the Viewfinder,  press the Shutter
Release Button  and  advance  the
Windine  Lever.
IMPORTANT:   The carlrera should                   ('8"not be set on       or "Auto"  rvhen
taking   flash  pictures.  Do  not  go
past the "Click  Stops"  that  can be
felt  in  the aperture  ring when  set-
ting  for  flash.                             B L U E A R R O W      R E D A R R O W
When   using  other  than  baseless        F O R B L U E B U L B S  F O R C L E A R B U L B Sflash bulbs, or u-hen operating  out-
side the range of the "Flash  Guide"
on the camera, use the Guide Num-
bers packaged rvith the film or bulbs,

                    www.orphancameras.com
View original page 13Page 16 · Read text
Your comerlr Seriol Number
                                                                          is locoled on the right of the
                                                       viewfinder e;repiece. Keep
                                                     d record of  it in cose of
                                                           loss or  lheft.

This new Bell & Howell/Canon product is guaranteed to be free from imper-
fections in both material and workmanshiplor  one year from date of original
purchase.'or       Should any part  of this equiprnent be defective, it  will be replac.ed
   repaired free of charge  ( elcept  for  transportation  ) , providing the equip-
ment-has been operated according to the instructions accompanying  it.
  No liabilitv   is assumed for  film which  is damaged or is unsatisfactory   for
an1 reason aira no liability  is assumed for interruptions  in operation of equip-
ment. This guarantee is void:
   al   If equipment has been damaged by aecident or mishandling;
   tr)  If equipment has been serviced by other than Bell & Howell or Canon.*
   c)   If  adaptations or accessories other than Bell & Tlcwell have been made
      or attached.
The foregoing  is  in  lieu  of  all  other warranties  expressed or implied  and
Bell & Howell Company neither assumes nor authorizes_an_yperso-n to assume
for  it any other obfigation or liability  in conneetion with  this product.
 t Free  warranty   service  outside  the  United   States and Canada   is provided   only  by Canon
  Camera  Company,  Tokyo,  Geneva  and Panama'
B e l l & H o w e l l  -  7 1 0 0 M c C o r m i c kR o a d ,C h i c a g o 4 3 , l l l i n o i s

                     Sf idenf.a"ster
  A Tterfect compa?Lionf or ?lour Canonet Camera

                                             delune
                                               slidemaster
                                           remote contT'ol

                                                  fi,lmoaar&
                                                     proi ection
                                                  lens

                                                      slide
                                               preaieuer

                                                                brigllt 500-taatt  See your Bell & Howell dealer for a complete                                                        lamtrt   selectionof Bell & Howell Slide Projectors.
  r6r0r                                                                           P r i n t e d  i n U . S . A .
View original page 16Related documents and language editions
From the M. Butkus archive. Original publisher and archive notices are retained.
Check the model and edition against your equipment.
PDF verified 2026-10-10.