Light meters
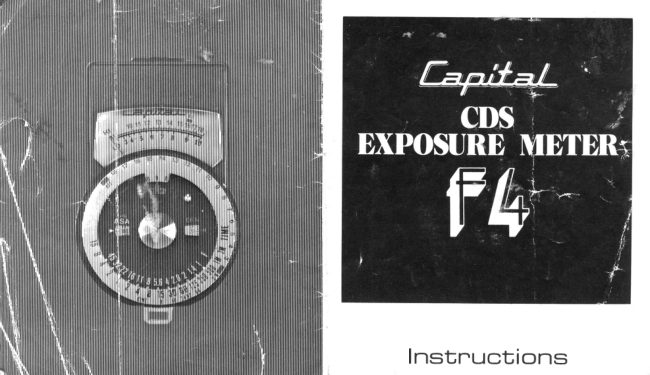
Capital CDs Exposure Meter User manual
User manual for Capital CDs Exposure Meter. 5 pages in English. Read the original PDF, download or print a copy without registration.
5 pagesEnglish1.0 MB PDF
Loading your manual…Open PDF directly
Document details
- Brand
- Capital
- Model / document
- Capital CDs Exposure Meter
- Document type
- User manual
- Language
- English
- Pages
- 5
- File size
- 1.0 MB
- Category
- Light meters
- Document date
- Not specified in catalog
Search available document text
Find a term, then jump to its page in the original PDF. Image-only pages may not be searchable; check the PDF for exact wording and diagrams.
Page 4 · Read text
/
      Operation  of thei Capital F4 meter
     The outer dial(s) on the meter shows ranges,high (blue number), low (black number) ('121,battery check referecnemark
      (blue) (14), shutter speeds(8),cine calibration(9)and "off" mode referencemark(15). When the  off mark on the outer
       dial(s) is set to the referencemark(16) (yellow dot) on the outside of the dial, the meter is in the "off condition't  To
      operate your Capital F4 meter, rotate the outer dial(5) counterclockwise,the meter will turn on autonratically. Now you
      are ready to measurebirght light levels(high-scale)converingEV10-18 and low light levels(low-scale)coveringEV3-10.
       1. To take a reading,set the ASA/DlN film speedby rotating the inner dial(6) on the face of the meter as indicatedbythe film
         manufacturer.
       2. Then point the cell window(1) of the meter directly at your subjectyou wish to photograph,bringingthe meter as closeasF
         possibleto the subject.At this point the indicator needle(2)will reactdependingon how much light it seesand will indicate
         your EV value (blue number-towscale(3) or black number-hiscale(a).
       3. To determine which scale is in use, rotate the outer dial(5) from the low level numbers(black)to the high level numbers
          (blue)(12). !f the needledrop to 0 as you turn from the lc'w numbersto the high level numbers,your readingis in the low
       EV scale3-10.
       4.   lf the red indicator needle(2)points past EV10, continue to turn the outerdial clockwiseand the needlewill automatically
         your EV readingin the high scale(3).
       5.   lf you determinedthe proper scaleto use,transferthe EV vrlue shown by the indicator needleto the correspondingnumber
        on the outer dial to the referencemark(16), .
       6. You can now obtain the combinationof shuttrrrspeedsand f-stopsfor your guidancein your picture taking.


f .
View original page 4Page 5 · Read text
7. To obtzrinthe proper EV numbers,turn the outer dial until the correspondiDgnumber, as shown by the indicationneedle,
applears,lnthe scaleoppositethe blue areain the inner dial indir:atedin EV.


Zerc adjustment
lf ihe indicator needle does not return to the Zero mark on th3 scale,turn the adjustment screw(19) on the back of the rneter,
right or left, until the needlereturns to the Zero position.

Battery Check
To check your battery, turn the outer dial until the blue rectangularare marked BC(14)is alignedwith the yellow reference
mark (16).lf the indicator needle in the window points to b;ue BC area(13),your battery has sufficient energy to activate
your meter. lf not, replace the battery. To replace the battery, open the battery compartment cover and remove the battery.
Replacewith RM 625R or PXl3 batteries,or equivalent,availableat most camerastores.Positive(+)side of the battery must
face up towards the cover.
lt'lormallife of the mercury battery is 1-'l12 to 2 years.
The batter's output level is constant, but drop off sharply only just before final expiration.

Caution
Do not use the meter to excessivelybright light for long tinre, as this will tend to affect the cells responsivenessfor a brief
period of time thereafter. Also avoid strong shock'www.orphancameras.comand moisture.
                                                                                                           .r-                                  PBF.ITEDlN JAPAN
View original page 5Related documents and language editions
From the M. Butkus archive. Original publisher and archive notices are retained.
Check the model and edition against your equipment.
PDF verified 2026-10-10.