Film cameras
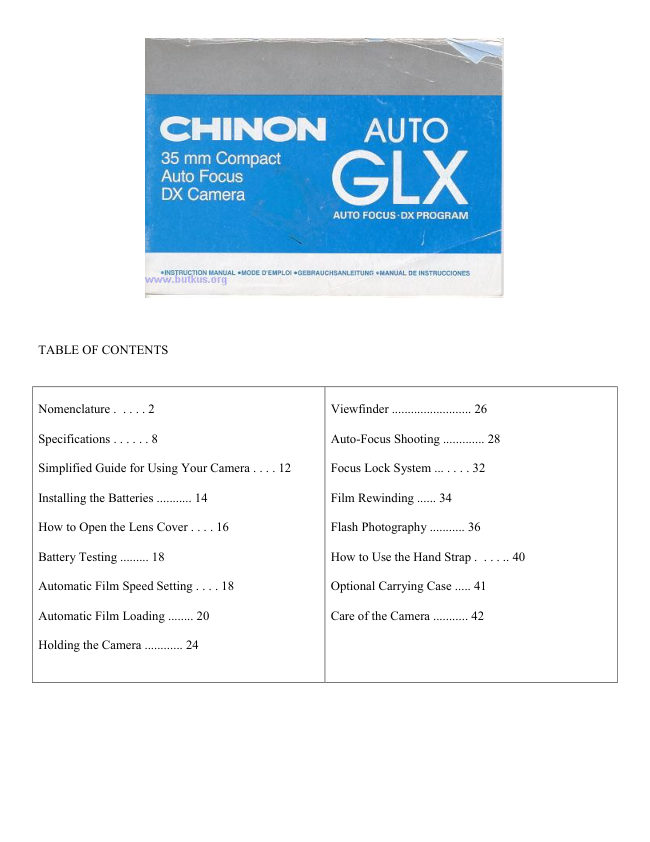
Chinon Auto GLX User manual
User manual for Chinon Auto GLX. 15 pages in English. Read the original PDF, download or print a copy without registration.
15 pagesEnglish0.9 MB PDF
Loading your manual…Open PDF directly
Document details
- Brand
- Chinon
- Model / document
- Chinon Auto GLX
- Document type
- User manual
- Language
- English
- Pages
- 15
- File size
- 0.9 MB
- Category
- Film cameras
- Document date
- Not specified in catalog
Search available document text
Find a term, then jump to its page in the original PDF. Image-only pages may not be searchable; check the PDF for exact wording and diagrams.
Page 2 · Read text
TABLE OF CONTENTS


Nomenclature .  . . . . 2                              Viewfinder ......................... 26

Specifications . . . . . . 8                             Auto-Focus Shooting ............. 28

Simplified Guide for Using Your Camera . . . . 12       Focus Lock System ... . . . . 32

Installing the Batteries ........... 14                     Film Rewinding ...... 34

How to Open the Lens Cover . . . . 16                   Flash Photography ........... 36

Battery Testing ......... 18                    How to Use the Hand Strap .  . . . .. 40

Automatic Film Speed Setting . . . . 18                 Optional Carrying Case ..... 41

Automatic Film Loading ........ 20                    Care of the Camera ........... 42

Holding the Camera ............ 24
View original page 2
Page 3 · Read text
NOMENCLATURE

1. Hand strap

2. Shutter release button

3. Viewfinder

4. Auto focus window

5. Flash

6. Flash switch

 7. Lens cover

8. Lens

9. Exposure metering window

10. Grip


          11. Back cover
          release button

          12. Frame counter

          13. Viewfinder
         eyepiece

          14. Flash ready
          indicator


          15. Back cover

          16. Cartridge window

          17. Battery
        compartment

          18. Rewind switch
View original page 3Page 4 · Read text
19. Film rewind shaft

                                                                                 20. Sprocket

                                                                                 21. Take-up spool

                                                                                 22. Film pressure plate


                                                                                 23. Film tip mark

                                                                                 24. Film guide

                                                                                 25. Automatic film
                                                                          speed seeing probe

                                                                                 26. Film chamber


SPECIFICATIONS

TYPE: Lens shutter type fully automatic 35 mm compact camera

PICTURE FORMAT: 24x36 mm

LENS: 35 mm F3.9, 3 elements in 3 groups

VIEWFINDER: Albedo type bright frame with AF frame, parallax marks, AF lock indication LED (green) and
under exposure warning/battery check LED (red)

SHUTTER: Programmed electronic shutter; 1/90 sec. (F3.9)-1/410 sec. (F8), mechanical release, shutter locks
when the lens cover is closed.

EXPOSURE METER: Programmed EE, CdS EV RANGE: EV10.5 - EV14.5 (ISO 100)

AUTOMATIC FILM SPEED SETTING: The film speed is automatically set when using a DX-coded film of
ISO 100/21°-1000/31° .

Non-DX film will be set to ISO 100/21° .

FOCUSING: Infrared automatic focusing system with possible prefocus; cancelable

FOCUSING RANGE: 1.3 meters (4.26 ft) to infinity FILM LOADING: Auto loading system with built-in
motor

FILM WIND: Automatic power winder for single frame advance

FILM REWIND: Automatic power rewinding; rewind actuated with rewind switch
View original page 4Page 5 · Read text
AUTO REWIND STOP: Film rewinding automatically stops upon completion

EXPOSURE COUNTER: Indicates number of exposed frames and returns frame by frame while rewinding,
and resets to "S" when camera back is opened.

FLASH: Built-in flash, pop-up type flashmatic, Guide number 10 (ISO 100: meters), Effective range of 1.3-3.5
meters (4.26-11.48 feet) at ISO 100, Recycling time of approximately 5 seconds. Flash ready indicator built-in.

LENS COVER: Built-in, shutter locks with lens closed

OTHER FEATURES: Film type window and hand strap

POWER SOURCE: Two 1.5 V "M" size alkaline batteries (LR6)

DIMENSIONS: 129 (W) x 70 (H) x 45 (D) mm (5.08" x 2.76 x 1 .77 )

WEIGHT: 260 grams (9.17 oz)


SIMPLIFIED GUIDE FOR USING YOUR CAMERA

1. Installing Batteries (Fig. A)

2. Open Lens Cover (Fig. B)


3. Automatic Film Loading (Release shutter 3 times) (Fig. C)

4. Be Sure to Direct AF Frame at Your Subject (Fig. D)

5. Release the Shutter (Fig. E)
View original page 5
Page 6 · Read text
6. Automatic Film Rewinding (Fig. F)

7. Remove the Exposed Film (Fig. G)

INSTALLING THE BATTERIES

1. Slide the battery compartment cover in the direction of the arrow mark to open the battery compartment
cover (Fig. 1).


2. Place two 1.5 V "M" size alkaline batteries (LR-6) into the battery compartment so as to correspond with the
positive (+) and negative (-) marks shown inside (Fig. 2).

NOTE: If you do not intend to use your camera for a long period of time, remove the batteries and store them in
a dry location. This will prevent the possibility of battery leakage and damage to your camera. Do not use Ni-
Cad batteries Be sure to replace both batteries at the same time when the batteries are too weak to operate the
camera.

HOW TO OPEN THE LENS COVER

1. Slide the lens cover all the way to the right to ready the camera for shooting. (Fig. 3)


2. Slide it back in the opposite direction to close the lens cover (Fig. 4)

NOTE: When the lens cover is in the closed position, the shutter will be blocked. The shutter cannot be released
unless the lens cover is fully opened.
View original page 6
Page 7 · Read text
BATTERY TESTING

1. Cover the exposure metering window with your hand and press the shutter release button halfway (Fig. 5).


2. Make sure the under-exposure warning LED (red) light up (Fig. 6). If the red LED fails to illuminate, the
batteries are too weak and need to be replaced.

NOTE: As temperature decreases especially below 0° C (32° F) battery performance declines. Keep batteries
warmed under these conditions.

AUTOMATIC FILM SPEED SETTING


The film speed is automatically set when using a DX-coded film of ISO 100/21° -1000/31° (Fig. 7). Non-DX

film will be set to ISO 100/21° .

AUTOMATIC FILM LOADING

Always load and unload your camera in subdued light, and never in direct sunlight.
View original page 7
Page 8 · Read text
1. Slide up the back cover release button to open the back cover (Fig. 8).

2. Insert a film cartridge into the film chamber (Fig. 9).

3. Align the trimmed end of the film on the take-up spool with the yellow film tip mark. When loading film,
make sure that the film lies flat between the film guides. Engage the perforation of the film with the teeth of the
sprocket (Fig. 10). Close the back cover.


4. Open the lens cover and depress and release the shutter button three times until the figure "1" appears in the
frame counter (Fig. 11). The camera is now properly loaded.


NOTE: If the film counter does not function, the film is not properly advancing. Open the back cover and re-
load the camera.
View original page 8
Page 10 · Read text
AUTO-FOCUS SHOOTING

1. Look through the viewfinder and compose the picture so that the main subject is placed in the auto focus
frame (3).


2. Gently press the shutter release button halfway. The camera automatically focuses and the AF signal (green)
will light.

3. When taking a picture closer than 1.5 meters (5 feet), the image area is indicated by the two parallax marks
(2) in the top left and top right corners of the viewfinder. Compose the photograph within the imaginary zone
extending from the corner of the parallax marks (Fig. 13).


NOTE: When a subject is positioned closer than 1.3 meters (4.26 feet), the pictures will not be in focus.

4. Press the shutter release button all the way. If the underexposure warning LED

(5) lights up, use the built-in flash (Fig. 14). See FLASH PHOTOGRAPHY. NOTE: The following subjects
will not be properly auto-focused: Shiny subjects such as water surfaces or the exterior of a car body. Subjects
viewed through a glass window. Semi-reflective subjects.
View original page 10
Page 11 · Read text
FOCUS LOCK SYSTEM

This feature may be used to eliminate tricky focusing situations such as when the main subject is located "off
center" in the viewfinder.


In such a situation, first focus on the main subject (by placing the subject in the AF frame) and partially depress
the shudder release button.
View original page 11
Page 12 · Read text
Hold the shutter release button in the halfway position and recompose the subjects in the viewfinder and fully
depress the shutter release to take the picture (Fig. 15). This focus lock feature can be cancelled by removing
your finger from the release bunion.

FILM REWINDING

When the film in the camera is fully exposed, the motor stops and the shutter release is blocked. Start rewinding
at once.

1. Slide the rewind switch in the direction of the arrow to rewind the film (Fig. 16).
View original page 12
Page 13 · Read text
2. During rewinding, the frame number counts backward showing how many frames are still remaining to be
rewound.

3. When rewinding is over, "S" appears in the frame counter and the rewinding is automatically stopped (Fig.
17). Open the back cover and remove the film.

NOTE: When auto rewinding takes a long time to complete, replace the batteries with a fresh set.

FLASH PHOTOGRAPHY

Switch to flash photography if the under-exposure warning LED lights up while pressing the shutter release
button halfway (Fig. 18).


1. Slide the Flash Switch in the direction of the arrow to turn on the flash.

2. Make sure that the Flash Ready Indicator is illuminated before taking a picture. (Fig. 19).
View original page 13
Page 14 · Read text
3. When the flash is no longer required, press the flash head down until it locks (Fig. 20). This turns off the
flash unit and positions it for storage.


Daylight Flash Photography


If the main subject has less light falling on it than the surrounding area and background, underexposure of the
main subject will result. In such situations, use the flash even in daylight.
View original page 14
Page 15 · Read text
Effective Flash Distance

ISO 100         1.3 - 3.5 M         4.3 - 11 ft.
ISO 200         1.3 - 5 M           4.3 - 16 ft.
ISO 400         1.3 - 6 M           4.3 - 20 ft
ISO 1000        2.8 - 6.1 M       9 - 20 ft.

NOTE: -- If you release the shutter before the Flash Ready Indicator glows, the exposure will not be correct.

CARE OF THE CAMERA
Your camera is a precision instrument. When used with care it will provide years of trouble-free service. Protect
your camera from dirt, rain, dampness and excessive heat. Avoid touching the lens. To clean the lens, wipe it
gently with a soft lintless cloth or tissue. Do not use eyeglass tissues as they might damage the lens coating. Do
not disassemble and touch the inside of the camera as possible high voltage in the flash circuitry can be
dangerous.
View original page 15
From the M. Butkus archive. Original publisher and archive notices are retained.
Check the model and edition against your equipment.
PDF verified 2026-10-10.