Film cameras
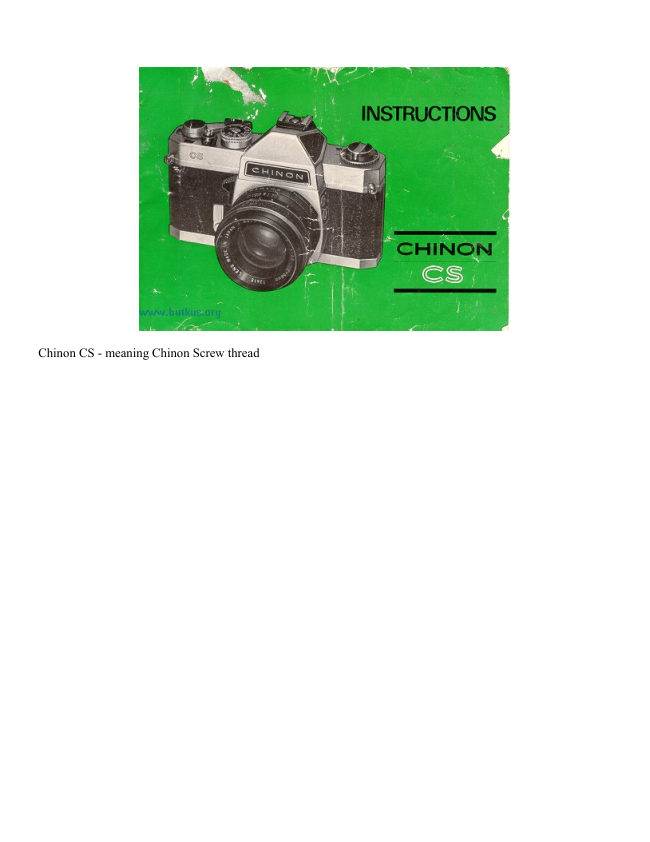
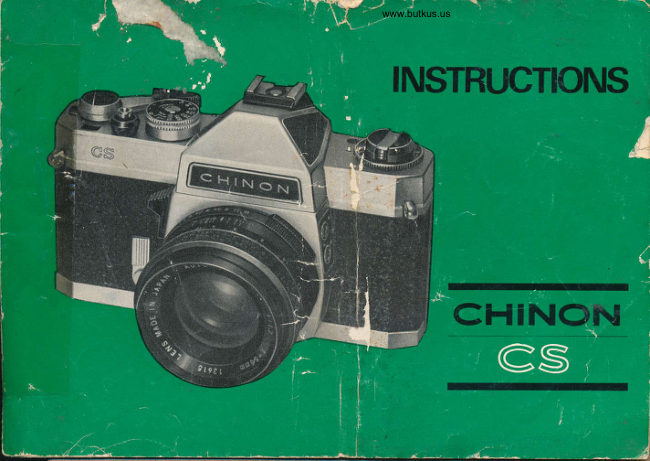
Chinon CS User manual
User manual for Chinon CS. 16 pages in English. Read the original PDF, download or print a copy without registration.
16 pagesEnglish1.0 MB PDF
Loading your manual…Open PDF directly
Document details
- Brand
- Chinon
- Model / document
- Chinon CS
- Document type
- User manual
- Language
- English
- Pages
- 16
- File size
- 1.0 MB
- Category
- Film cameras
- Document date
- Not specified in catalog
Search available document text
Find a term, then jump to its page in the original PDF. Image-only pages may not be searchable; check the PDF for exact wording and diagrams.
Page 3 · Read text
FEATURE IDENTIFICATION CHART


1. Accessory shoe (with direct flash        9. Self-timer
contact)                                  10. F stop ring
2. Shutter speed dial                      11. Depth of field scale
3. Film speed dial (ASA/DIN)             12. Distance ring
4. Film advance lever                     13. M synchro-flash socket
5. Shutter release                         14. X synchro-flash socket
6. Exposure counter window              15. Film type indicator
7. Shoulder strap eyelet                   16. Film rewind knob/Film chamber cover
8. Exposure-meter switch                opening
View original page 3
Page 4 · Read text
17. Viewfinder eyepiece
                                                  23. Shutter Rewind button
18. Film chamber
                                                  24. Take-up spool
19. Film guide rails
                                                  25. Film pressure plate
20. CdS battery compartment cover
                                                  26. Film chamber cover
21. Film rail
                                                  27. Sprocket teeth
22. Tripod socket


IMPORTANT!

BASIC STEPS IN PHOTOGRAPHING

(1) Insert CdS battery with plus (+) side up (Fig. 3). (see my page on mercury battery replacements
www.butkus.org/chinon)

 (2) Load 35 mm film in 20 or 36 exposure cassette (Fig. 4).
View original page 4Page 5 · Read text
(3) Set ASA (or DIN) speed dial in accordance with the film speed specified on the film box (Fig.
5)

(4) Set either the shutter speed or lens opening according to your photographic need (Fig. 6).


(5) Focus the lens (Fig. 7).


(6) Release the shutter (Fig. 7).
View original page 5
Page 6 · Read text
LOADING THE CAMERA

Use 35 mm film in 20 or 36 exposure cassette. It is recommended to load and unload camera in subdued light,
e.g. shadow of your own body and not in direct sunlight.

        (1) Pull up film rewind knob until camera-back pops open. Swing open camera-back (Fig. 8).

        (2) While rewind knob is still fully pulled up insert film cassette into chamber with protruding end
      toward bottom of camera. Press in film rewind knob. If it does not go in all the way, turn it until it does.


       3) Insert end of film into slot in take-up spool and engage perforation of film with tooth in spool slot.
       Place thumb lightly over film on bottom sprocket wheel and operate film advance lever until upper
       sprocket wheel engages film perforations. When advance lever stops, free it by depressing shutter
        release on top of camera. Make sure that film lies flat between guide rails (Fig, 9) Close camera back
        firmly.
       4) Operate film advance lever, depressing shutter release until figure " 1 " is lined up in the exposure
       counter window, In this position the camera is ready for the first exposure to be made (Fig. 10).
View original page 6Page 7 · Read text
To be certain that the film transports correctly, take up any film slack in the cassette by turning the
re-wind crank clockwise till resistance is felt. When advancing the film the rewind knob should
turn anti clockwise. This is evidence that the film is loaded correctly. If it does not, start loading
again. '

SETTING FILM SPEED (ASA/DIN)

The ASA (or DIN) speed of the film is specified on the film box or in the instruction sheet packed with the film.

Pull up and rotate the outer rim of the shutter dial until desired ASA (DIN) number of the film shutter speed dial
(Fig. 11).


Also rotate film type indicator dial so that the film type inserted shows to its pointer (Fig. 12).
This will remind you of the type of film you are using.
View original page 7
Page 8 · Read text
Some ASA (DIN) numbers are represented by a dot only. The chart below specifies the ASA (DIN) numbers.


CORRECT EXPOSURES

Correct exposure can be made by setting F stops on the lens and correct combination of shutter
speed. As the CHINON CS camera has a built-in through-the-lens CdS exposure meter, you can
take correctly exposed photographs.

        (1) See the subject through viewfinder. Press down the exposure meter switch (Fig. 13).


      Depending upon the subject, rotate either shutter speed dial or F stop ring until the exposure indicator
       needle in the viewfinder comes to the complete horizontal position (Fig. 14).

         If the needle is above the horizontal position, it is overexposed (Fig. 15). Change the shutter speed to a
        faster speed or use a smaller lens opening so that the correct exposure combination can be  obtained. If
        the, needle is below the horizontal, it is under exposed so that a slower shutter speed or bigger lens
       opening must be set.
        Fig. 16
View original page 8Page 9 · Read text
(2) When an ASA setting is used in conjunction with speeds and/or apertures which are beyond the
       range of the TTL meter, a red signal will appear in the exposure zone of the viewfinder (Fig. 17). When
       the red signal appears it indicates that a flash unit should be used to supplement existing light.

FOCUSING

Release the exposure meter switch and slide AUTO/MANUAL control on the lens to Auto position
(Fig. 18).


Turn the distance ring first in one direction, then in the opposite direction until microprism disc in the center of
the image in the viewfinder is sharp (Fig. 19). Picture is now focused. The distance scale may also be used for
focusing. Estimate or measure the camera to-subject distance in feet or in meters, then turn the focusing ring. So
the figure representing that distance is opposite the index line.
View original page 9Page 10 · Read text
RELEASING THE SHUTTER
Hold the camera as steady as possible and press the shutter release slowly and smoothly. When
using slower speeds ranging from 1/30 to 1 second and "B" (bulb) in poorly lit areas., use a tripod
or other firm support to prevent blurring the picture.


.

SETTING THE SHUTTER
The length of time for the film to be exposed, to light can be adjusted by shutter speed setting. "60"
(1/60-second) is recommended for subjects not in motion.

It is recommended to use shutter speeds ranging from 1/125 to 1/1000 for subjects in motion. 1/1000 second
speed will best "freeze" fast action.


The " B" setting can be used for long exposures at night, using street lights or electric signs, or under poor light
conditions when flash unit is not used.


UNLOADING THE CAMERA

When the red figure "20" or "36" (corresponding to 20- and 36-exposure film) appears in the exposure counter
window lined up to the index mark, the end of the film has been reached.

Take the following steps for rewinding film into cassette:
 (1) Unfold crank on rewind knob (Fig. 20).
View original page 10
Page 11 · Read text
(2) Press in all the way rewind release button.

(3 Turn rewind crank lever clockwise. Tension is felt as the film is rewound from the take-up spool into the
cassette. Stop rewinding when tension is released. Open camera back (by pulling out rewind knob all the ways
and remove the film.


Have film processed without delay.
View original page 11
Page 12 · Read text
DEPTH OF FIELD

A zone of the picture in front of and behind your subject will also be sharp. The depth of this zone depends on
the aperture selected. If you wish to know how much of an area will be sharp in the final picture, it can be
predetermined in two ways:


(A) Depth of Field Previewer

Slide the AUTO/MANUAL aperture opening switch to "M" (Manual) position. Set the lens to the selected
aperture opening of the F stop ring. This will enable you to preview the area of sharpness in the picture before
taking.

(B) Depth of Field Scale (Fig. 22)

After setting the lens opening and having focused on your subject, the area of sharpness in front of and behind
your subject can be determined on the Depth of Field Scale. Locate on the Depth of Field Scale the same two F
numbers corresponding to stop you have set on the F stop ring. The distance between these two F numbers on
the focusing scale will be the area of sharpness in your picture.
View original page 12
Page 13 · Read text
SELF TIMER

The self timer permits the photographer to get into the picture. Place camera on tripod or other firm support
(tripod socket is on bottom of camera). Get camera ready for exposure as usual. Push down self-timer lever
(Fig. 23).


Depress shutter release to start self-timer. Exposure will be made approximately 8 seconds after the release has
been pressed.

FLASH PICTURES

Most types of flash bulbs and also electronic flash can be used for flash pictures.

When using flash bulb No. 5, 5B, 25, 25B, M5, M5B, M2, M2B, AG1, 6, 6B, 8, connect flash cord to flash
socket "M". When using  . electronic flash or SM flash bulb, connect the flash cord to flash socket "X" (Fig.
24).
View original page 13
Page 14 · Read text
The use of Nos. 5, 5B, M5 and M5B flash bulbs as well as electronic flash. Nos. 6, 6B, 8 flash bulb is
recommended for shutter speeds from 1/30 to 1/125 sec.

The use of Nos. M2, M2B, AG1, AG1B, SM flash bulbs is recommended for shutter speeds from 1/30 to 1/60
sec. Cordless flash units are slipped into the accessory shoe on the top of the camera. The accessory shoe may
also be utilized for a flash unit having a synchro cord.

CHANGING THE LENS

A 55 mm lens is the proper focal length for general purpose picture taking. Any Chinon telephoto and wide
angle lens or Pentax, Prinz flex or Sigma lens mount can be used. To remove the lens, push up the exposure
switch on the camera body, holding it in one hand and grip the lens with the other, turning counter clockwise
until it is removed.

To replace the lens, turn clockwise until secured in position finger tight.

IMPORTANT NOTE

When installing or removing the 55 mm F/1.2 Chinon lens, the exposure switch must be in " OFF "
position (Fully up) or the focus ring must be turned to a distance setting of less than 0.9 M (3 feet)
to avoid damage to the rear lens element.

CAMERA CARE

The CHINON Single Lens Reflex Camera is a precision instrument. Used with care, it will provide years of
service.

Protect the camera from dirt, rain, dampness, and excessive heat. Avoid touching the lens. To clean lens,
breathe on it, then wipe it gently with a soft, lintless cloth or tissue. Do not use eyeglass tissues as they might
damage the lens coating.

It anything goes wrong, do not try to repair it. Take it to a dealer or send it to the nearest CHINON distributor.
View original page 14
Page 15 · Read text
Interchangeable Lenses

28mm F 2.8 AUTO

100mm F 2.8 AUTO

135mm F 2.8 AUTO

200mm F 3.5 AUTO

300mm F 4.5 AUTO

500mm F 8 (Mirror)

Accessories stories

Auto Extension rings

Mini Copy stand

Table tripod

Angle finder

Bellows

outer eyepiece
View original page 15
Page 16 · Read text
Rubber lens hood (52mm)

Rubber lens hood (55mm)

Wrist strap

Filter (52mm) IA, UV Y2 ND4,PL

Filter (55mm) IA, UV Y2 ND4,PL

Cable release (20 inch)

Cable release (13 inch)

Eyepiece adapter - 2.5 Dioptor

Eyepiece adapter +.-1.0 Dioptor

Eyepiece adapter +3.0 Dioptor

Body cap

Lens mount cap
View original page 16
Related documents and language editions
From the M. Butkus archive. Original publisher and archive notices are retained.
Check the model and edition against your equipment.
PDF verified 2026-10-10.