Film cameras
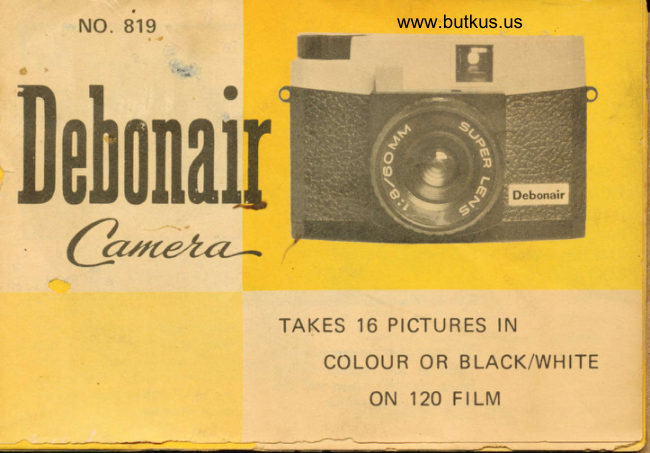
Debonair 819 User manual
User manual for Debonair 819. 10 pages in English. Read the original PDF, download or print a copy without registration.
10 pagesEnglish1.8 MB PDF
Loading your manual…Open PDF directly
Document details
- Brand
- Debonair
- Model / document
- Debonair 819
- Document type
- User manual
- Language
- English
- Pages
- 10
- File size
- 1.8 MB
- Category
- Film cameras
- Document date
- Not specified in catalog
Search available document text
Find a term, then jump to its page in the original PDF. Image-only pages may not be searchable; check the PDF for exact wording and diagrams.
Page 4 · Read text
HOW TO USE FLASHLIGHT UNIT
                                         www.butkus.us
     . Inserting the Battery: With the thumb of
     the left hand push the projecting catch up-
     wards in the direction of the arrow, then
      press the reflector lightly downwards with
     the right thumb. Now remove the reflector
     and insert the battery, the positive connec-
     tion to the lef t. After this, insert the re-
      flector, first behind the lower lip, and then
    push with light pressure the projecting
      catch, until  it comes to rest.
   B.. Slide the metal base (9). into the accessory
     shoe (7).                                       ---.L-
   c.  Place the flash bulb (use AG1 bulb) into the     socket (8).                l1;7'l                          a  D . Set the shutter setting (5) at " ff "
   E.  Press the shutter release button (3) to take
     picture and the bulb with flash simult-
      aneousrv.
  F. Push the Ejector (1O) to remove the used
      bulb.
  *  Suggestion: To save your film, when use      flashgun, do not take plctures continuously,  tLl7
      (at least 30 seconds between each shot is                                           8      suitable  f or your camera).
h--   ^    I
View original page 4Page 5 · Read text
HOW TO USE THE CAMERA

   Set the operture according to the
vveather - Bright - Cloudy or Dull.
   Ascertain the distance from the
obiect to the camera and set the distance
scale accordingly.
  Now look through the view finder
and compose the picture; press the
shutter release slowly downwards. A
oicture is taken.
   Turn the winding knob until the next
number (of the film) is seen in the red
window. The above process will apply
until all 16 oictures have been taken.
                                                           A
  DON'T FORGET TO TAKE OFF
THE LENS CAPI
View original page 5Page 8 · Read text
www.butkus.us


Turn the winding knob until the film  is
completely wound into the take-up spool.
Open the camera as indicated above and
take out the exposed film for developing.
View original page 8
Page 9 · Read text
SOME SIMPLE SUGGESTIONS
 *   Remember to take off lens protec-
    tor before taking picture
  '  The sun must always be behind you
 *   Hold camera steadily and firmly
    against your face
 *   Press down the Shutter Release
    ge nuy
  '  Remember to wind your film on to
   the next number after snapping
   eacn prcture.

 *   Loading or unloading of film must always be done in a dark place. *   Do NOT snap pictures in the shade or where there is insufficient light                                          ;
    unless bulb used.
   Never take pictures at a distance of less than 5 ft.
 *   Do not take pictures of fast moving obiects.
   Alwavs clean the lens with a soft and smooth cloth.
                                               ---         ^ ^ --:2
View original page 9Page 10 · Read text
www.butkus.us


With your DEBONAIR camera
you can take  1 6  pictures
(Colour, BlackArVhite) in size
5'/. x 4% cm. on a single'roll
of No. |20  f ilm.
The photograph on the left
represents the actual size -   itcan of course be enlarged as
desired.
Colour films should be used
preferably on clear sunny days
only; and bulb is used indoors.
View original page 10
From the M. Butkus archive. Original publisher and archive notices are retained.
Check the model and edition against your equipment.
PDF verified 2026-10-10.