Film cameras
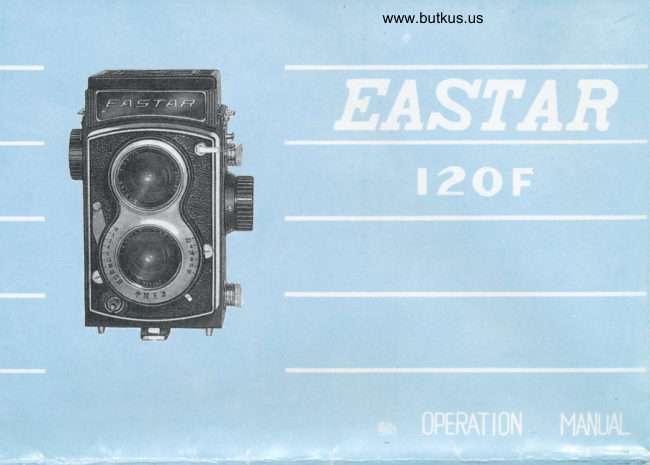
EASTAR 120F User manual
User manual for EASTAR 120F. 18 pages in English. Read the original PDF, download or print a copy without registration.
18 pagesEnglish5.1 MB PDF
Loading your manual…Open PDF directly
Document details
- Brand
- Eastar
- Model / document
- EASTAR 120F
- Document type
- User manual
- Language
- English
- Pages
- 18
- File size
- 5.1 MB
- Category
- Film cameras
- Document date
- Not specified in catalog
Search available document text
Find a term, then jump to its page in the original PDF. Image-only pages may not be searchable; check the PDF for exact wording and diagrams.
Page 2 · Read text
The ensuR Brand model 12OF Camera is a twin-lens reflex camera
which is adapted in taking both indoor and outdoor photographs.
      No matter whether the objects are portraits, still lives or
sceneries, and whether they are far off or nearby. clear and perfect
pictures can always be taken.
View original page 2Page 3 · Read text
www.butkus.us

   SPECIFICATIONS AND CHARACTERISTICS
1. Lens: F3.5, focal length 75 ffiffi, 3-unit 3-element lens, with
    purple antireflective coating.
2. Shutter: K type central shutter, exposure time from B, 1-1/ 3OO
    second, with synchronizing device of flashlight and self-timer.
3. Viewfinding: Twin-lens reflexive viewfinding, viewing lens and
    photographic lens adopt the same optical system.
4. Focusing: Focusing on frosted glass screen, automatic range-
    finding.
5. Film-winding: Film-winding knob, red window film counting.
6.  Film: In using 120 Film,12 6XO mm pictures, or 16 6x4.5 mm
    pictures may be taken.
View original page 3Page 6 · Read text
www.butkus.us
   NAMES OF MECHANICAL PARTS
1. Direct viewing frame
2. Viewing cover
3. Flash socket
4. Viewing lens
5. Aperture setting button                    19  18
6. Self-timer lever
7. Locking catch for rear cover
8. Shutter release button
9. Photographic lens
1O. Shutter setting bufton
1 1. Shutter lever
12. Film winding knob                                                                                                                     Digitally signed by Mike Butkus
                                                                                                                                             DN: cn=Mike Butkus, o=Butkus camera manuals,
                                                                                                                                                             ou=butkus.org, email=mike@butkus.org, c=US13. Rack for carrying belt         Mike Butkus Date: 2021.09.25 23:18:06 -04'00'
14. 17: Film spool end-buttons
15. Focusing knob
1 6. Rear cover


                           t2
View original page 6Page 7 · Read text
LOADING AND UNLOADING OF FILM
1. Press inward the safety lever 19 on the border of the rear cover
open-close disk 18, and turn it loose in the direction of airow head
p  pointing "open", the rear cover will be opened.
2. As shown in the picture, insert the unsealed film into the lower
    film chamber. By the same method, insert the film spool core
    into the upper film chamber.
3.  Insert the leading end of the protective paper into the longer
   groove of the spool core. Turn slowly winding knob 12 and let a
    short length of the paper be wound on the spool, close the cover,
    turn the open-close disk 18 according to the direction of the
   arrow pointing "close" until the safety lever l9  is locked. The
    loading of the film is now accomplished.
View original page 7Page 10 · Read text
www.butkus.us

4. After the rear cover is tightly locked, move upward the catch pin
   2o of the window cover plate 21 on the rear cover to expose
   the red window. when taking 16-frame pictures, note that
   when the numeral "1" appears at the window marked "16", it is
    the first frame of the film. Wind the film after each picture, and
    the numbers of pictures will be seen from the red window.
Note:- When the last picture has been taken l"12" or "l6" appears
   at the respective red window), keep on turning the winding
   knob, and the rear cover may only be opened when all the
    protective paper of the film has been wound on the spool.
  when 16 pictures are to be taken by the 12o Firm, put the
   framer 22 on the place indicated in the photograph.
           m


               l1
                              I      JI-            q
View original page 10Page 11 · Read text
lt


   VIEW_FINDING AND FOCUSING
1. Push upward the direct view-finding frame as shown in the
    picture. When taking 6 x 6 mm pictures, scenes seen on the
    entire froSted glass screen are the boundaries of the picture to
   be taken. When taking 6x4.5 mm pictures, the boundaries of the
    the picture should be between the two heavy red lines on the
    frosted glass screen.
2. After the distance is set, the view-finding cover may be pushed
   down when finding views directly through the view-finder frame.
3. At view-finding, the eye must draw close to the small aperture
    of the view-finder frame, scenes seen directly will be the range
    of the picture.
Note:- The direct view-finder frame may only be used when
    taking 6xO mm pictures.
View original page 11Page 12 · Read text
www.butkus.us
                                   pictl4r_e5 Jl 6 framgs!_ and the objectWllqn taking 6-4.5 _mm
happens to be tall and narrow, it is better to set first the focal
distance and then find the view by placing the camera sidewise
as shown in the picture (in this case, the scenes seen on the
frosted glass screen will be inverted.)

          fqc


                                                                                                                                                                           )t*
View original page 12Page 13 · Read text
5.  By turning the focusing knob 15, when the image of the object
    to be photographed is very sharp, the correct distance is thus set.

    In the course of focusing, when it is necessary to see clearly the
   image by means of the magnifying glass, the magnifying glass
     will arrrtomatically jump up when its locking catch is plucked.
   When not in use, the frame of the magnifying glass can be pushed
   down to lock it in its original place.
View original page 13Page 14 · Read text
www.butkus.us


     DEPTH OF FIELD
The range of the depth of field may be read from the depth-
of-field scale engraved on the focusing knob.
As shown in the picture, when the distance is 5 meters and the
aperture selected is F 1 1, the depth of field will be approximately
from 3.4 to 8.9 meters, and scenes photographed within this
range will be clear.
With a fixed object: the smaller the aperture, the greater the
depth of field will be.
with an unchanged aperture: the farther the distance; the greater
the depth of field will be.
View original page 14Page 16 · Read text
www.butkus.us

    SETTING THE SHUTTER SPEED, APERTURE AND SHUTTER
    LEVER
   set the shutter setting button 1o and the aperture setting
    button 5, as shown by the arrow-indicated directions.
   After the shutter speed has been set; actuate the shutter
   winding lever 11 , as shown in the photograph. The picture
   may only be taken after the shutter is wound.
    APPLICATION OF THE SELF-TIMER
  As indicated by the arrow shown in the photograph, gently
   tighten the self-timer lever. At  picture-taking, the timer
   mechanism will run by itself, lasting 8-12 seconds.
Note:- Do not force the self-timer lever in the opposite direction
    after the timer has been tightened, oS this wilfi damage  its
   mechanism.
View original page 16Page 18 · Read text
www.butkus.us


                        Flash Mechanism
                                                         .x,       EAsrARBrand t20FCamera is suitable to flash photograph                                                 (m-
ultifine flash lamp or electronic), for all shatter speeds the conne-
cted machanism may be reached synchronism.
    For use, as shown in the figure, plug the frash light-plug into
the 'X'  flash rocket. When use 'M' flash light photograph, still
use the 'X'  flash rocket. shutrcr speed will be limited to   ,/,  o
sec. or longer exposure time.
View original page 18From the M. Butkus archive. Original publisher and archive notices are retained.
Check the model and edition against your equipment.
PDF verified 2026-10-10.