Film cameras
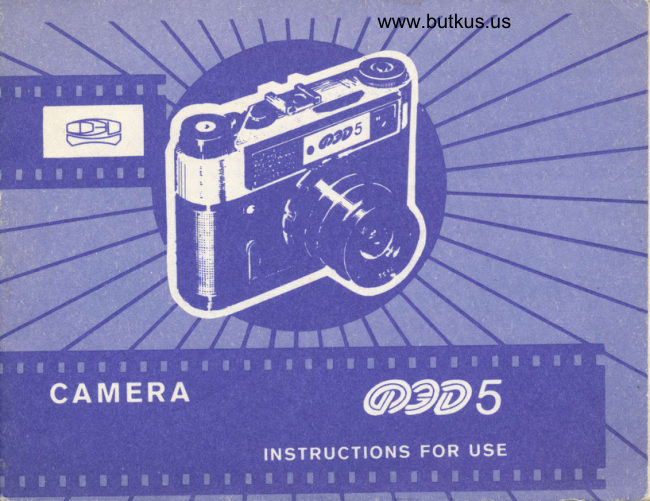
FED 5 User manual
User manual for FED 5. 20 pages in English. Read the original PDF, download or print a copy without registration.
20 pagesEnglish5.4 MB PDF
Loading your manual…Open PDF directly
Document details
- Brand
- FED
- Model / document
- FED 5
- Document type
- User manual
- Language
- English
- Pages
- 20
- File size
- 5.4 MB
- Category
- Film cameras
- Document date
- Not specified in catalog
Search available document text
Find a term, then jump to its page in the original PDF. Image-only pages may not be searchable; check the PDF for exact wording and diagrams.
Page 2 · Read text
IMPORTANT:
      Set the shutter speeds only when the shutter has been cocked- Do
      not furn the exposure head in the interval between <30> and <1>.
      Failure to complywith these requirements results ln breaking of
      the camera-

      Slnce efforts are contlnually rnade to improve the reliability and
     performance of the producg minor changes may be introduced
     without special notlce.


@ Vneshtorgizda\1992
View original page 2Page 4 · Read text
Venmo @mike-butkus-camera  Ph. 2083
PayPal Name  Lynn@butkus.org      www.PayPal.me/lynnbutkus
View original page 4
Page 5 · Read text
1. GEIYERALDIRECTIONS
camera FED 5 is intended for amateur and professionar shoodng on stan-
dard black-and-white and colour perforated fitm 35 mm wide.
The carnera is simple in handling. Fulfilment of the rules set forth ln thc
present manual ensures its reliable operation for many years.
while handling the camerg do not exert excessive efforts, protect it from
dust, avoid to touch its optics.
The design of the camera is protected by the USSR lnrrcntors cergficates Nos
773562,313L94.
View original page 5
Page 10 · Read text
a
I                                     www.butkus.us
I

                          5. PREPARATION FOR
                  OPERATION
          Prenaration of the camera for shooting
            coniists In its loading by the rnagazine with
            a film.
         The loading ls carrled out under ordinary
              soft lishtins condltions
          Undo Ihe screw fixing the camera ln the case.
          Remove the camera from the case.
            Raise the lock shackles of camera cover 15
               (Fis. 2) and turn them half-way round as far
              is theygo according to Fig.3.Thenpressing
           with thd thumbs on the cover, shlft it ln the
             dlrection of tn arnow' 8s shown in Flg.4, and
            take offthe camerL
            Put the magazine with a lilm into the camera
              recess. InsJrt the end ofthe film lnto the slot
              of the take-up reel as shown in Fig.5.
           Turning the shutter cocking lever H (Fig-z)
             pull                  -get  thifitm so that its peiforatlons should               onto the teeth of both rims of the feeding
          dnrm.
           Close the camera by the cover and push its
            edge underthe shleld.Turn the lock shackles
          half-way round and lower thern lnto the
              recesses.
View original page 10Page 17 · Read text
Whenphotographlngwlth a flash lamp. the
                                                     shutter should be set to the spced of tTlO s
                                            and the diaphragm value ls t6 be selecied ln
                                            accordance wlth the fllm sensltlvltv. the
                                                    djstance to the object to bc photographii and
                                                   rne tomp power.
                                          The camera has clip 6 (Fig. l) with cableless                                                    connectlon.
                                                 Priot to connectlng remove cllp stopoer 5
                                               and lnsert the llash t"n!p it the cilp as'shown                                           in fig; 13, thus lt li connect'ea to thc                                                synchronlzer contact
                                 The flash lamps can be connected and
                                                 disconnected with the shutter either cocked
                                                   or released.
                                        More detailed Information on shootinswith
                                                          the,flash lem.ps can be_obtained by refEriing
                                                              to the manual enclosed wlth the ldmps and t6
                                                    the manuals on photograohv.
                                On depresstng ihe rclea3e bufton the flash
                                           tamp is svltched on slmultaneouslywith the
                           www.butkus.us           shutter operation. The flash lamp cin be also
                                              swltched on with the aid of the automatic
                 Fig.13                         releasen
                                              VYhen phorographirry the film is nrltcd out of
                                      9e magazlne ard wound onb the lake-rp rceL                                                    lo neload the camena for the next shootiis the
                                                          fllm should be rcrvound back into the magfiine
l4
View original page 17Page 18 · Read text
www.butkus.us

As soon as you take pictures of 36 frames'
dlsconnect the shuttei mechanism. It can be
made by pressing on the edge o-f disconnector                                as far ltwlllili.r.  ij  tris. f4; downwardsgo and by hxlng tlie sleeve ln thls posltion'

While nressing on the sleeve, nsver move
aside tlie.cocklng lwer slnce this does not
allow the sleeve to be fixed-

 Then oress wlth a flnger on ravlnding knob                        Fig.14
 lO (fig. 2) and turnlt countercloclcrvise' A
 flnger-belng released, the knobJumps up.
 Turnlns the knob, as shown in Flg. 15'
 re*,indThe whole film into the magazine.
 While rervinding the film back the lens
 should be covered with a caP.
 'the end of rewinding is determined by the
 .tt"nsi of an effort rlquired for pulling the
 film 6nd out ofthe take-uP reel.
 Toprotect the film from accldental exposure'
 a" f,ii""i""A the camera at excessively bright
 iighti"g (e. g, under conditions of direct
 solar radiation).                                                Fig.15
                                                                          15
View original page 18Page 19 · Read text
Open the csmenl, as lt has been descrlbed        Iock lt locks Put the camerr lnto the ease end  above, and teke out the film magazlne.In this          tlx lt with a scncw.
  case thg plctune_counterwtlt beiufomatically       \Yhen closlng thc casc do not forget to shlft  set to the lnitlal positlon.                         the cocking lever to the transport positlon
 Cock the shuttef for connecting the shutter      To do thls, tlghten the lcver end to th:e shield.
  mechanisnr. Close the camera bf e cover and       In thls posltlon the lcryer will not hlnder to
                                                        close thc case.


                                      7. ACCEPTANCE CERTITICATE
  It is hercby ccrtlfied that camera FED 5: camera No66i1!WtensNo.
 meets the requfucments of the specittcations and is found fit for servlce.


                      Date of
.'Ir S.                  Signature of persons
                         In charge ofacceptance
View original page 19From the M. Butkus archive. Original publisher and archive notices are retained.
Check the model and edition against your equipment.
PDF verified 2026-10-10.