Film cameras
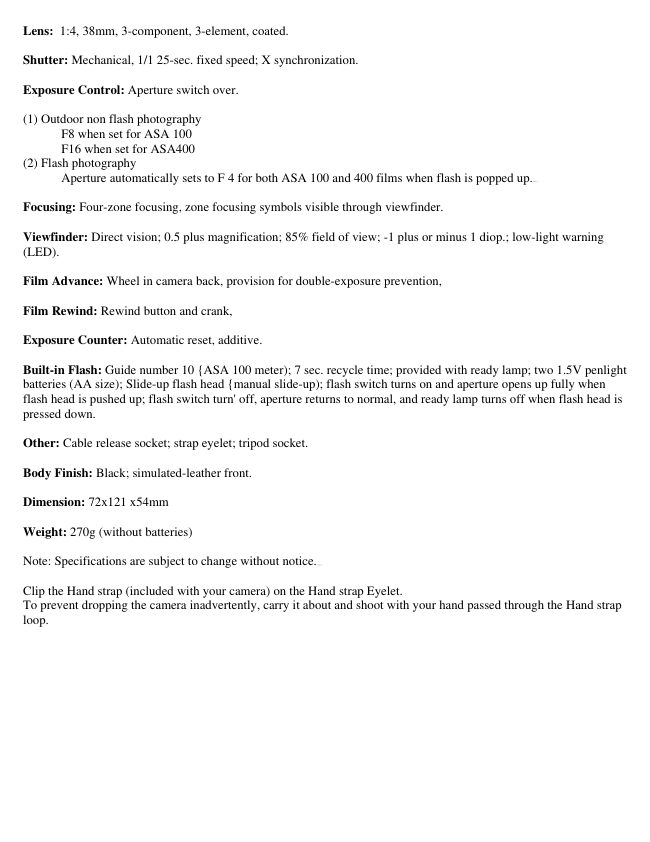
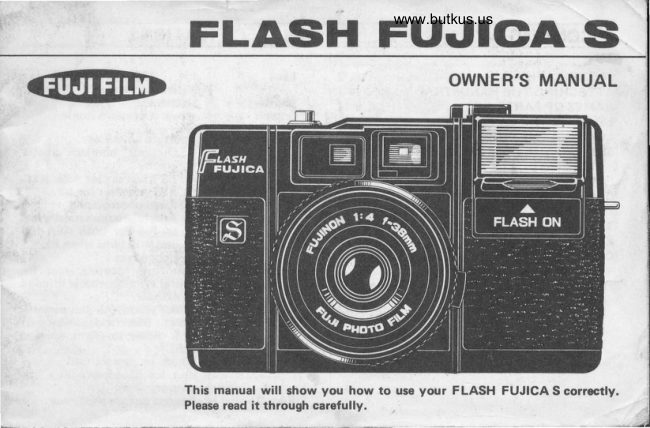
Fujica Flash S User manual
User manual for Fujica Flash S. 8 pages in English. Read the original PDF, download or print a copy without registration.
8 pagesEnglish0.6 MB PDF
Loading your manual…Open PDF directly
Document details
- Brand
- Fujica
- Model / document
- Fujica Flash S
- Document type
- User manual
- Language
- English
- Pages
- 8
- File size
- 0.6 MB
- Category
- Film cameras
- Document date
- Not specified in catalog
Search available document text
Find a term, then jump to its page in the original PDF. Image-only pages may not be searchable; check the PDF for exact wording and diagrams.
Page 2 · Read text
Lens: 1:4, 38mm, 3-component, 3-element, coated.

Shutter: Mechanical, 1/1 25-sec. fixed speed; X synchronization.

Exposure Control: Aperture switch over.

(1) Outdoor non flash photography
      F8 when set for ASA 100
      F16 when set for ASA400
(2) Flash photography
       Aperture automatically sets to F 4 for both ASA 100 and 400 films when flash is popped  up.4.butkus.org

Focusing: Four-zone focusing, zone focusing symbols visible through viewfinder.

Viewfinder: Direct vision; 0.5 plus magnification; 85% field of view; -1 plus or minus 1 diop.; low-light warning
(LED).

Film Advance: Wheel in camera back, provision for double-exposure prevention,

Film Rewind: Rewind button and crank,

Exposure Counter: Automatic reset, additive.

Built-in Flash: Guide number 10 {ASA 100 meter); 7 sec. recycle time; provided with ready lamp; two 1.5V penlight
batteries (AA size); Slide-up flash head {manual slide-up); flash switch turns on and aperture opens up fully when
flash head is pushed up; flash switch turn' off, aperture returns to normal, and ready lamp turns off when flash head is
pressed down.

Other: Cable release socket; strap eyelet; tripod socket.

Body Finish: Black; simulated-leather front.

Dimension: 72x121 x54mm

Weight: 270g (without batteries)

Note: Specifications are subject to change without  notice.4.butkus.org

Clip the Hand strap (included with your camera) on the Hand strap Eyelet.
To prevent dropping the camera inadvertently, carry it about and shoot with your hand passed through the Hand strap
loop.
View original page 2Page 3 · Read text
LOADING THE BATTERIES

* Always load the batteries before loading the film.

* Use two penlight batteries [AA-size). Alkaline-manganese batteries (Mallory MN1500 or Eveready E-91 ) are
recommended because they last long.

* Do not use rechargeable type nickel-cadmium batteries because they can overload and damage the camera's built-in
flash.
View original page 3
Page 4 · Read text
Before putting the camera away in its case, turn the Film Advance Wheel a little so that you can see the white line on
it.
This will lock the Shutter Release and prevent wasting battery


1. Remove the Battery Compartment Cover by pushing it out toward the camera back.
        2. Insert two penlight batteries, plus and minus ends correctly as illustrated in the Battery Chamber, then
       replace the  cover.4.butkus.org

         · Wipe both ends of the batteries clean with a dry piece of cloth before loading.

         · Use a pair of the same brand of batteries and always change the pair at the same time.

         · If you are not using the camera for some time, remove the batteries before putting it away because battery
       leakage can damage it.


LOADING THE FILM


        1. Open the Back Cover by pulling the Film Rewind Knob for Crank) all the way out.

                  · Always load the film in subdued light,

        2. Insert the film cartridge in the Film Chamber then push the Film Rewind knob back to its origins Position.
View original page 4Page 5 · Read text
3. Pull the film and insert the tip in the slot of the Take-up Spool.

                  · Make sure the film perforations engage the Sprocket Teeth.

        4. Turn the Film Advance and depress the Shutter Release. Repeat this cycle once or twice to make sure the
       film will wind. then close the Back Cover.

        5. Take up the film slack by erecting and turning the Rewind Crank slowly in the direction of the arrow, then
       fold the crank back to it's original position.

                  · Stop turning the crank as soon as it feels tight. Do not force it.

        6. While watching the Exposure Counter, turn the Film Advance and press down the Shutter Release. Repeat
        until the number "1" appears in the Counter. {The film is now in position for the first shot.)

               · The film is properly loaded if the Rewind Knob turns to the left while the Film Advance is being turned.


SETTING THE FILM SPEED SELECTOR


        1. Set the Film Speed Selector to "100" if you are using an ASA 100 film and to "400" if you are using an
     ASA 400 film.

         · Make sure the Film Speed Selector is set fully to the right or to the left.

        * The speed of your film is printed on the film  box.4.butkus.org
View original page 5Page 6 · Read text
FOCUSING THE LENS


        1. The lens is focused by measuring the distance from camera to subject with your eyes and setting one of the
      Zone Focusing Symbols on the Distance Ring opposite the Setting Mark.
The Zone Focusing Symbols represent the following distances:

(Person) About 1 meter (3.3 ft.) (good for taking close-up portraits)
(Two persons) About 1.5 meters (5 ft.) {good for taking close range pictures of people)
(Group of people) About 3 meters (10 ft.) (good for taking medium distance pictures of a group of people)
(Mountain) Beyond 3 meters 110 ft.) (good for taking distant scenes)


         · Focusing can be done while looking through the Viewfinder because the Zone Focusing Symbols are visible
        in the bottom right corner of the finder.


        2. Focusing can also be done with the distance scale engraved on the bottom side of the Distance Ring.

COMPOSING AND TAKING YOUR PICTURE
        1. Look through the Viewfinder and bring your subject in the center of the Viewfinder frame.
        2. To take your picture, press the Shutter Release gently down.
View original page 6Page 7 · Read text
TAKING FLASH PICTURES

Look through the Viewfinder and press the Shutter Release halfway down. If a red LED light (low-light signal) turns
on in the right edge of the Viewfinder, use the camera's built in flash to take your picture.


        1. Slide the Flash Head with your thumb (this automatically switch on the flash.)
        2. You will hear a soft hum for a few seconds then the Ready Lamp will turn on to tell you the flash is ready
        for firing.

        3. Focus the lens, compose your picture, and press down the Shutter Release. The flash will discharge when
       the shutter is tripped to give you a perfectly exposed picture.

               · Avoid putting your fingers in front of the Flash Lamp  Face.4.butkus.org


        4. The camera's built-in flash will let you take pictures from the following distances:


                                                       1 - 3 meters
    ASA 100 film
                                                                 (13.3 - 10 feet)
                                                                 1.5 - 5 meters
     ASA 400 film
                                                             (15 - 16 feet)
        5. After you are through shooting, turn off the flash switch to save battery power by pressing the Flash Head
     down to its original position.

END OF FILM

After You are through exposing a roll of film {check the Exposure Counter to make sure it shows the number "24" if
the film in the camera is a 24-exposure roll), rewind it into its cartridge and unload it as follows:
View original page 7Page 8 · Read text
1. Press in the Rewind Button, erect the Rewind Crank and turn it in the direction of the arrow until you feel a
      sudden release of tension. The film has now been rewound into its cartridge.

        2. Open the Back Cover by pulling the Rewind Crank all the way out and un load the film cartridge

         · Take the exposed film to your photo finisher as soon as possible.

CAMERA CARE
        1, Periodically, dust off your camera and wipe it clean with a piece of soft, lintless cloth. Above all, keep the
        insides clean,

        2. Keep your fingers off the lens glass, viewfinder window, eyepiece glass and light receptor window. These
       glass surfaces are cleaned with FUJI Lens Cleaning Fluid and FUJI Lens Cleaning Paper.

        3. If you are not taking pictures for some time, remove the batteries and keep the camera and batteries where it
         is cool, dry and free of dust, preferably in separate, ridded cans together with some sort of desiccant, such as
         silica gel.

        4. During the hot summer months, do not leave your camera in the car, on the beach, or in damp places for a
       long period. In winter, especially in the mountains and at ski resorts, do not let your camera get too cold.

        5. To protect your camera lens, put the lens cap on each time you finish shooting.

        6. Your camera is a high-precision instrument. Do not wet it or drop it on the floor. In case it becomes wet
       with rain, wipe off all moisture with a piece of dry cloth.
        7. In case of mechanical or other trouble, take your camera to your repairer. Do not try to repair it yourself
       unless you are an expert because it contains a high voltage circuit for setting off the flash.

        8. If you are not using the camera flash for a long time, set it off periodically to prevent the condenser from
        deteriorating.
View original page 8Related documents and language editions
From the M. Butkus archive. Original publisher and archive notices are retained.
Check the model and edition against your equipment.
PDF verified 2026-10-10.