Film cameras
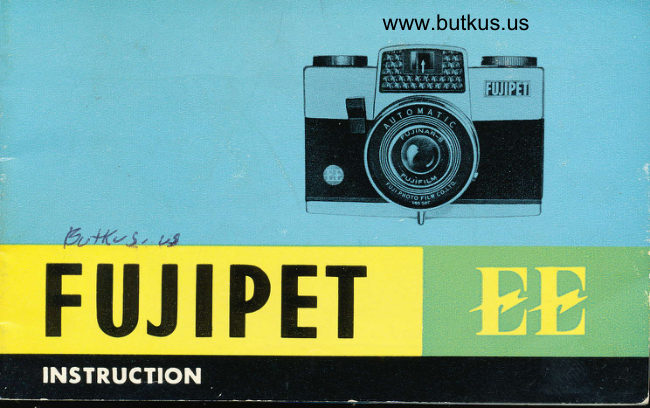
Fujica FUJIPET EE User manual
User manual for Fujica FUJIPET EE. 13 pages in English. Read the original PDF, download or print a copy without registration.
13 pagesEnglish3.6 MB PDF
Loading your manual…Open PDF directly
Document details
- Brand
- Fujica
- Model / document
- Fujica FUJIPET EE
- Document type
- User manual
- Language
- English
- Pages
- 13
- File size
- 3.6 MB
- Category
- Film cameras
- Document date
- Not specified in catalog
Search available document text
Find a term, then jump to its page in the original PDF. Image-only pages may not be searchable; check the PDF for exact wording and diagrams.
Page 4 · Read text
www.butkus.us
        DESCRIPTIOI\ OF PARTS

                      l.  Shoe for flash gun
             2.  Yiewfinder
             3.  Shutter release button
             4. Under exposure u'arning   rr-. ark
             5. Camera support leg
             6. FiIm winderI            7.  Electric eye
            B. Lens
             9.  Flash gun cord connection terminal                    ,
[,
View original page 4Page 5 · Read text
II,MS TO BE T]SET)

FUJIPET EE uses 120 size film.   Films having speeds of
ASA numbers between B0 and 100 are best for FUJIPET
EE. Ask for FUJI NEOPAN SS Roll Film, ASA 100.


                               (I(odak Verichrome Pan
                               is also suitable for use
                            with Fujipet EE.)
View original page 5Page 6 · Read text
www.butkus.us
 OADII\G THE CAMERA

Load your camera by following
the sequence as illustrated, and
do it in the shade.


                      To open the camera back,
                            loosen the tripod socket
                                screw by turning it counter
                                       clockwise.
View original page 6Page 9 · Read text
O()                          9                         t0
Turn film winder and     Put camera back into    Advance film until figure
                                                                  sets into vierv in theadvance fiim a  little      place, slipping  it  in      " 1"                                                         film counter window onto make sure that film     along the groove in                                                the camera back. After
advances properly.          the direction of arrow,    each exposure, advance
                  and tighten tripod     film until next number
                                                  appears in the window.                          socket screw.                                             The numbers run I to I2,
View original page 9Page 11 · Read text
PERTURE

As you look into the viewfinder with the camera held to bright
subjects, the electric eye moves the needle to the left, and with
the camera held to dark subjects, the needle moves to the right,
and sets automatically the aperture (from  ll  to 22) tor correct
exposure.
All you have to do is just press the shutter button, and it
will give you a fine picture.
But, toward the evening or on a dark day, the needle moves
down to the red marking at the bottom right, and n'arns you
that the picture will receive under exposure.
View original page 11
Page 12 · Read text
www.butkus.us

The len s speed   i s  I 1, an d the   f ocal length is 70 mnr.   f he
alrerture range is  l l to 22 continuous, and the shutter speed
is  I /60 of a second.


     Correct Exposure                                    [, nder-exposure
View original page 12From the M. Butkus archive. Original publisher and archive notices are retained.
Check the model and edition against your equipment.
PDF verified 2026-10-10.