Film cameras
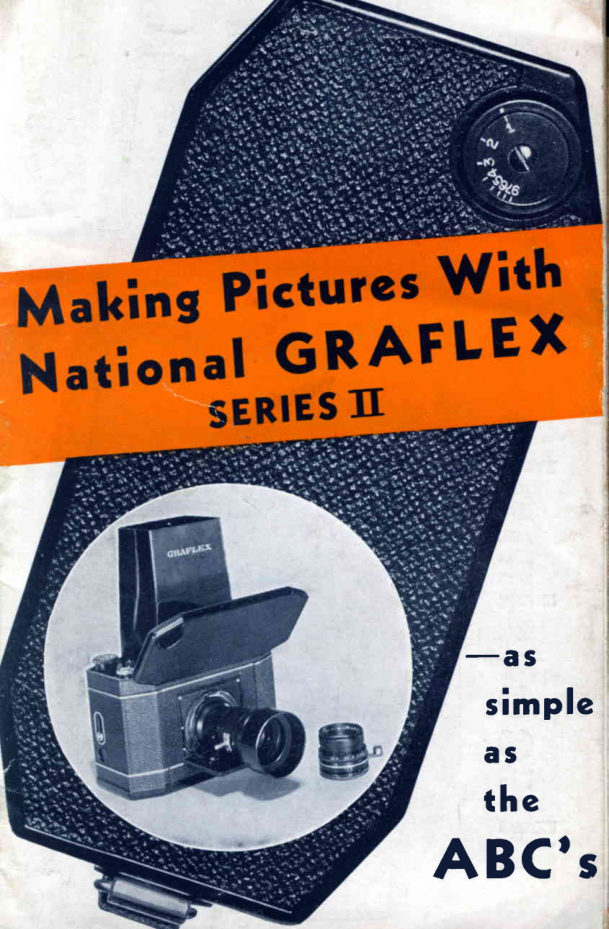
GRAFLEX NATIONAL Series II User manual
User manual for GRAFLEX NATIONAL Series II. 7 pages in English. Read the original PDF, download or print a copy without registration.
7 pagesEnglish1.1 MB PDF
Loading your manual…Open PDF directly
Document details
- Brand
- Graflex
- Model / document
- GRAFLEX NATIONAL Series II
- Document type
- User manual
- Language
- English
- Pages
- 7
- File size
- 1.1 MB
- Category
- Film cameras
- Document date
- Not specified in catalog
Search available document text
Find a term, then jump to its page in the original PDF. Image-only pages may not be searchable; check the PDF for exact wording and diagrams.
Page 4 · Read text
he National  Gra flex
   5 in the directionof arrow,lift upwardon knob No. 7 and turn
    thepointeruntil it is set betweenthe figure9 and the letter"S"
   (nearer"S") on the dial.
   Now releasebuttonNo. 5 and turnknob No. 6 clockwiseuntil,
   withoutstrain,it turnsno further.The pointeron knob No. 7
     will now point to the "$'l position for your firstpicture.
   NOTE:  Beforeclosingeitherthe lens door or the top cover,
   place No.  l, the mirror set lever, in position nearestto you.
   Turnthe focusinglevet to the lowest position belore closing
    the lens into the camera.


       Flltrrr rnd Cat:


                 Sunrhrde                                             Canying Cases
View original page 4Page 5 · Read text
Thr ee simple cycles  fios l


NATIONAL  GRAFLEX CONTROLS GIVE MORE
  No. 1, the mirrorset lever,givespositionto a real Graflexmirror.
  No. 5, the film tighteningdevice, givesabsolutelyllat exposuresurfaceto the film.
  No.7, the film measuringmeter,givesten largepictures(2* t 2i) on an 8-exposure
     roll of film.              www.orphancameras.com
View original page 5Page 6 · Read text
real GRAFLEX pictures

       GETTING SET


  Open lens door downward into firm position.      Note:  Focuswith the lens wide open-that is,
  Open top cover.                                with 3.5 oppositethe white guide mark on the
  No. I  is the mirror set lever.Set it in position    lensmount. You will give depth and brilliancy
  nearestto you. See that markeron No. 2 is at     to your averagepicture by turningthe knurled
   "1" (lnstantaneous).                                                      ring on the lensmount,afterfocusing,to 1 1 . Use
  No. 3  is the shutter winding knob. Wind  lt                                                  the ExposureGuide for picturesto be taken un-  clockwiseas far as possible.
                                               der unusuallight conditions.
  You are now all sct.


       ALL  SET-TAKE  THE PICTURE

             No.4  is the release.Prcss it way down. As simpleas that-your pictureis taken.

      THE NEXT PICTURE


   ln taking the picture, No. 1 moved forward.    (Automatically the pointer on the film meter,
   Rcsct No.  I to position nearestyou.            No. 7, has turned and is now pointing to the
   No. 5 is film lock. Rclcase in directionof arrow.   numberof the next pictureto be made. For the
  No.6 is the film winding knob. lVind   it clock-    tenth and lastpictureit will again point to "S".)
   wise until, without strain, it turns no further.   Wind No. 3. You are now all set.
View original page 6Related documents and language editions
From the M. Butkus archive. Original publisher and archive notices are retained.
Check the model and edition against your equipment.
PDF verified 2026-10-10.