Film cameras
Ihagee Auto-Ultrix User manual
User manual for Ihagee Auto-Ultrix. 15 pages in English. Read the original PDF, download or print a copy without registration.
15 pagesEnglish0.7 MB PDF
Loading your manual…Open PDF directly
Document details
- Brand
- Ihagee
- Model / document
- Ihagee Auto-Ultrix
- Document type
- User manual
- Language
- English
- Pages
- 15
- File size
- 0.7 MB
- Category
- Film cameras
- Document date
- Not specified in catalog
Search available document text
Find a term, then jump to its page in the original PDF. Image-only pages may not be searchable; check the PDF for exact wording and diagrams.
Page 2 · Read text
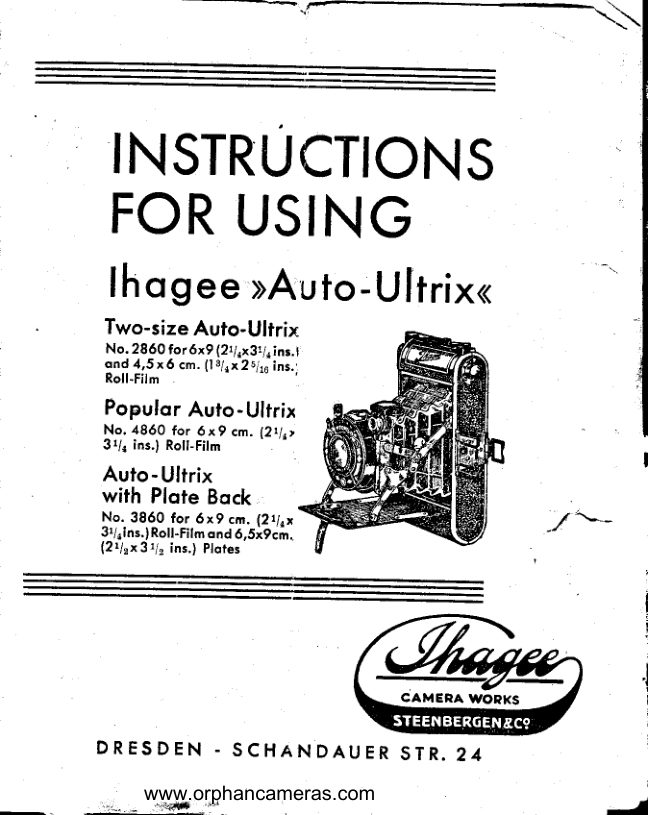
INSTRUCTIONS
FOR USING

lhagee »Auto-Ultrix«

Two-size Auto-Ultrix

fond 4,56 em. (1],x 21 ine
Roll Fim

Popular Auto-Ultrix
No, 4860 for 6x9 em. (28,7

38, Ina) Roll
Auto-Ultrix
with Plate Back

CAMERA WORKS
STEENBERGENZC?

DRESDEN - SCHANDAUER STR. 24

rphancameras.com
_ ww. orp)

SY

4~
View original page 2
Page 3 · Read text
fice} Aulo-Utrix No, 3860 equpped for both plates and
Notice! Joitimts NG, 206 cou

Opening the Camera. — Hold the camera in the hand and
ress with the thumb on the knob “a” below the film winding key,
then the baseboard will spring open and the camera is ‘aulo,
matically focused for “infinity”. It is advisable fo fill the camera
slightly towards the front so that the baseboard will come out far
enough to allow the bosses “b” of the side struts fo snep info place,

Loading and Unloading. — Be sure that the shutter is closed
before putting in the film. It is further necessary fo decide whether
fone prefers eight 6><9 cm. (21/4><31/ ins.) or sixteen 45><6 cm,
(194 ><25/.6 ins.) exposures on a 6><9 cm. (21/4><31/ ins.) roll Blin
If the 6><9 cm. (21/4><31/s ins.) size is preferred, remove the mask
in the gate after opening the camera, as described below. The pointer
below the clearance is then set to “A” so that the mask can easily be
fied below and removed from the body. For subsequent inserlion of
the mask the top groove is placed info the slot above the gate, the meas
slightly pressed on below and the pointer set to “Z”. Then hold the
camera, handle upwards, as shown in Fig.2, press the knob “c”'in the
direction of the pointer and open the back “d”. Place the roll film
with the printed side up on the spring of the lower emply com.
Parlement and press the spool lighily into the camera, As shown

3

—
View original page 3
From the M. Butkus archive. Original publisher and archive notices are retained.
Check the model and edition against your equipment.
PDF verified 2026-10-10.