Film cameras
JEM Camera User manual
User manual for JEM Camera. 9 pages in English. Read the original PDF, download or print a copy without registration.
9 pagesEnglish1.0 MB PDF
Loading your manual…Open PDF directly
Document details
- Brand
- Jem
- Model / document
- JEM Camera
- Document type
- User manual
- Language
- English
- Pages
- 9
- File size
- 1.0 MB
- Category
- Film cameras
- Document date
- Not specified in catalog
Search available document text
Find a term, then jump to its page in the original PDF. Image-only pages may not be searchable; check the PDF for exact wording and diagrams.
Page 1 · Read text
www.butkus.us
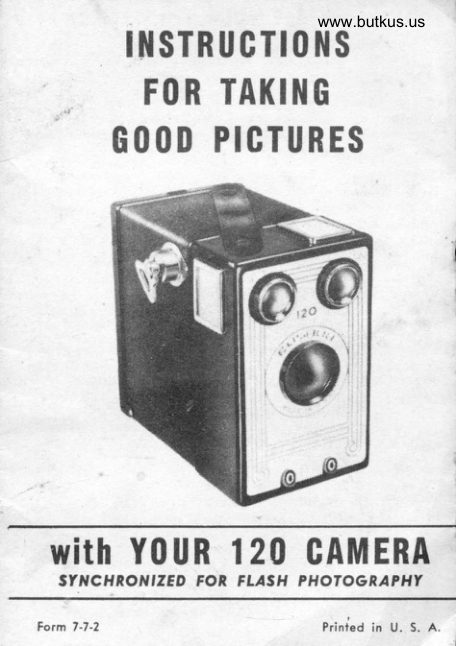
          ilt sTR u GTt0l{ s
         FlI R TAKIlI G
    GlIlID PIGTURES


With YtlUR I2O CAMERA
 ST'{C'{TO'{'ZED FOI FLASH PHOTOGRAPHY

                                           Printed in U, 5. A.
View original page 1Page 2 · Read text
HOW TO USE YOUR I2O CAMERA
   With the following instructions you will become
thoroughly acquainted with your camera and be
able to take excellent pictures immediately.
  The camera takes eight 2/4" x 3/4" negatives on
standard size 120 roll film, with or without the Flash
Unit. Pictures can be taken indoors or outdoors at
any time, and may be enlarged.
  Taking good flash pictures is easy. Snapshots may
be taken of children in the home, or friends who visit
in the evening, or even outdoors under unfavorable
photographic conditions. The cost of modern flash
bulbs is small compared to the satisfaction of securing
good pictures whenever you want them.
       TOADING THE FILM
  lVever lood your eornero in direct sunlighl.
   Grasp the ridges on the sides of the camera back
between the thumb and middle finger of one hand.
Press the camera body just ahead of the latch on the
top of the camera back with other hand and open.
Turn the winding key in the direction shown by the
arrow and pull out at the same time. Film guide will
then slip out of the body.
   Make sure the slotted end of the empty film spool
is exposed through the large hole in either spool
bracket. Place the fresh spool of film in the other
spool bracket so that the paper rolls off the top of the
spool in the direction of the film plane (directly be-
hind the large opening). Break seal and feed end of
film paper behind film plane, inserting tapered end of
paper into slot of empty spool and turn spool between
thumb and forefinger, making one complete turn.
(Illustration.) Put film guide back in body with slot
View original page 2Page 3 · Read text
of empty spool to key side of camera,www.butkus.usmaking sure
winding key is in."Out" position. Close back tightly
and turn winding key in direction of arrow, pushing
in at the same time to engage film spool. Turn film
 until No. 1 appears in red window. You are now
 ready to take your first picture.


                  www.butkus.us

          Above lllustrates Film Guide.
        TAKING PICTURES
  Whether or not flash unit is used, make sure the
stop is at "I". (The "T" setting is used only for tak-
ing time exposures. ) Hold camera firmly against bodyat waist level. Sight your subject in the view finder
and, when ready, press shutter lever gently but firmly
down as far as it rvill go; then let it return. (For time
exposure, rest camera on a solid surface and hold
down firmly. ) You have taken your first picture.
View original page 3Page 4 · Read text
I
I  mow turn the winding key until No. 2 on the film appears in the red window at the back of the camera.
 After each picture, make sure to turn film to the next
nurnber to avoid the possibility of double exposures.
You will get eight pictures to each roll of film.
           nru 3ro}                         vtlilc^t                                        v|lw ;rNotr
       xrY tol
     NTT WIND


     t{ottzoNrAl
     Yt:w itNDtl


                                              coNxrcrotJ
                                                    tol
                                               GUN          Mike Butkus   DigitallyDN:email=mike@butkus.org,Date:cn=Mike2025.01.16signedButkus,by01:01:00Mikeo, ou=Butkus.org,Butkusc=US-05'00'
                                              'LAIH
   After you have taken eight pictures, continue
winding until all the paper is wound on the spool
engaged by the winding key. Then remove film guide
by grasping the ridges on the sides of the camera
back between the thumb and middle finger of one
hand. Press the camera body just ahead of the latch
on the top of the camera back with other hand and
open. Turn the winding key in the direction shown
by the arrow and pull out at the same time. Film
guide will then slip out of the body.
  To take wider pictures, turn the camera with
winding key topside and sight with the finder then
showing.
View original page 4Page 5 · Read text
Venmo @mike-butkus-camera  Ph. 2083
PayPal Name  Lynn@butkus.org      www.PayPal.me/lynnbutkus
View original page 5
Page 7 · Read text
INSERTING THE BATTERIES
  Remove the reflector from the battery case. Push
in and twist the base cap. It will then remove easily.
Insert two (2) "C)" size Photo Flash Batteries, metal
tips both facing toward the lamp socket. Replace base
cap. Snap reflector back on battery case.
  Always use fresh dated photo-flash batteries.
  Replace batteries every three months, or after every
100 flashes, whichever is sooner. Remove batteries
when not in use.

   ATTACHING UNIT TO CAMER.A
  Plug Flash lJnit securely into camera connectors
as shown in illustration, with reflector front (A) in
direct parallel with front of camera.

  .      INSERTING THE BULB
  The Flash Unit must be pushed securely into the
canrera before any bulbs are screwed ints the lamp
socket. Screw the bulbs or adapter firmly into the
socket. Be sure unit is pushed in securely and held
firmly, as sho*n in illustration.
View original page 7
Page 8 · Read text
www.butkus.us


   ll<lld your Clarnt-ra and F'lzish l-rnit as showrr whcn
rvinding fihn and changing bulbs.
        BULB CHART GUIDE
               Bulb Size        RecommcndationDirla n cc
                                       to  Subiect
               Sylva nia S 25                         8 to l2 ft.             G.E., w. #s
                        8 to 12 ft.               Sylva nia fr 0
            Sylvanie S40        l2 to l5 {t.
            G.E., W. #rl       l0 to l2 {t.
    Return dcfcctivc bulbs to bulb rttanufacturer.
    FOR BEST R,ESULTS, FOLLOW
       THESE SIMPLE RUTES
    Don't load or unload camera in dircct sunlight.
    Attach paper leader of new film to empty spool,
    firmlv and evcnlv.
View original page 8Page 9 · Read text
Keep lens and inside of camera free from dust.
   To clean lens, use soft cloth.
a  Wind film immediately after\taking each picture   .
a  Always take outdoor picturei with sun at your
    back.
   For indoor flash pictures, leave room lights on.
   Be sure to follow distance'recommendations.
   Hold camera level and press shutter release with-
   out moving camera. Slightest moveme nt may
   cause blur.
   Don't try to get too much in one picture. Take
   time to compose the subject in finder and select
   backgroun{s carefully.
   Wherever you-go, take your camera along. The
    snapshot of today is the treasure of tomorrow.
   Don't hold camera in hand for time exposure.
    Place on solid support.
                                                                                                                               'fl
      euARANTEE sN$s7!
          Thir camcra ir unconditionally guaranfrcd againri A     dcfcclivc workmanrhip and matcrial for a period ol  g    one y.ar. For faclory tervicc. relurn camara fo  g
    addrcs bclow, wilh thir guaranlco atlachod and 50 A     c.nlr in coinr or tlampr lo covor thc cosl of
     handlino and rhippinq.'SHOULD THERE BE REPAIR'S
    NECESEARY, NOi DU: TO FACIORY DEFECTS.
   YOU WILL BE NOTIFIED OF THE AMOUNT BY
     POST CAR,D. WHEN THIS ADDITIONAL AMOUNT IS
    IECEIVED 8Y US, YOUR CAMERA WILL IE FOR.
   WARDED TO YOU POSTPAID.
       JEM CAMERA CO.
                   Divirion ol Thc J. E. Mergoll Co.
              304.358 JELLIFF AVENUE
             Newark 8, N. J., U. S. A.
View original page 9From the M. Butkus archive. Original publisher and archive notices are retained.
Check the model and edition against your equipment.
PDF verified 2026-10-10.