Movie cameras & projectors
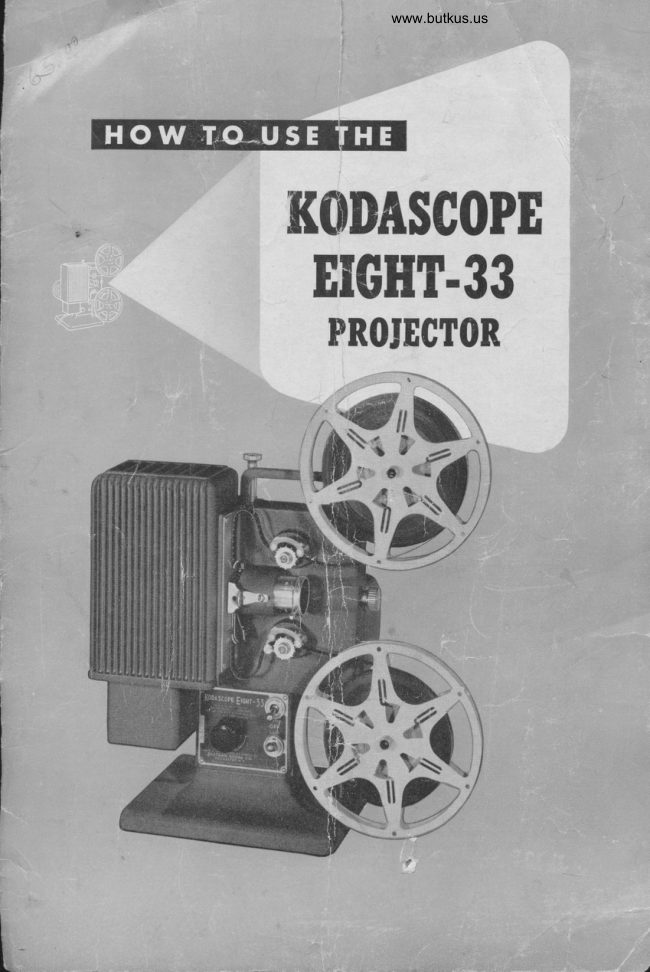
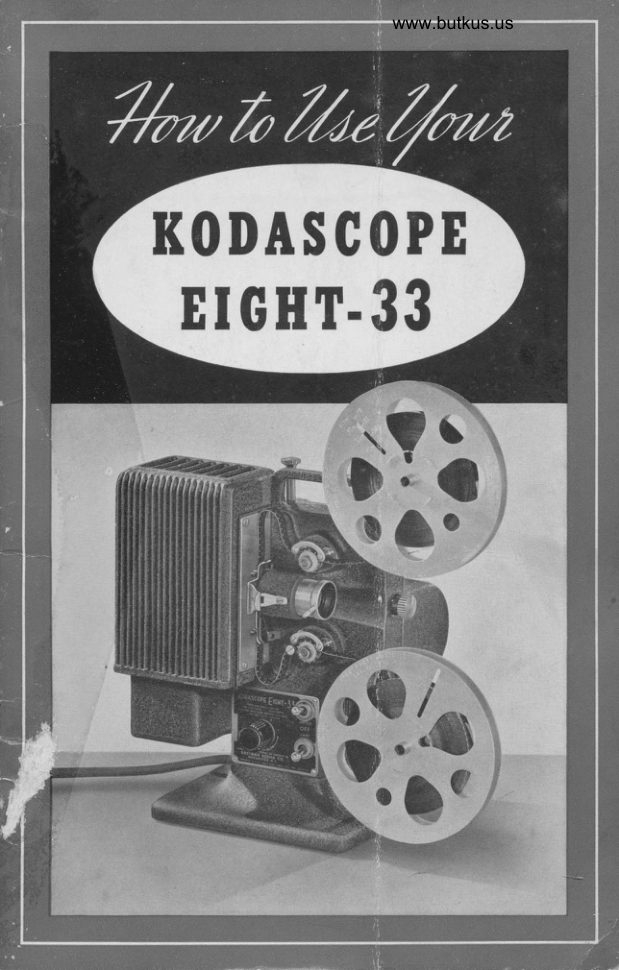
Kodak Kodascope Eight - 33 movie projector User manual
User manual for Kodak Kodascope Eight - 33 movie projector. 15 pages in English. Read the original PDF, download or print a copy without registration.
15 pagesEnglish3.1 MB PDF
Loading your manual…Open PDF directly
Document details
- Brand
- Kodak
- Model / document
- Kodak Kodascope Eight - 33 movie projector
- Document type
- User manual
- Language
- English
- Pages
- 15
- File size
- 3.1 MB
- Category
- Movie cameras & projectors
- Document date
- Not specified in catalog
Search available document text
Find a term, then jump to its page in the original PDF. Image-only pages may not be searchable; check the PDF for exact wording and diagrams.
Page 4 · Read text
IODASCOPT EIGI|T.33 PROIECTOR


      Molor Switch, To start the mechanisrn, push the voron
         S\\fTC]H LIP.
     Lomp Swifch. To  light the pro.jection larnp, push the LArrp
       slrrcu  dorvn. Since the motor drir.cs the fan which keeos the
      lamp frorn ovcrheating, the circuit is arransed so that thr lanp
             lill  not light unless the motor is also turned on.
      Speed Control Knob. Turn thc spEED coNTRoL xNos clock-
         lvise to increase the speed of projection, countcrclockrvise  to decrease
        the speed.
          CAUfION: Never 3top the molor by meons of the Speed Conkol Knob. Such procedure
          would rtop th€ ton ond holt the bldst oI oir needed to.ool  the lomD,
      Power Supply. The Kodascope Eiqi r-33 Projecror can bc operated
       on either alternatins (25 to 60 cvclc) or direct current,  l)ut must not
          lte operated on a line voltagc higher than 125 volts nor lower than
       100 r'olts. If the voltage of vour line is not known, inquire at 1.our
        Iocal electric service cornpanl'.
View original page 4Page 6 · Read text
?


Room llluminofion. Bcfore the Kotlascope is usecl. thc rootn shottlcl
be arrangcd and darkened suficiently to enalrlc thc Koclascope to
project a lrilliant image on the scrccn. This does not mear) that thc
room must l;e totally dark. In lact if the lights are arrangecl properly,
the illumination may l;c sullicicnt to pcrmit thc reading of ordinary
nervsprint after thc eyes of the occupants have become accustomed to
the subdued lighting.

SETT''VG UP THE KODASCOPE AND SCREEN
   1. Place the Kodascope on a firm stand or table.
  2. Set up thc screen so that its center is on a line rvith, or a littlc
highcr than, the projection lens of the Kodascope.
   3. Connect the polver cord to an clectric outlet.
  4. Start the lnotor; turn on thc l:rmp and adjust the speed of the
motor b1'turning thc spccd control knob until there is no flicker on
the scrcen. This rvill avoid unnecessarl'racing of the Kodascopc and
rrill provide an adequate flow of air for coolins the projection lamp.
   5. \Vith the motor running, move the Kodascope and position
the light on the screen. Itotate thc pRoJECTToN lerus by means of the
focusing pin until the margrns
of the lighted area are sharp. If
the liqhtcd erca is nul the riqht
width, change the distance irc-
tween the Kodascope and
the screen. The  closer the
Kodascope  is to the screen, the
smaller the sizc of the lighted
area.
   6. Center the lighted area
vertically on the screen by
adjusting the nIEVATTNG scREw,
located on the front of the pro-
jector base.              r
   7. Turn off the lamp and
motor slvitches and thread the
Kodascope.
View original page 6
Page 8 · Read text
Place the reel of film on the supprv sprNDLE so that the film will
           draw from the bottom of the reel with the perforated edge toward
           you. Push in the reel until the spring on thc spindlc snaps into
               position.
               Unroll about 18 inches of the film leader for threading. Make
            sure that the pictures on the film will enter the projector gate
             upside down.
                Insert the film betrveen the curved metal guide and the uppen
             spRocKET. Engage the film perforations u'ith the sprocket teeth.
              Latch the cArE open by pushing it forward on the cercn. Insert
            the film into the gate, making sure it is between the guides at the
               sides of the track. Form the uppen Loop to correspond in size to the
             guide line on the projector; then close the gate.
               Forrn the Lo\r'ER Loop, following its guide line on the projector;
              insert the film betlveen the curved metal guide and the lownp
            spRocKEr. Engagc the film perforations rvith the sprocket teeth.
               Place the empty rAKE-up REEL on thc 'r.q.rr,-up sprNDLE. Push in
            the reel until the spring on the spindle snaps into position, Attach
              the film to the take-up recl l;y holding the end against the core of the
               reel and turning the reel at lcast one turn in a clockwise direction.
          Wind up any slack film lrctwcen thc lower sprocket and the core of
            the takc-up reel. Make sure thal thc first turn of filnr is wound
                tightly around the core and is securely attached to the take-up reel.
             Engage the lower l;elt with the groove in the lower pulley to
             drive the take-up reel.
iJ           The upper belt should be disengaged from the upper pulley dur-
             ing projection so that the suppI-rr REEL turns freely.
                Before turninq on the motor, rot:rte the THREADTNG KNoB on the
              front of the Kodascope clockwise a few times. Observe that the
            pull-down clarv advances the film through the gate, and that the
              loops are maintained and continue to match their guide lines on the
              projector. Always rnake this test follou'ing each threading of the
            Kodascope, before turning on thc motor switch.
View original page 8Page 9 · Read text
www.butkus.us


                  Start the motor and again chcck the loop sizes. If they remain
                 corrcct, turn on the lamp.                                                                                                                                           II
                 Rotatc the projection lens u.ith the focusing pin until the pictures                        I
            on the screen are sharp ancl clear.                                                                                                                                                                                            Trl
               Regulatc thc speccl of the motor by adjusting the speed control
             knob until the action on the scrccn appcars normal. If the projected
                pictures flicker, thc motor is runnins too slou'ly.

                 €AUTION: Never ilop lhe motor wilh lhe speed control knob. Such ploceduro would
                       slop lhe ton ond halt the blosl of oii needed to cool the lcmp.
                        If the cdge of thc next picture shows at the top or bottom of the
                screen. turn thc rp.qurNr; xxon (shorvn on opposite pagc).
             Toward the end of projection, ol;serve the end of the film as it
                leavcs thc srrpply rcel and turn off the lamp just before it reaches
               thc gatc. In this way, annoying slare from a blank screen  is avoided.

             ,flPORTAAIT PO'A'TS TO REMEMBER

                                    If the picture on the screen is extremely unsteady, the             I        prolralrle cause is thc Ioss of either the upper or lorver
                          loop. This rnay happcn  if some of the film perforations
                          arc lrrokcn. Shoulcl  it occur, turn the lnotor off at once.
                   Thc l:rrnp u'ill lrc ttrrncd off automatically. Adjust the
                             sizcs of thc uppcr ancl lorver loops to correspond to the
                       guide lines on the projcctor by unthreading and re-
                          threadine the sprockets.


                                    If there are l;roken perforations, they should be noted
                    and the section containing the broken perforations cut
                           out. ancl thc film spliced.


                                             the                                                 screen                                  picture on                              the                                                                                    is upside                                               down                                                        and the action       3         Ifis                              backrvards,                                                   bcen                                        the                                                                 rervound.                                                           filrn                                             has not

            6


\
View original page 9Page 10 · Read text
I
'l


                          the film breaks durine projection, stop the Kodascope      4         If                     immediatcly by pushing the motor switch to OFF.
                   The probable cause is the loss of the upper or lower loop,
                        or an imperfect splice made prcviously in the film. If you
                 do not want to splicc the film at this time, projection
                 may lr continued by means ofthe "tuck undcr" method
                         as illustrated. Unwind about a foot of film frorn the take-
                up reel. Bring the other end of the film through the
                   Kodascope in the same lnanner as when threading the
                        film. Run the Kodascope until about two feet of film
                     hangs from the lorver sprocket. Place this end on the take-
                  up reel at the point where the film you unwound leaves
                         the reelcd-up film. Wind up the loose film by hand, turn-
                     ing the takr-up rcel in the direction indicated by the
                        arrorv in the illustration: lhen continue projeclion.

I
I
           The film is rervound directly from the take-up reel to the supply
              rccl. Attach the film to the supply rcel by holding the end against
            the core of the reel and turning the reel at least one turn counter-
             clockwisc. Make sure that the first turn of the film is tight against the
            corc and that thcrc is no slack lrctween the reels.
             Place thc uppER BEr.T on the uppER pur-r-Ey to drive the supply
              rcel. Remove the LowER sEr-r from the rownn puLLErr.
View original page 10Page 11 · Read text
www.butkus.us


   St:rrt the rnotor and lt surc the lamp is off. As the motor drives
the upper pullcy and relinds the film, put enough retarding pressure
on thc lorvcr takc+p rccl rvith the fingers to ol)tain a snugly wound,
compact coil of filrr on the supply rccl. After the film is complctely
rt'rvountl, shrrt off thc rnotor
  Rcrnove thc upper lrelt from the upper pulley and replace the
lorver belt on the lorver pulley and you are ready to thrcad your next
reel of fiLn.


o. Replocernenl ol Proiection Lomps
  Replacemcnt larnps can bc olrtained from your Cine-Kodak
clcalcr. In casc thc voltagc or $'attagc ratings on the top of your old
larnp cannot lrc reacl, refcr to thc talrlc on page 2, and select a new
lamp accordingly.
   If a lamp should burn out dttrins projection, bc sure to wait until

8
View original page 11
Page 12 · Read text
the lamp is cool before touching it.
        To accelerate cooling, turn on the
           motor switch.
        To replace a projection lamp,
            loosen the coIN-sLorrED scREw on
   I           the back of the Kodascope and lift
              off the reuprrousE covER.
               Press down on the projection lamp
          and give it a quarter turn counter-
             clockwise; then lift it from the socket.
                    I{OTE! Th..c.k  l ond lomp b.t. oE d.dgngd
                  !o lfi.l th. lomp wlll it  l.tc lhc tockot cnly
                 cn! way.
           To install a lamp, insert the larger
            flange on the base in the larger
             socket opening which is toward the
             front of the projector; then press the
          lamp down into the socket, giving it
         a quarter turn clockwise to lock it.
           Replace the lamphouse cover,
                fitting  it carefully into the grooves on
           the projector and fasten it securely
          by tightening the coin-slotted screw.
           b, Oilins
          The Kodascope should be oiled
             before  it is used for the first time. A
              bottle of Kodak Special Lubricating
             Oil is supplied with each Kodascope;
?            this oil is preferable to any other,
           but sewing machine  oil may be used.         www.butkus.us
t          The Kodascope does not require much
                  oil, nor does it require frequent appli-
             cations. Apply the oil with the wire
            fastened to the cork of the bottle, a few drops in each of the oil
             holes being sufficient. There are seven places that should be oiled:
          two on the top of the Kodascope, one above each sprocket, one for
            the take-up spindle, one for the supply spindle, and the felt washer
         on the safety shutter. See illustrations on page 10 for oiling loca-
             tions. l// otha bearings are self-lubricating and need no oiling.


   I
View original page 12Page 13 · Read text
www.butkus.us


c, Cleoning
(r) tENsEs Ar{D REFTfCTOR
   All glass-air surfaces of both the pno;ncrror and coNDENSTNG LENsEs
on the Kodascope have been Lumenized to reduce internal reflec-
tions and increase light transmission. The tinted appearance  of the
lenses is due to this surface-coating. Keep the projection and con-
densing lenses clean. Even fingerprints will reduce the brightness of
the pictures on the screen and will cause them to appear cloudy or
flat. Do not clean the lenses with a damp cloth. If moisture is
required, breathe on the lenses or use a drop of Kodak Lens Cleaner.
Cleoning lhe Proiection Lens. To remove the projection lens,
push the focusing pin down as far as it will go, and then pull the
lens from the projector. With a soft, clean, lintless cloth or Kodak
Lens Cleaning Paper, carefully wipe the front and back lens surfaces.
 To replace the projection lens, hold it with the focusing pin
horizontal and push the lens back into the projector until  it snaps
into position.
Cleoning the Condensing Lens. To reach the condensing lens for
to
View original page 13Page 14 · Read text
'l
 cleaninq, first loosen the coin-slotted screw on the llack of the Koda-
 scope; thcn slide off rhe larnphousc cover. Lift out the condensing
 lens lry rncans of thc knurled pin (see illustration on the opposite
 page). Carefrrlly u,ipe the front and back surfaces of the condensing
 lens rvith a soft, clean, lintless cloth or Kodak Lens Cleaning Paper.
  To rcplace the condensing lens, hold it  l,ly thc knurled pin rvith
the large end rnarked REAR toward the reflector. Engaee rhe
front wall of the lamphouse with the groove in thc condensins lens
holcler, and push the condensing lens dorvn as far as it lvill go.
Cleoning the Re0ector. Remove the projection lamp from its socket
 lry pressing- the lamp dorcn and giving it a quarter turn counter-
clockrvisc. Clean the reflector with a soft, drv cloth.
  Replace the projcction lamp in thc socket rvith thc larqer flange
toward the front of the pro.jector and give the lamp a quarter turn
clockwise to lock  it in place.
(2) GATE :
  The gate, which guidcs the film, must be cleaned occasionally
because particlcs of emulsion adhere to thc track. This cleposit,  if
allorvrcl to lruild up, u'ill. in time, intcrfcrc u'ith the smoothncss with
rvhich thc film runs throtrq-h the qatc. Occasional cleaning of tht:
gate rvill therefore adcl vcars of Iifc to vour films. It is also ncccssary
to remove any forcien particlcs frorn the edges of the apcrturc,
becaust' thel rvill be magnified rrany timcs rrhen pictures are pro-
jected on the screen.
  To clean the gate, (1) latch  it open by pushing forward on the
catch. (2) Turn the rhreading knob until the prongs of the pull-
down claw arc rvithdrarvn behind thc gate so that thcy will not
interfere rvith the cleaning operations. (3) Clean the track with a
damp, lintless cloth wrapped on a toothpick or match. (4) Ncxt,
give the gatc an over-all clcaning by sliding a slightly moist, clean
cloth up and clorvn through the gate to removc anv rtmainirlq
particles of dust or dirt. (5) To clean the aperture, first removc thc
pro.jt:ction lens. ((r) Reach through  ttre projection lens opening rvith
a srnall l;rush or a cloth *'rapped on a stick and clean the edges of
the aperturc. LIse carc to avoid damage to the black coating on the
sharp cclees of the aperture. A halo rvill l;e produccd around the
picturc area if the edges of the aperture becomc lrright. (7) I{eplace
thc oroiection lens.
                                                                                                ll
                            )
View original page 14Page 15 · Read text
www.butkus.us


     Hondling. Great care nust lte cxercised at all tirnes to prcvent
      scratchcs or othcr marks on thc filrn lrecause they are magnified
     enormously upon projcction and therefore Irecome very noticeable.
      FLlrtherrnore, it is irnpossilrle to remove these defects once they are
     formcd.
        \Vht:n handlinq thc film, aiu.ays hold it by the edge-s to avoid
     torrchins thc picture area. Scratches on the film are generally
      causecl lry carr:lcss rervindinc,    i 'y "cinching" it tightly on the reel, or
     by a clirty eate.
       In thc er-ent of a looscly rvound reel of film, reutind thc film onto
     another reel slorvlv, and then rvind it rvith an e\ien tension and at
     uniform spced back onto the first rccl. Ncvcr try to take up the slack
     by holding the reel in one hand ancl pulling thc cnd of the film rvith
      thc other, or very bad "cinch" marks rvill be produced.
      Cleoning. Sornetimes the pictures on thc scrccn rvill appear cloudy
     or lack lrrilliance. If thc causc is not a dirty lens, it is prolrably an
     accumul;rtion of clirt on thc filnr. Thc lrest \\'ay to clcan Cine-Kodak
     Film is to use Kodak Film Cleaner. rihich is prepared cspecially lor
         tliis purposc. It shoulcl lre applicd rvith thc applicator cloth supplied
      rvith the clcancr. Be sure to clcan Koclachrorne Film rvith Kodak
      Filrn Cileaner, as clcancrs containins alcohol rnay rcrnovc the color
     from thc filrn.
       CAUTION: Koddk Film Clecner  i: o vololile 3olyenl. Ute it with ddequdle venlilolion
       ond cvoid prolonged  b.eolhing of lhe vopors.
      Splicing. Ifthc film should lxeak during projection and you rvish to
      splice  it at oncc. proceed as follorvs:
       Lcave the rrppcr and lorver reels in position, unthread the filnr
      frorn the sprockcts ancl gatc. arrd drary out the ends of thc film. Use
      eithcr thc Cine-Koclak .funior Splicer or the Cine-Kodak Senic'r
      Spliccr and fc;llorv the splicing clirections that are included. After the
      splice is made. u'ind up thc sla( k film on thc uppcr reel, takins care
     not to srain thc splice by a suc!tlenjerk before it is set. Rcthread the
     Kodescopc end continu. proiect ion.


l2
View original page 15Related documents and language editions
From the M. Butkus archive. Original publisher and archive notices are retained.
Check the model and edition against your equipment.
PDF verified 2026-10-10.