Film cameras
Kodak Pony Premo A User manual
User manual for Kodak Pony Premo A. 19 pages in English. Read the original PDF, download or print a copy without registration.
19 pagesEnglish3.0 MB PDF
Loading your manual…Open PDF directly
Document details
- Brand
- Kodak
- Model / document
- Kodak Pony Premo A
- Document type
- User manual
- Language
- English
- Pages
- 19
- File size
- 3.0 MB
- Category
- Film cameras
- Document date
- Not specified in catalog
Search available document text
Find a term, then jump to its page in the original PDF. Image-only pages may not be searchable; check the PDF for exact wording and diagrams.
Page 1 · Read text
't  t***-€ t                  *n www.butkus.us
                  "€7


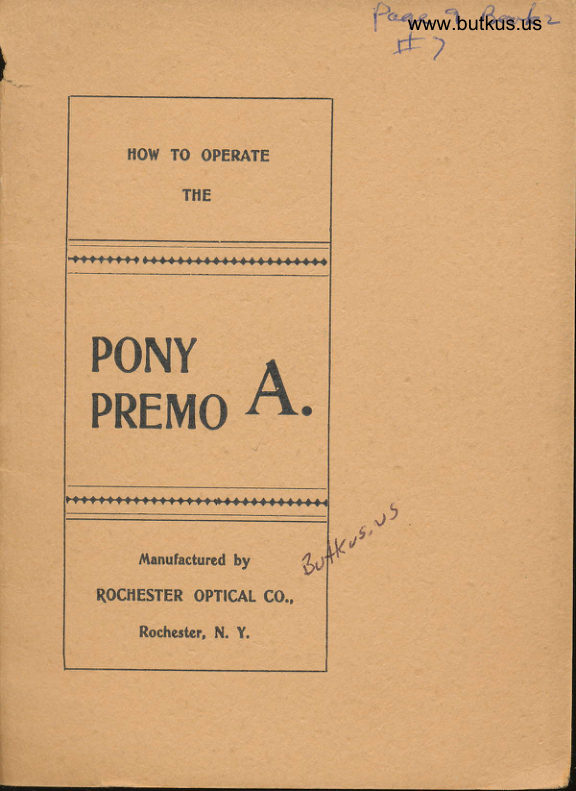
    TIOW TO OPERATE

             TTIE


PONY       A       11.PREMO


       llanufacturcd by

 ROCI|ESTER OPTTCAL CO.,

       Rochcstcr, N. Y.
View original page 1Page 3 · Read text
www.butkus.us

   HO\v TO OPERATE

PONY PREMO A.


               MANUFACTURED  BY
    ROCHESTER OPTICAL CO.,
          ROCHESTER. N. Y.
View original page 3Page 5 · Read text
www.butkus.us


      prerno Canrcras

are carefully examined. before leaving our
factory, and. we guarantee them to be per-
fect in every respect. By observing the
instructions contained in  the following
pages, the purchaser will find the manipula-
tion of the Premo so simple that it may be
quickly understood. and easily operated., even
by the novice.
  Fu1l and explicit directions for Develop-
ing, Printing, Etc., will be found in 'lhe
Amateur Photographer-a complete guide
for beginners-a copy of which we furnish
with each camera.
              RocnEsrEn Optrcar, Co.
View original page 5Page 6 · Read text
HOW TO UsE TTIE
    PONY PREMO A.

                                               It ts tg
   Open     FOR TNSTANTANEOUS EXPOSURES.
     Che
     Qameta
               by pressing the concealed button on top of
                the Camera as shown in Fig. 1.


I
View original page 6Page 7 · Read text
www.butkus.us

         The front will drop, forming a bed upon
         which the Camera Front carrying Lens and
          Shutter is moved forward, by grasping brass
        hook. See Fig. 2.


Ediust
Cbe                         Frc. 2.
focus.
           Nlake a. mental note of the approximate
           distance in feet the subject to be photograph-
        ed is from you; draw out front of camera
        by means of the clamp-hook and fasten by
         turning clamp-hook to one side. Then pu11
         out Pinion rod and rack the front forward
           until the sma1l pointer at the left is over
         the figure corresponding to the estimated
           distance.
            Objects more than 100 feet fronr the Cam-
          era are in focus when pointer is set at 100.

                                    5
View original page 7Page 9 · Read text
www.butkus.us


Sct tbe
Shutter
          by pushing Lever A at the left upward (shut-
            ter facing you) until a " click " is heard.
         When setting the shutter the leaves remain
 Chc       stationary, and do not expose the plate.
 Spccd
 of
 Shutter
        may be varied from 1 second. to fractional
           parts of a seconcl by moving the indicator on
           the black metal disc at top to the right or
              left, until it is opposite the speed desired.
Ghc Iris
Diapbragrns
      may be regulated for any aperture by
         moving the sma1l Index B to the right or
              left.
          The numbers are arranged according to
         the U. S. (uniform system) by which any
          aperture is just twice the size of the next
          higher number; for instance when index is
           set at number 8 the opening is twice the
           size as that of 16 and requires only one-
          half the exposure.
View original page 9Page 10 · Read text
For ordinary instantaneous exposures the
           largest size opening should be used as a
            rule, though in a uery bnght light, srtclr as sea
          shore scenes and. views of like character,
        the size smaller is preferable. The very
         small openings are intended. for time ex-
          posures only.
bad the
p[atc
botdw         and insert it between the ground-glass frame
        and rigid. frame of camera, being sure it is
          held securely in position. See Fig. 3.


Draw                        FlG. 3.
Chc Stidc
          nearest the front of camera and a1l is ready
           for the exposure.
View original page 10Page 11 · Read text
www.butkus.us


       Snap
       Shote
              or Instantaneous pictures should always be
            made in brilliant light, but the sun should
               never shine in front of the camera while
             making an exposure. ,Io prevent this stand
              so the sun will be at your back or a little
                  to one side. Remember  it is the subject to
             be photographed that requires the light and
              not the Camera.

   Co Mahc
I    tbe
,6jxporu*.                                       t't\kts"t>
               Hold the Camera level and perfectly still.
             See page 10. Now look in the finder and
           when the view desired is in proper position,
                release shutter by a pressure on bulb or
                finger release as preferred ancl the picture is
            taken. Replace slid.e, reverse holder. and
              withdraw the other slide.
                After setting shutter and a<ljusting the
               focus you are read.y for the next exposure.
View original page 11Page 13 · Read text
www.butkus.us


      Che
      Vicw
       finder
                  is  reversible for  vertical or  horizontal
                    pictures.
              As the same view is visible in the View
                Finder that is reflected. on the ground_glass
                  (or plate), you can readily determine when
               the object is in range.
tl,l

        i
     II                       oaa


?*                       TIME EXPOSURES.
               Time exposures should be made with the
               camera resting on a tripod or other suitable
                support, as you will be unable to hold it
                steady enough to avoid a slight b1ur.
t'      Set the
     Shutter by placing the speed indicator opposite the,
H  '               tettet T, then push lever A up as directed,
,,               for instantaueous exposures.
l1".
                                           11
View original page 13Page 15 · Read text
www.butkus.us


    Co focus
     on oround                       rf you prefer to observe the focus on the
      6tass.                ground-glass, rather than estinrate the dis-
                tance of subject to be photographed, remove
               the plate holder and lower the hinged panel
               at back of Camera. After pressing the
             bulb (which opens shutter), you can see
             the reflected image (always reversed) on
             the ground-glass.
             By means of the clamp-hook, draw out
              the front of Camera and iock securely in
               place by turning the ciamp-hook to one
      l              side. Pu1l out tlie pinion-rod at the rear of
a.?I                finder and adjust the front until the vierv
                 is perfectly clear. (See page 12. )  After
                 setting the shutter and adjusting the dia-
              phragm, you are ready for the exposure.
      Ehe
       €,xposurc.  Place the plate holder in position and
             draw the slide nearest front of camera.
             Open shutter by a pressure olt release lever
                or bulb, and after required duration of time
                  close the shutter by a second pressure o11
                 release lever or bulb and the picture is
                     taketr.
                                         13
     I

       i


 A
View original page 15Page 16 · Read text
Chc
Doubte
Stiding
front.     The Double Sliding Front permits the
            introduction of more sky or foreground. in
           the picture, whether the camera is used in
          a vertical or horizontal position.

            For instance, in photographing a building
          you might have foreground to spare, while
           the top of the building would be cut off.
         By moving the Lens uprvard. you get in all
          the building and cut off a portion of the
             foreground.

                'Ihe small milletl head at the right clamps
           the sliding front in desired position. When
           the Camera is reversed for vertical vier,r's
           the front is adjusted by rneans of the milled
          head just above the focusing Index.

          E@Before closing the Carrrera atr,vays
           replace the l,ens in the center, in order
            that the bellows nray fold straight.
View original page 16Page 17 · Read text
www.butkus.us


    Rott
    boldcr
    for fitnrs.                       If the Roll Holder is used, the manip-
               ulation of the Camera is the same, except
                      it will not be necessary to replace the slide
                after each exposure. You need. only turn
             the key to wind a fresh film in position.    LOa
    Httach
    Rott
     botder.    Remove the back containing ground-glass
               focusing screen from the canlera, by a slight
               pull to the right.
                Place the Roll Holder in position formerly
             occupied by the ground-glass screen, .with
              the key to the right. Clamp securely to the
             camera by engaging the brass hooks at top
            and bottom rvith pins on the back.
          A detailed description of the Roll Holder,
            and full instructions for working  it will be
               found. in the special circular acconrpanying
                 sanle.
                  RocHESTEn Optrcer, Co..
                                RocHRstpR, N. Y.
View original page 17From the M. Butkus archive. Original publisher and archive notices are retained.
Check the model and edition against your equipment.
PDF verified 2026-10-10.