Film cameras
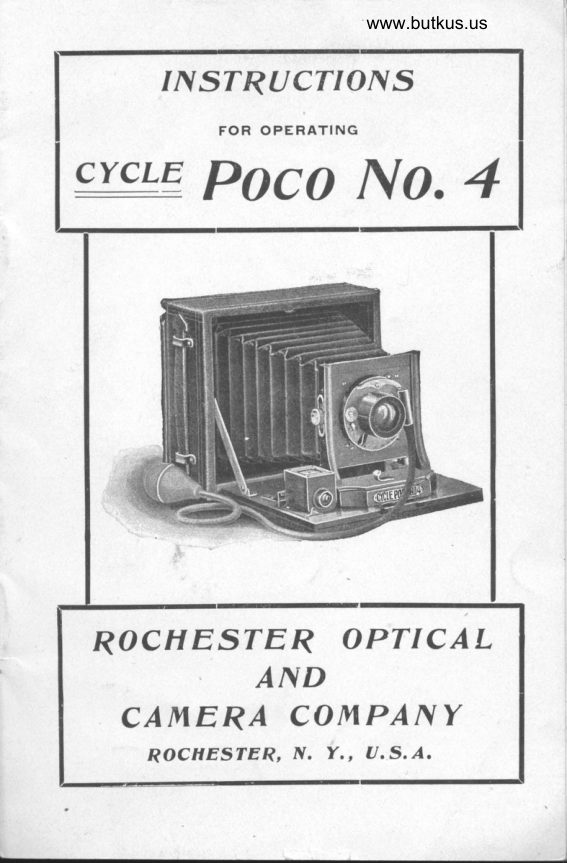
Kodak Rochester Optical Cycle Poco No 4 User manual
User manual for Kodak Rochester Optical Cycle Poco No 4. 7 pages in English. Read the original PDF, download or print a copy without registration.
7 pagesEnglish1.5 MB PDF
Loading your manual…Open PDF directly
Document details
- Brand
- Kodak
- Model / document
- Kodak Rochester Optical Cycle Poco No 4
- Document type
- User manual
- Language
- English
- Pages
- 7
- File size
- 1.5 MB
- Category
- Film cameras
- Document date
- Not specified in catalog
Search available document text
Find a term, then jump to its page in the original PDF. Image-only pages may not be searchable; check the PDF for exact wording and diagrams.
Page 1 · Read text
www.butkus.us

    TNSTRUCTIONS

            FOR OPERATING
CYCLE    Poco No. 4


 RO CHES TER OPTICAL
        AND
  CAlvrER/ COIyTPANY
      ROCIIESTER, N. Y., A.S.A,
View original page 1Page 2 · Read text
Inslructions for Operafing Cvclo l>oco
                   No. 4,
         Hold camera in left hand. With thumb or
        finger of right hand press concealed button on toD,
       which will release the bed. Lower to a horizontal
         position until the side arms snap into place, take
        the bulb and tube from its position and place over
        the front of bed.
         With thumb and fore-finger release the small
       hook-shaped lever directly under shutter by a
         slight turn from right to left.  Gentiy pull on same'
       drawing the bellows and front of camera out upon
        the bed until the index on left side of front indi-
        cates the desire i distance, as shown on focusing
       scale from your position to the object to be photo-
       graphed which has previously been measured or
       estimated. (All objects 1OO feet or more away are
        in focus when index is set on the 100 foot mark
       on scale).
&,.v         .  Take the loaded plate holder.from the carrying
        case, inserting  it in back of camera in front of
h     ground glass. Gently shove until it snaps into
        position. Turn the T-shaped screw in a horizontal
        position and withdraw the slide nearest the front of
      camera. Compose the view by aid of the view-
         finder and level, letting the ball in the finder rest
         in the center of cross lines, which indicates that the

                                                           cPo4
View original page 2Page 3 · Read text
www.butkus.us
  camera is being held level. Press the bulb and the
  exposure is made. Insert the slide in the holder,
  (placing the black side of handle nearest the front
  of camera, which is an indication that the plate in
  that side of holder has been 6xposed,;, inserting the
  slide perfectly even, not one corner at a time.
  Turn the T-shaped screw securing the slides. with-
  draw holder by using the right hand, drawing
  .slightly toward the rear, reverse holderand proceed      $'
  as before
     Having completed the exposures desired, with-                   'l
  draw the plate holder from in front of ground-glass,
  placing it in the space alloted to it in the carrying-
  case. Release the hook-shaped lever and gently
  press the front back to position within the camera
  box, tightening the lever by turning from left to
  right. Place tubing around shutter, allowing 'the
  bulb to rest on the opposite side from view finder.
  Holding the camera u'ith both hands, gently press
   with both thumbs on the sidearms,which will release
  them, and close the bed to its original position.
     In using the camera with a tripod, set up the
   tripod, place the camera on top, inserting the tripod
  screw in the socket of camera, screwlng tight.                       f' Open camera, as per instructions when using by                                              t,  hand. Manipulate the legs of tripod until the ball
   in view-finder is in center of cross lines. the camera
   is then level. Turn button in back of camera
  which wiil open panel, exposing the ground-glass to
  view. Move pointer on side of shutter to letter T

                                                                                                                                                                                                                                                                                                                 II             3   cpo4

                                                                                                                                  i                       -l                           ',          /
View original page 3Page 5 · Read text
and press bulb once, thereby opening shutter.
         Look upon the ground-glass and the view may be
           plainly seen. (A focusing cloth may be used if
            desired), which will greatly aid in composing the
         view. With the right hand manipulate the front
          of camera by drawing the bellows forward and
          back until the correct focus is obtained. (Remove
          focusing cloth if one has been used). Close the
          panel in back of camera and press bulb once tor)           ciose shutter.
           Move pointer on side of shutter to the required
            position for time, bulb or instantaneous exposure.
           Press bulb and make the exposure. When all ex-
          posures desired are made, close the camera as
           previously instructed, unscrew it from tripod and
           place in the carrying case.
          The rising and falling front is used when as
                little fore ground as possible is desired. By turn-
          ing the milled head screw on the side of front and
            raising the bellows, together with lens and shutter,
            the resuit is obtained and can be better understood
        by raising and lowering the lens while observing
            the view on the ground-glass.
            Alwevs re adjust the rising and falling front to
           the orignal position before attempting to close the
            c.amera.
            The entire back containing ground-glass may be
          removed by pressing down on the small spring at
           top of same and gentiy drawing the back from the
          camera.

                                                             cpo4
View original page 5Page 7 · Read text
one pressure on lever or bulb opens the shutter,
        and when sufficient time has been  given, the
         second pressure closes it.
           The figures at the bottom of shutter indicate the
          size of diaphragm opening, No. 256 being the
           smallest, and No. B the largest. The diaph;^g;+       opening may be readily changed by moving
          cent pointer either to the right or left ; the smalier"a]"_ I
   I        openings being preferable for time expcsure, and
tf         the larger for instantaneous.
         As all lenses need wiping occasionally to re_
       move dust, etc., they can be readily unscrewed
        from the shrrtter for this purpose, being very parti_
         cular to get each in its original position when          replacing

           DO NOT USE OIL ON THE SHUTTER.


                                                              cp04
View original page 7From the M. Butkus archive. Original publisher and archive notices are retained.
Check the model and edition against your equipment.
PDF verified 2026-10-10.