Film cameras
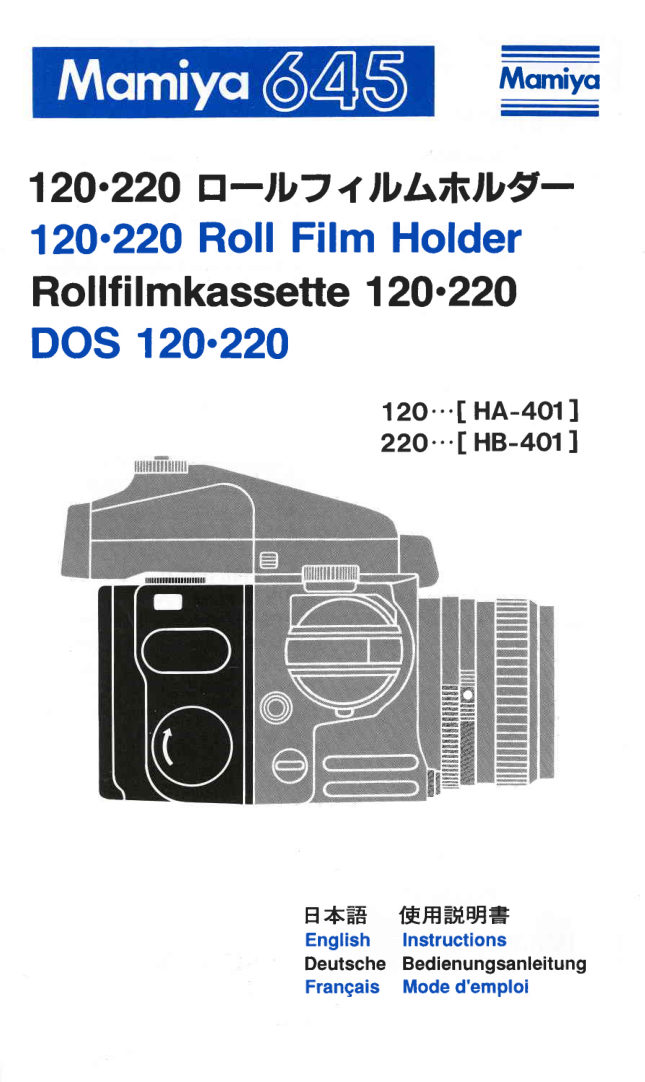
Mamiya 645 120 - 220 User manual
User manual for Mamiya 645 120 - 220. 9 pages in English. Read the original PDF, download or print a copy without registration.
9 pagesEnglish1.3 MB PDF
Loading your manual…Open PDF directly
Document details
- Brand
- Mamiya
- Model / document
- Mamiya 645 120 - 220
- Document type
- User manual
- Language
- English
- Pages
- 9
- File size
- 1.3 MB
- Category
- Film cameras
- Document date
- Not specified in catalog
Search available document text
Find a term, then jump to its page in the original PDF. Image-only pages may not be searchable; check the PDF for exact wording and diagrams.
Page 3 · Read text
&EF0ae#F                 Parts
E-tb7  + lbl:,f^)V9-           Roll Film Holder
OrgF, c 7               O CouplingPin
@iE9iH.fi           @ ElectricContact
@tt-,,t,Y -W]() ,NLI]   'y )  ffiWrf: , > @ fitm Holder DetachingLock
@,trtv t'*E( q rl-L>ts, >           Release Button
@FsZ: E 'y 2 frTw,f:, >     @ fllm Holder DetachingButton
                @ Bacf Cover Lock Release@Fsz:ffi 3 fil  v                                  Button
@iEflffiE                @ Bact Cover Button
@4t l,.ff,raF  (T)       @ aoOyCouplingGear
@513,$./:           @ Bottom Body Coupler
@z -r )v AEtEg-4 * tv     @ Darf Silde
@ z + ) v A / 1 t > t - # .      @ fitm Speed Dial
@ffiY<3-A          @ fitm CounterWindow
@513"$./:{6ffin<)v  I      @ RuOOerizedFinger Rest
@t +_xIL           @ Dark Slide StorageSlot
@z -t )vA&3 Lr,l t z      @ Memo Clip                @ Manual Film AdvanceKnob
+b<
@ 7 r * t - < - 2                    Roll Film Insert
@z .r )v At&ErJ-"- 2 (r2o/22o)  @ Start Mark
      - t-,"(-/{    -  fi"4 r*-"- ?  @ PitmType lndex (12Oor 22O\@',
@^7"* )v+A*         @ LeaderPaperGuide Mark
                @ film SpoolStud@^J-  )v*tF                @ SpoolClip@Ellif,'c* t*                @ ReleaseLatch@+ 3 H\0 zz"*  pffifr                @ Take-upSpool Stud


                         www.orphancameras.com
View original page 3Page 4 · Read text
Attaching/Detachingthe Roll Film Holder
Attaching the Roll Film     Types and specifications
Holder                      of Film Insert
Removethe rear body cap.        ThesameRollFilmHolderis usedfor
1. Hold the roll film holder at the   both 120 and 220 films.However,the
RubberizedFingerRest.Positionand   Roll Film Insert used must corre-
hookthebottomcouplersof the holder  spond to the type of film in use.
to holder mounting bracket of the
body.                        120 Roll Film Insert
2. Push the upper part of holder  Usingfilm: 120 rollfilm
againstthe body, while pushingthe   Imagesize: 6 x 4.5cm (Actualsize:
holderdownwarduntilit clicks.Make           56 x 41.Smm)
surethatthe holdermountinghookof   Numberofframesper roll: 15 frames
upperpart of the body securelycatch
                             220 Roll Film Insertthe groovesof the upper part of the
                                Using fillm: 22Oroll filmholder.
                              lmage size: 6x 4.5cm (Actualsize:
                                      56 x 41.Scm)
Detaching the Roll Film      Numberofframesperroll:30frames
Holder                      The operatingprocedurefor the Roll
1. Pull out the Dark Slide from the   Film Insertis the same for both 120
strageslot and insertit into the dark   and 220 roll films.
slide slot markedwith white lines.
2. Push the Holder Lock Release
                                Note: To stall Roll FilmButton @  in, while sliding the
DetachingButton@downward.Then     Insert to the Roll Film
the holdercan be removedfrom the     Holder, please refer to the
body.lf the DarkSlideis not inserted,     instruction  manual  for
the safetymechanismfunctionworks     the body.
and the Shutter Release Button
cannotbe depressed.
View original page 4Page 5 · Read text
MULT


How to install the Roll    WindingFilmto the First
Film Insert (Fis.1XFis.2)   Frame
Open the Holder Back Cover by  Be sure to set film at the "Start"
depressingthe Back Cover Lock  mark position prior to inserting
Button@.                         the Roll Film Insert.
1. PositionFilminthedirectionshown.
Press in on both sides of the
Attaching/DetachingRelease and
insertthe RollFilmInsertstraightinto   1. To wind the film with the Roll
the Roll Film Holder.                 Film Holder attached to the
(Youwill be unableto insertthe Roll                              camera body.(Fig.5XFig.6)
Film Insertif it is upsidedown.)
2. Whenthe RollFilmInsertis pushed                           Make sure that the MultipleExposure
in, the Releasewill click and lock                                  Leveris set at the white square.
securely.
3. Afterthe Roll Film Insertis properly When the Wind-upCrank is turned
inserted,closethe Back Cover.       up until it stops, the Film Counter
                          Windowindicates"l" and the shutter
MemoClip 1rig.s;                     is set.
The Memo Clip on the BackCover is
used to keep the film box, or paper
with your own notes.
                              2.To wind the film when the
Film Speed Dial (Fig.4)          R o l l F i l m H o l d e r    i s  n o t
The sensitivityof the film set on the Roll     attached to the body. (Fig.7)
FilmHolderistransmittedto the bodyas
inputdataforthe AE PrismFinder.    Make sure that the Dark Slide is
Since it can also remind you of the   inserted completely.Turn the Film
film sensitivitybeingin use, be sure to   Advance Knob of the holder until it
set this dial correctlywhen loadingthe   stops and indicates"1" in the Film
film.                           CounterWindow.
                             www.orphancameras.com
View original page 5Page 6 · Read text
o Occaisionallyyou may want to process a roll of film that has been only
  partiallyexposed.ln order to rewindthis film, removethe holderfrom the
  camerabody.Thenturnthe FilmAdvanceKnobofthe holderwhilepressing
  the CouplingPin.

o The number indicatedby the film counter is reset to "S" (START) mark
  automaticallywhen the Back Cover is opened.
    lf somethingother than "S" is indicated,do not attemptto open the Back
  Cover carelessly.

Precautions for Film Handling

o Shadefilm from directsunshinewhen you insertand removethe film.

r When the 120 Roll Film Insertis used,the film counterwill automatically
  stop at 15 f ramesand when the 22ORoll Film Insertis usedthe counterwill
  stop at 30 frames.Be sure that the Roll Film Inseftcorrespondsto the film
  you use. Use of the wrong film insert can cause unmatchedfilm frames
  countedas well as possiblefocus problems.

r When the leaderpaper is incorrectlyfitted againstthe flangeof the spool,
  the film may be wound incorrectly.ln this case, rewindthe leader paper
  makingsure that it fits properlyon the spool.
View original page 6Page 7 · Read text
Montagedu dos rollfilm    Types et carac6ristiques                       de la cassette
Premidrement,6ter le caPotde Pro-  Le m6me dos follfilmest utilis6avec
tectionarridredu boitier.             les films 120 ou 22O.CePendant,le
1. Tenirle dos par les pointsd'appui.  cassette utilis6e doit correspondre
Positionnerle dos sur la comidre  au type de film.
d'ancragedu boitier.
2. Pousserla partiesupr6rieuredu dos  CASSETTE120                    'au                       venouillage.  Fifmde I'image: 120vers le [oitier jusqu
S'assurerdu verrouillage.         Formatde I'image:6 x 4,5cm
                                          56 x 41,Smm
                           Nombrede vues: 15 vues

                         CASSETTE 22O
                                  Film utilis6: 220
                               Formatde I'image:6 x 4,5cm
                                          56 x 41,5cm
D6montagedu dos rollfilm   Nombrede vues: 30 vues
 1. Oter le volet de son rangementet
 I'ins6rerdans la fentedu dos signa-  La manipulationde la cassetteest la
 l6e par les lignesblanches.      m6mepourles cassettes120 ou 22O.
 2. Appuyer sur  le bouton de
 verrouillage(B) tandis que vous fai-                             Note:Pourpositionnerla tes glisserle bouton(A) vers le bas,                            cassette dans le dos puisle dos pourl'6terdu boitier.Si le
                                       rollfilm,se r6f6reraumode volet n'estpas mis, la s6curit6est en
 place et le d6verrouillagedu dos    d'emploidu botier.
 n'est pas possible.

                            www.orphancameras.com
View original page 7Page 8 · Read text
Positionnementde la    Avancementdu film i la
cassette (Fig.1)          premicrevue

Ouvrir le couvercledu dos par pres-   S'assurer que le film est positionn6
sion du boutond'ouverture(B)tandis   sur la marque START avant d'in-
que I'on appuie vers le bas sur le   s6rer la cassette.
bouton (A).
                                      1. Avancement du film avec le1 . Positionnenrentdu filmcommeillust6.
                                dos rollfilm  fix6 au boitier:Appuyersur les 2 cliquetsde fixation
                                      (Fis.5) (Fis.6)et ins6rerlacassettebiendroitedans
le dos rollfilm.ll vousestimpossiblede
I'ins6rersi elleest d I'envers.         S'assurerquele leviermultiexposition
2. Quand la cassetteest ins6r6e,les   est positionn6 sur le carr6 blanc.
cliquets de s6curit6 se verrouillent  Puistournerla manivelled'armement
automatiquement.                 jusqu'au blocage. Le compteur de
3. Puisfermerlecowerdedudos.(Fig.2)   vues faitapparaitrele N"1 et I'obtura-
                                     teur est arm6.
MemoClip 1rig.s1
Le m6mo-clipde couverclede dos
est utilepour m6moriserla naturede
la pellicule utilis6e ou toute autre
annotation.
Cadran de sensibilit6s du film
(Fis.4)                         2. Avancement du film
La sensibilit6du film positionn6esur    quand le dos n'est pas
le dos rollfilmest automatiquement    fix6 au boitier: (Fis.7)
transmise au microprocesseurde
boitierpour utilisationavec le viseur  S'assurer que le volet est bien
prisme AE Puisquececi est un rap-   positionn6,tournerle boutond'avan-
peldela sensibilit6utilis6e,s'assurer  cementdu dos rollfilmjusqu'aublo-
que le cadran est correctement  cage et d I'apparitiondu chiffre 1
positionn6lors du chargement.     dans le compteurde vues.
View original page 8Page 9 · Read text
o Sivous d6sirezexposerun film partiellement,il faut proc6derde la fagon
   suivante:pour r6embobinerle film, 6ter le dos rollfilmdu boitier. Puis
   tournerle boutond'avancementdu dos tandis que vous appuyezsur les
   pointesde couplage.

.    fl y a une remise dz6ro automatiqued "S" START d6s que vous ouvrezle
  couvercledu dos.
   Sl par hasard une autre indicationque "S" est visible, ne pas tenter
   I'ouverturedu couvercledu dos de fagon inopin6e.
Pr6cautionsa prendre:

o Ne pas exposerle film vierge aux rayonsdu doleil lors du chargement.

o Quand une cassette 120 est utilis6e,le compteur de vues se bloque
  automatiquementd 15 vues. Quand une cassette 22O est utilis6e, le
  compteurde vues se bloqueautomatiquementd 30 vues. S'assurerque
   la cassettecorrespondebien au filrn utilis6.Ne pas utiliserla cassette
  addquatepeut entrainerdes probldmesde plan6itedu film ainsi qu'un
  mauvaisd6comptagedes vues.

o Lorsquela languettede paier est mal ins6r6edans la bobine,le film peut
   6tre mal expos6.Dans ce cas, rembobineret recommencerI'op6ration.


                            www.orphancameras.com
View original page 9From the M. Butkus archive. Original publisher and archive notices are retained.
Check the model and edition against your equipment.
PDF verified 2026-10-10.