Film cameras
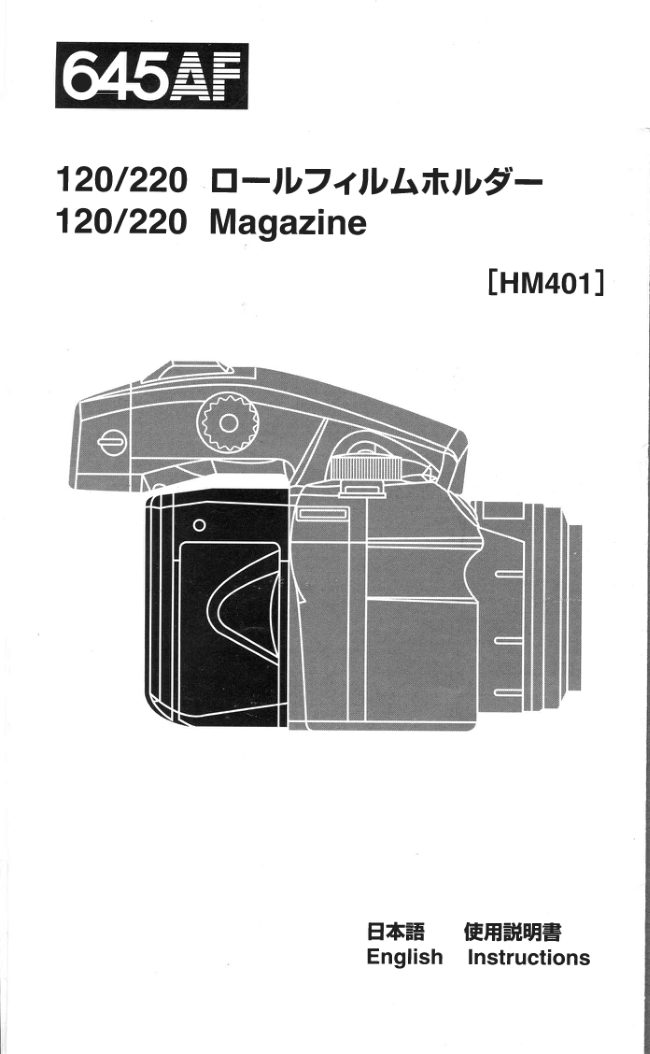
Mamiya 645AF 120 / 220 Magazine User manual
User manual for Mamiya 645AF 120 / 220 Magazine. 7 pages in English. Read the original PDF, download or print a copy without registration.
7 pagesEnglish1.2 MB PDF
Loading your manual…Open PDF directly
Document details
- Brand
- Mamiya
- Model / document
- Mamiya 645AF 120 / 220 Magazine
- Document type
- User manual
- Language
- English
- Pages
- 7
- File size
- 1.2 MB
- Category
- Film cameras
- Document date
- Not specified in catalog
Search available document text
Find a term, then jump to its page in the original PDF. Image-only pages may not be searchable; check the PDF for exact wording and diagrams.
Page 3 · Read text
Description of Parts
   12Ol22OMagazine
   Ofitm Holder'sLCD Panel      @fitm HolderMountingSlot
  @Down Button               @fitm HolderMountingBracket
  @up Button                @Darf Slide
  @Bacf Cover Button           @gattery Cover
  @Back Cover Lock Release     @Forced Film AdvanceButton
     Button                     @MemoClip
   @fitm HolderDetachingButton                         @Dark SlideStorageSlot
   @fitm HolderDetachingLock
     ReleaseButton
   12Ol22OFilm Insert
  @SpootClip(FILM)          @ReleaseLatch
   @ElectronicContacts          @lzotzzo PressurePlate
  @Spootclip (SPL)               SwitchingButton
   @fitm SpoolStud            @PressurePlate
   @take-Up Spool Stud        @Holes


To use the cameraat its maximumperformancefor as long periodas
possible,readthe instructionmanualthoroughlybeforeuse so that you
can use the cameracorrectlybasedon full understandingof its functions
and controlitems.
After reading,retainthe manualin an easilyaccessiblelocationfor future
reference.
                             www.orphancameras.com
aEE^^i*r.  -\
View original page 3Page 4 · Read text
------t-
              ----\\------'.-7
                                 /


                                        pressing t|reQ  (up) or$(down)
                                             button. To lock the speed settng, press
The buttonbatterysuppliespowerto      and hold the two buttons,
the magazine'sLCD when it is            simultaneouslyfor more than one
detachedfrom the camera.When it is      second; the film speed will be written in
attachedthe power is suppliedby the     memory in 5 seconds.
camera'sbatteries.                              *ttre  setting is not complete while the
1. Removethe batterycompartment     ISO indicator is blinking.
cover screw.                               *tne  information on the film in use, such
                                        as the type, ISO sensitivity value andUse a coin or suitablescrew driverand                                    number of exposures, is stored in the
turn it counterclockwise.(FigE)                                       back-up memory. However,when the
2. Inserta battery.                         battery capacity has dropped during
Insertthe batteryaccordingto the         stand-aloneuse of the magazine,the
polarityindication@in the battery         information may not be shown by the LCD
compartment,and close the battery       panel.
cover.(FigE)                          *The information on the film (type, ISO
Batteryused:Sony CR2032or equivalent    sensitivity and number of exposures) is
lBe sure to watchcorrectpolarity          stored in the memory, but when the
*Wtren the batteryis exhausted,remove     battery power is low this information may
it immediatelyand replacewith a new       be displayed erroneously. Be sure to
battery.Otherwiseaccidentalbatteryfluid    replace the batteries with new ones.
leakagemaydamagethe contacts.

The film speed (lSO sensitivityvalue) is   When there are no batteriesin the
the referencefor all exposureand must   camera,the shutter's"Safety
be set correctly.lf the set value differs     Retraction"feature,keeps it in the open
from the actualvalueof the film in use,    positionand the magazine'sdark slide
under-or over-exposuremay occur.      cannotbe pulledout, even when it is
1. Presstne O (up) button.             attachedto the camera.Film winding
When the LCD paneldisplays          and shutterreleaseare also blockedin
information,pressand holdtne O(up)      this case.
buttonon the bottompart of the LCD for
more than 1 second.The ISO indicator
will blink.(FigE)
2. Set the film speed.
Set the film speed of the film by
View original page 4Page 5 · Read text
(XEI)

    [$       A$


Attaching                         betweenyour fingersand pull it out.
 1. Removethe camera'srear body cap    (Figtr)
and the magazine'sprotectioncap.
2. Fit the body couplerof the magazine   When you load film for the first
                                          time, remove and discard theinto the bottomchannelof the camera.                                         protective paper cover which is
properlycentered. Pleasenotethat@ is    attached to the film rails in the
 in the wrongplace.lt belongsto the other    magazine.
 illustration.(FigE,E)
3. Push the magazineagainstthe          3. Set the film type (120 or 220).
camerabody until it snaps into place.    Push and hold the pressureshaft (D
(Youwill instantlyhearthe shutter        locatedunderthe 645 centerblock.
closing)(Figtr)                        This frees the pressureplate and
                                      permitsit to be turnedand set for eitherDetaching                                  120 or 220 titm. (Figln)
1. Insertthe darkslideintothe                                  *Be sureto alignthe lock pins with the
magazine.(FigE)                      holeson the pressureplate.Thefilm type
2. With your thumb first push button(E    shouldbe displayedwhenthe film is
down and then simultaneouslybutton      loaded on the LCD of the magazine.
@ in. tne magazinewill separateitself
                             When the pressure plate (12O122O)isfrom the camerabody. (FigE)                                        set erroneously:
*When the magazineis removed,the                                                                      '*;lrii":i: ri'shutterwill automaticallyopen,as              Flate.,, 't-oad6d                                               Setting  Film
explainedon the previouspage,under                             'lnaccurate focusino.
"ShutterSafetyRetraction"Filmwinding     120  22Otype  .Film winding after T6
andshutterreleasearealso locked.                            exposures.'lnaccurate focusing.
                                                                                 'After the 16th exposure
 The magazine cannot be attached or                        has been made, the
  detached unless the dark slide is in                              shutter can be released a
  place.                                                        few times until the film's                                                                     leader paper has run out,
                                     220  120 type   but the shutter membrane
                                                      may be damaged by the
                                                                     leader paper at the film
                                                            end or by the film's sticker.
                                                                               /lnsert the dark slide in \
1. Openthe back coverof the magazine.                                            / the magazine and press\
                                                                                                              { the shutter button and    ]By first pushingthe buttonthen button                                                                                                                                    \ the forced film advance /
G) down and then button(l                                                                            \ button simultaneouslv.,/
simultaneously.(FigE)                     4. Attachan emptyspoolto the roll{ilm
2. Take out the roll-filminsert.             insert.
Squeezethe centerblock "645"www.orphancameras.com@         Flipthe roll-filminsert'slowerspoolclip
View original page 5Page 6 · Read text
o
                   @
           @ n


"SPL" away from the spool,fit an        *When the magazine is mounted on the
emptyspool betweentake-upspool       camefa body, the mirror and shutter
studs0   , and returnthe spoolclip        which has been freed will be set in
"SPL" to the originalposition.(Figtr)        position.
                                     *Do  not wrap too much leader paper5. Set the film.
                                       around the empty spool. Otherwise theFlipthe roll-filminsert'supperspoolclip                                                  film section may be exposed to light.
"FlLM" away from the spool,fit a rollof                                   *When  the magazine is separated from
film as shownin the illustration,and        the camera, the power save mode is
returnthe spoolclip "FlLM" to the          activated in 5 seconds after the start of
originalposition.(rigtr)                   stand-aloneoperation and the LCD panel
6. Attachthe leaderpaper of the film to     turns off. To release the power save mode
the empty spool.(Figtr)                 and turn on the LCD panel, press
Gentlypull out some of the leader         the Q  (up) button.
paper,insertthe tip of the leaderpaper    *To  prevent accidentalfilm fogging, do
into the take-upslot of the empty spool,    not pull out the leader paper too far or
and rotatethe spool a few times to         load/unloadfilm under direct sunlight.
                                  *Wnen the film is not wound properly,wrap the leadertape aroundit. (FiglE)
                                            the counter display disappearsand the
7. Insertthe loadedfilm insertinto the                                                            "- - " mark appears in the LCD.
magazine.
While squeezincenterlatchestogether,
placethe film insert,with the feed spool                            When the fixed numberof exposures
on top, in the magazineand with                                 have been taken,the camera
pressureon the left and right blocks@                                     automaticallytakesup the film tillthe
push it into properposition.(Youwill                                 end and stops.The LCD panel on thehear a click).(FiglE)                                magazineshoulddisplayEnd now.
8. Closethe back cover.                                           1. Open the back cover.Push in the upper parl of the back                                  Whileholdingdown the magazine'scoverfirmlyto close it.                                  back cover lock releasebutton, push9. After attachingthe magazineonto                                       the back cover releasebuttonto openthe camerabody,pullout the dark slide                                       the back cover.and pressthe shutterbuttonhalfway;
                                            2. Removethe roll-filminsert.this willfeedthe film automaticallyto
                                Squeezethe releaselatchesof the roll-frameNo.1.Placethe dark slidein the
                                           film insedin the film chamberfrom themagazine'srear storagepocket.(figtr)
                                                 leftand rightthe roll{ilminseftout.*lt  is not requiredto alignthe film start
mark,for the magazinewill automatically   3. Removethe film.
detectfilm frameNo.1from any position.    Flipthe roll-filmclip'sspoolclip "SPL"
View original page 6Page 7 · Read text
away from the spool,and take out the     Photographin the same way as with
film roll.                          120 film. Eightexposurescan be
4. Fastenthe film with a sticker.          taken.After takingthe 8th exposure,
After unloadingthe film roll,attachthe      insertthe dark slidein the magazine,
providedstickeronto it to prevent        then half-pressthe shutterrelease
unrolling.                           buttonwhilepressingin the forcedfilm
*Move the emptyspoolfromthe top to     advancebuttonto wind up the film.
the lower(take-up)compartment,ready
for loadingthe nextfilm roll.

                             O A frequently used product should be
IDo  not unload an exposed film in direct                                         inspected periodicallyat your nearest
sunlight.                                   Mamiya service center.
lThe exposed film should promptly be                             O To prevent contact failure or corrosion,
put in a light tight bag or box and send to                                      do not leave stain, scratch or fingerprint
the processing lab as soon as possible.                                      on the electronic contaqts.
lNever  try to remove the magazinefrom                             O When the equipment is not to be used
the camera body in the middle of film                                                     for a long period, remove the batteries to
winding. Otherwise malfunction will                                         prevent malfunction.
result.                             O tne magazineis not waterproof.When
                                                                              it is moistened,wipe with a clean, dry
                                                   cloth. lf it is exposed to a salt breeze,
                                        moisten a clean cloth, wring it well and
To removepartiallyexposedfilm roll,      wipe the lens with it.
insertthe dark slidein the magazine    O To prevent affecting the mechanism
and pressthe shutterbuttonand the      and film, do not leave the equipment in a
forcedfilm advancebutton                place where chemical gas of naphthalene,
simultaneously.This causesthe film to     formalin, etc. is produced. The surface
be.takenup tillthe end and the               finish may be deteriorated if it comes in
magazine'sLCD panelshows"End".      contact with a solvent.
                             O Wnen the equipment has not been used
                                                   for a long period or before taking an
                                          important picture, always try shooting to
 llf  you continue photographing after the                                  make sure that they function normally. In
8th exposure when using 6-exposurefilm,                                      case of problem, have your nearest
the shutter membrane may be damaged                                   Mamiya service center inspect them.
by the leader paper at the film end or by
the film's sticker. Use the procedure
described below.             www.orphancameras.com
View original page 7From the M. Butkus archive. Original publisher and archive notices are retained.
Check the model and edition against your equipment.
PDF verified 2026-10-10.