Camera accessories
Mamiya 645AF NC401 Auto Bellows User manual
User manual for Mamiya 645AF NC401 Auto Bellows. 17 pages in English. Read the original PDF, download or print a copy without registration.
17 pagesEnglish1.5 MB PDF
Loading your manual…Open PDF directly
Document details
- Brand
- Mamiya
- Model / document
- Mamiya 645AF NC401 Auto Bellows
- Document type
- User manual
- Language
- English
- Pages
- 17
- File size
- 1.5 MB
- Category
- Camera accessories
- Document date
- Not specified in catalog
Search available document text
Find a term, then jump to its page in the original PDF. Image-only pages may not be searchable; check the PDF for exact wording and diagrams.
Page 4 · Read text
www.butkus.us


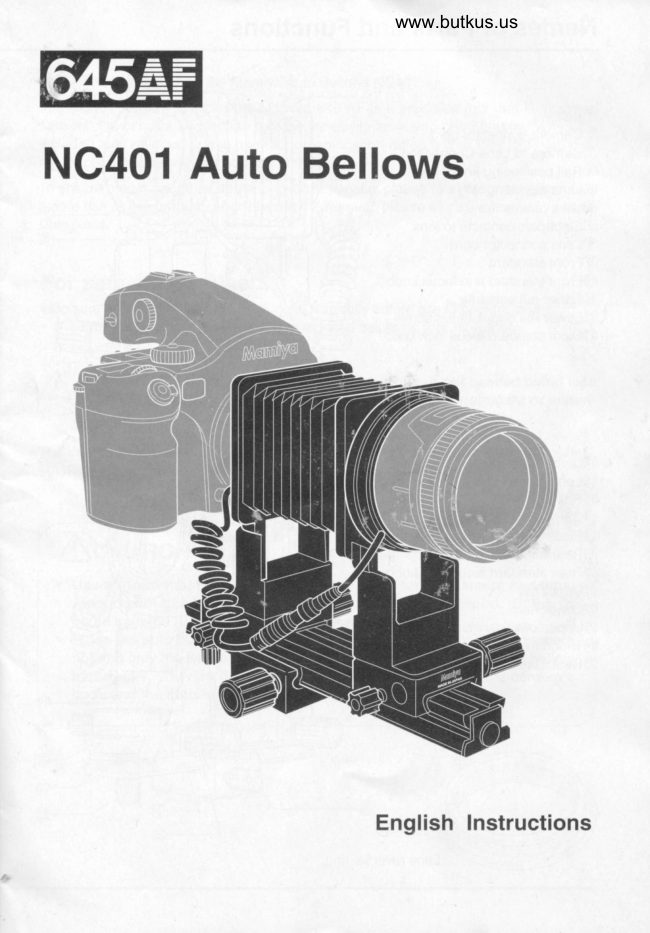
       Thank you for purchasing the Mamiya Auto Bellows NC401
      The NC401 Auto Bellows for the Mamiya 645 AF is a precision tool that is mounted
       between the camera and lens to provide the ability for macro photography. When the
       included lens reversal ring is used for magnification ratios higher than 1:1, you may
        record photographs with low aberration.
       To ensure proper operation and a long life of service, please read this manual carefully
        before use of this product. After reading the manual, please store it in a readily acces-
         sible place.

     For safe, proper use
                                                                        prevent injuries.            ' Be sure to read the "safety Precautions" carefully before use to
            ' The symbols and their meanings are described below for your reference:
   AcnunoN  '. toThispersonalindicatesinjuryinstructionsor damagewhichto yourif notequipmentheeded couldor materi-lead
                                   als.

      The instructions following the above symbol include important information on safety.
       Please regard the Safety Precautions  for the safety of you and your equipment.

    AcnunoN
         Use a tripod that provides sufficient strength for the camera and lens.
            Also, do not transport the camera while mounted on a tripod. Doing so
           could damage the camera or cause personal injury.
 I        when the auto bellows is mounted on the camera, do not lift the camera
           holding only the lens or viewfinder. By holding the camera or auto bellowi            incorrectly, you risk damage to the camera. Always hold the camera's
         body and the auto bellows' rails simultaneously.
                           Z,K               8o(Av^ f   $.o,*.Or,e W
                                               rv,ua                        I G7     reea
View original page 4Page 6 · Read text
www.butkus.usFunctions of parts

  Afways support the body or auto bellows with your hands when per-
  forming these operations.

Mounting on a tripod
Position the Auto Bellows' mounting block over the tripod head, align the tripod screw
with the female threads on the mounting block and tighten the screw securely.

Disconnecting the connectors
                                  Always disconnect the connectors before de-
                                          taching the camera or the lens.

                                *Before making any exposures, make sure
                                 the lens and camera connectors are
                                      securely connected to one another.
--.*t
View original page 6Page 7 · Read text
Mounting the camera
                                              1. Loosen the camera mounting ring lock knob
                   @ tulty until  it stops, line up the mark G) on the
                                  camera mount ring with the mark @ on the auto
                                          bellows, and then remove the camera mount-
                                           ing ring from the auto bellows.


         www.butkus.us

                                        2. Line up the mark @ on the camera mount
                                              ring with the camera's lens mount mark O, in-
                                              sert the ring, then turn the ring clockwise  until
                                                                        it stops. The camera mount ring is properly
                                  mounted to the camera when a click is heard.


                                              3. Line up the mark G) on the auto bellows with
                                      the mark (D on the ring mounted on the cam-
                                         era, and insert into the camera mount in the
                                     auto bellows. Select the horizontal or vertical
                                         position and fasten in place using the camera
                                     mounting ring lock knob G).


                              5
View original page 7Page 8 · Read text
www.butkus.us

Detaching the camera
                                                 1. Loosen the camera mounting ring lock knob
                            @, line up the mark @ on the camera mount-
                                        ing ring with the mark O on the auto bellows.
                                       then remove the camera from the auto bellows.


                                             2. Slide and hold the lens release button O to-
                                 wards the rear of the camera, then turn the
                                camera mount ring counter-clockwise and re-
                               move  it from the bodv.


          Horizontal position                                Vertical position
View original page 8Page 9 · Read text
Mounting the lens
                                                 1. Loosen the lens mounting ring lock knob @
                                                   fully until it stops, line up the mark @ on the
                                          lens mounting ring with the mark O on the auto
                                        bellows, then remove the lens mounting ring
                                      from the auto bellows.


                                           2. Line up the mark O on the lens mounting
                                           ring with the lens'mount mark G), insert the
                                       lens into the lens mounting ring, and turn the
                                          lens clockwise until  it stops.


www.butkus.us
                                                 3. Line up the mark G) on the auto bellows with
                                       the mark @ on the ring mounted on the lens,
                              and insert into the auto bellows. Line uo the
                                  mark (D on the lens mounting ring with the mark
                   O on the auto bellows, and lock in place using
                                      the lens mounting ring lock knob O.
View original page 9Page 10 · Read text
www.butkus.us

     Detaching the lens
                                                        1. Lens mounting ring lock knob @ fully until  it
                                                 stops, line up the mark @ on the lens mount-
                                                  ing ring with the mark O on the auto bellows,
                                             then remove the lens mounting  ring.


                                                                 2. While pressing the lenq detach button @, turn
                                               the lens mounting ring counter-clockwise and
                                          remove  it.


F-*

H

il;'i
st


r{


h'{ryi:


4
t
 ]
 nl
 tls


H

n
F4

H

fl
View original page 10Page 11 · Read text
Operating the auto bellows'rails
When focusing,  it is possible to move the entire auto bellows forward and backward on
the rails instead of moving the tripod's position.


                        When shooting wide objects
                             When the upper and lower rails are positioned
                                           at right angles, the entire auto bellows can be
                                moved in a parallel action to the left and right
                                       while maintaining a perpendicular position to
                                         the subject. For example: Use this to take two
                                       equal magnification photographs of long objects
                                              that do not fit on a single photograph.


                                            1. Fully loosen the upper/lower rail mount lock
                              knob @ and pullthe upper rail G) towards you
                                         to detach it.


       www.butkus.us


                                    2.Turn the upper rail@ on the lower rail@ until
                                       they are perpendicular and then tighten the up-
                                        per/lower  rail mount lock knob.
                             * There are two rail mount positions,'as
                                  seen at left.
View original page 11Page 12 · Read text
www.butkus.usphotographs                        Taking

Focusing
                                               1. Turn the focus mode selector lever on the
                               645 AF body and select "M" (manual focus
                                      mode).
                                      Turn the lens'distance ring and set it to "oo".


                                           2. Turn the front standard fine focus knob @,
                               move the front standard forward along the rails,
                                              to the proper foous/magnification and lock  it in
                                        place with the front standard focus lock knob
                                @.
                               * First determine the shooting
                                         magnification, the shooting range or the
                                         distance to the object, then use the close-
                           up photography tables (page 13) to
                                    determine the lens extension distance.

3. Use the rail positioning knob @ to move the entire camera fonruard or backward and
adjust the focus.
* Loosen the respective lock knobs before operating the camera, lens or rail
  extension knob. Once the motion has been performed, be sure to re-tighten the
  lock knob.
*Note about focus: When the distance from the film back to the subject changes,
  the magnification and perspective changes. All fine focusing should be
  performed with the front standard fine focus knob.

   Using the camera's "mirror up" function prevents camera vibration
   during long exposures and/or macro photography.
   (Refer to the section on taking photos with the mirror up in the 645 AF (body)
   owner's manual.)
View original page 12Page 13 · Read text
Setting the exposure
   1. In the AE (Autoexposure) mode.
    Set the exposure mode setting dial on the body to aperture priority AE ("Av') mode.
    Half-press the shutter release button and look into the viewfinder's at its LCD display for
   an exposure reading.  lf the "-u-" and "-o-" indicators are flashing, you are outside the the
.   camera's exposure metering range and it is not possible to achieve a proper exposure
    reading. Try a wider aperture and/or more intense lighting.
   * ruOfe: The "P" (Program AE) and "Tv" (Shutter Priority AE) modes are not
      available using the auto bellows.
   2. In the M (Manual) mode.
    Set the aperture and shutter speed as desired, then half-press the shutter release but-
    ton. The difference between the set value and the measured value is displayed in the
    viewfinder's LCD panel.
   * Set the lens' aperture to between Fl1 and F22. lt the aperture is too wide, the
     depth of field will be extremely shallow.


                                         11
View original page 13Page 14 · Read text
Reversedwww.butkus.uslens photography

At magnifications greater than 1.0, mount the lens in the reverse direction using the
included lens reversal ring to achieve photographs with increased performance.
Mounting the lens reversal ring
                                             1. Screw the lens reversal ring into the  f ilter threads
                               on the front of the BOmm f/2.8 AF lens.


                                       2. lnstall the lens mounting ring on the rear of the
                                            lens.


                                       3. Line up the notch @ on the lens reversal ring
                                     with the pin @ on the auto bellows and lock it in
                                  place using the lock knob @.

                                          4. Focus and metering are performed in the same
                             way as described on pages 10 and 1 1 for normal
                                      orientation of the lens.
                            *  lt ttre distance scale is hard to see, loosen
                                     the lock knob O, move the cord so that  it does
                                   not hamper your view, and turn to a position
                                       at which the distance scale is easy to see.
                                 Lock the lock knob @ when finished.


                               12
View original page 14Page 16 · Read text
Handlingwww.butkus.usprecautions

. Do not let the bellows get wet or accidentally crushed. Doing so may deform
  the bellows permanently.
. Do not attempt to disassemble the auto bellows or modify them in any way. lf
 you need assistance with this accessory, please contact thb nearest Mamiya
  service center.
. Oil, dust, fingerprints or water on the electronic contacts could result in mal-
  function or corrosion. Wipe such substances  off with a clean lens cloth.
. Do not expose the auto bellows to chemicals or gases for long periods of time.
  Doing so will damage the surfaces and materials.
. Do not use solvents. Exposure to such will damage the surfaces of the auto
  bellows. To clean, wipe gently with a soft, dry cloth.
. When the camera has not been used for a long period of time or before taking
  important photographs, either take a trial photograph to check that the camera
  is functioning normally or contact your nearest Mamiya office or service center
  for an inspection.


 C.
View original page 16
From the M. Butkus archive. Original publisher and archive notices are retained.
Check the model and edition against your equipment.
PDF verified 2026-10-10.