Film cameras
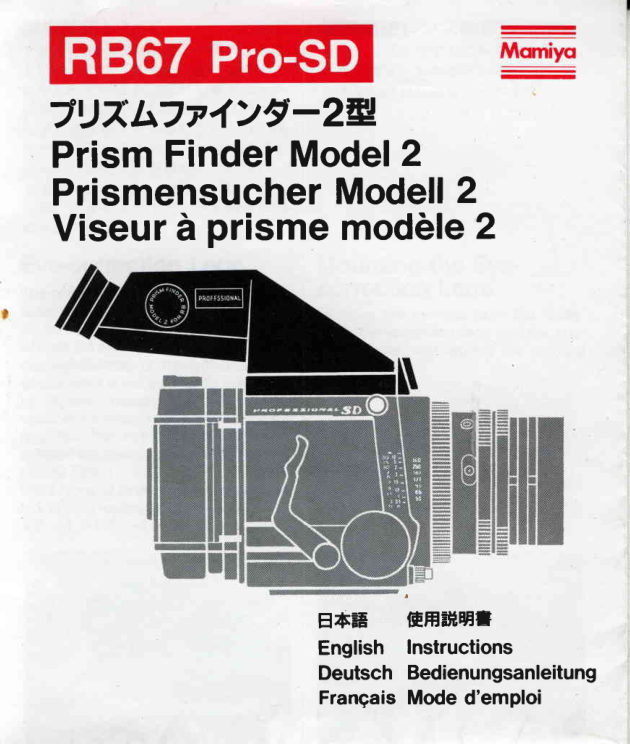
Mamiya RB67 Pro Sd Model 2 User manual
User manual for Mamiya RB67 Pro Sd Model 2. 6 pages in German, French. Read the original PDF, download or print a copy without registration.
6 pagesGerman, French0.8 MB PDF
Loading your manual…Open PDF directly
Document details
- Brand
- Mamiya
- Model / document
- Mamiya RB67 Pro Sd Model 2
- Document type
- User manual
- Language
- German, French
- Pages
- 6
- File size
- 0.8 MB
- Category
- Film cameras
- Document date
- Not specified in catalog
Search available document text
Find a term, then jump to its page in the original PDF. Image-only pages may not be searchable; check the PDF for exact wording and diagrams.
Page 2 · Read text
7u7h7v1>E-24,
PrismFinderModel2
PrismensucherModell2
Viseuri prisme modble2


                        E6iE   EHEHEET
                          English  Instructions
                        Deutsch Bedienungsanleitung
                         Frangais Mode d'emploi
View original page 2Page 3 · Read text
)t >.jr.@.fl,Dttlt.fi
                                                       rt ./ . aY >  | z - F L lElffi/)ti*?
a o > 7 t ) A a 7 r 4  > 7 . - l j .  = i t      €B,H,L*f"
R B i:q( 0 Fr|J(.  30"o>frq-h'c'BEb        l .  u 7 l - z - l - ' a l j f    L * f "
                                  2 . j t ) A L 7 r 4 > f - a E f f i a 4
7 4 v .s ) vta  l&ft2r,=t:v. "-.1,fF f,tJt 3 "     -^t[a.     ftFl-rQa>hfrit:fifirt' L.  {*
/L-^({*#     : 1.8f*                        #.tt ,s-   t f'EP@ ahftli:tjf   L* 3"
                                  3 . trffi1h#$a 2*a-td>t,       /r ./ ,
                                                                   t 7 - a h ?        t : i j } b . 7 t ) A a 7   r 4
                                > f -affi#Fa+F8 L/shr t"   ;ir-/\
                                              tE.t na>fiy E * (" L ">h' I 6 U L *f.
                     Mountingto the Gamera
By usingthis eye-levelfinderwith your   Mountingthe eye-levelfinderis identical
Mamiya RB, you can view the subject   to that of the focusing hood.
correctryupright and sideways from a    1. Removethe focusinghoodfromyour
30" angle. The bright image finder   camera.
greatlyeases eye-levelpicturetaking.    2. Slide the name plate on the front to
Magnifiermagnification:1.8x            the directionmarked by arrow@,then
                                removethe protection@ver by pullingit
                                  as indicatedby arrow@.
                                           3. Slip two prongs on the rear bottom
                                            into grooves on the camera body.
                                   Returnthe name platefirmlyto its orig-
                                            inal positionwhile holdingthe front of
                                      the finder.


                            www.orphancameras.com
View original page 3Page 4 · Read text
Befestigungan die
                   Kamera
Durch Verwendung dieses in ihren   Die Befestigung des Augenniveau-
MamiyaRB eingebautenAugenniveau-  Suchersgeschiehtgenausowie beider
Suchers, k6nnen sie das Objeh   Scharfeinstellhaube.
aufrechtstehend und   seitenrichtig   1. Nehmen Sie  die  Scharfeinstell-
anvisierenund es von rechtsnach links   haube von ihrer Kameraab.
mit einem Winkelvon 30x korrigieren.  2. Verschiebensie die Namensplakette
Erleichtertder Hellbild-Sucherbetr6cht-   auf der Vorderseitein die mit dem ffeilO
lichdie Bildaufnahmeauf Augenniveau.  markiertenRichtung,danachzur Entfer-
VergrdBerung:1,8 fach              nung der Schutzkappeziehen Sie in
                                   Richtungdes ffeils@.
                                           3. Lassen Sie zwei Zacken auf der
                                       Rtickseitein die Rillenauf dem Kamera-
                               boden gleiten.BringenSie die Namen-
                                      splakette in  die vorherige Position
                                     zuruck, indem Sie die Vorderseitedes
                                 Suchersfesthalten.
                   Montagesur I'appareil
En utilisantce viseur pour prises de   Le montagede ce viseur est identique
vues d hauteurd'oeil avec le Mamiya       i celui du bonnetde mise au Point.
RB, il est possiblede voir le c0t6 droii    1. Tout d'abord d6poser le bonnet de                                 mise au point de l'appareil.du sujet redress6et de c6t6, et de cor-
rigerde la droitevers la gauched partir    2. Faire coulisser la plaquede signali-
d'un angle de 30'. Le viseur d image   sation vers I'avant dans la direction
claire facilite beaucoup les prises de   marqu6epar lafldche@.Puisenleverle                                      couverclede protectionen le retirantdevues d hauteurd'oeil.                                            la manidreindiqu6epar la fldche@.Grossissement:1,8 fois                                          3. Faire coulisserles deux fourchettes
                                  se trouvantau fond d I'arridredans les
                                      rainuresdu boitier.
                              Ramener la plaque de signalisaiton
                                 fermementsur sa positiond'originetout
                                en maintenantla partieavantdu viseur.
View original page 4Page 5 · Read text
?EtrffiiEV>7               +EEffiiEV>7a).il,Dftfffi
7  r 4 > /'-  o>EX.l*.B.-fryalnha      7 4 tr 'v7"t  ijf  L <h't>. +*HE*,<
   f:A*rri(.   -E+f    ( IEtttt u' J  j
 t:Its c,ll(  u. *  f  " 1E+F,+E4F.rDnr     'v 7" t )cE I;  I f:lJ&b[A  *  f  "
*raffiit(u.14v.fr,   fr>6 u.ij&brria
 t: j 6trL,f}'HEnf*?-Tttt.t{J.  E4
t*h:R f: < < /rboT,   .O4ntr+HE
 v > A  G \ f i , ( )) A t j f t r t . ( / : - 8 v . "
 + 3 ,  + 2 ,  + I ,    - 0 . 5 ,  - 1 ,   - 2 ,
'-   3,  -  4f    I t7t   -a  gtF+Fr"H
 ,e,*3*t-( u. *  f  "
Eye-correctionLens     Mountingthe Eye-
The opticalsystemof the camera finder  correction Lens
is designedfor easy, fatigue-freeview-   Remove the eye-cup from the finder.
ingfor userswithnormalvision.Persons  Push the correction lens into the eye-
who do not wear glassesin spite of their   piece frame, and replacethe eye-cup
nearsightednessor farsightedness,or    in position.
whose sight is not sufficientlycorrected
by glasses, usually find  it difficult to
observethe finderimage.Such persons
may find this eye-correctionlens (an
optionalaccessory)a boon to facilitating
picturetaking.
Eight types of lenses are providedfrom
+3 to -4 diopters(each diopteris +3,
+2, +1, -0.5, -1, -2, -3 and -4).


                             www.orphancameras.com
View original page 5Page 6 · Read text
Augenkorrektur-Linse  Das Befestigender Au-
Das optischeSystemder Kamera ist fur  genkorrektur-Linse
Benutzermit normalemSehverm6gen  EntfernenSie die Okularmuschelvom
zum einfachen und ermudungsfreien                                   Sucher.SteckenSie die Korrekurlinse
Anvisieren eingestellt. Personen die    in die Okularfassungund befestigensie
trotz ihrer Kurzsichtigkeit,Weitsichtig-                                       die Okularmuschelwieder.keit keine Brille tragen oder Personen,
deren Fehlsichtigkeitnicht durch einer
Brille korrigiertwurde, finden es nattlr-
lich schwierig ihr Sucherbild anzuvi-
sieren. Diese Personenwerden diese
Augenkorrektur-Linse(eine Zusatzein-
richtung) als  Erleichterung bei der
Aufnahmevon Bildernansehen.
Es sind acht Linsentypenlieferbar,von
+3 bis -4  Dioptrienflede Dioptrieist
+3, +2, +1, -0.5, -1, -2, -3 und
-4).
Lentillede correction
dioptrique
Le systdmeoptiquedu viseurest congu   Huit types de lentillessont disponibles
pour une observationais6e et sans    allant de +3 a -4  dioptries (chaque
fatigue par les utilisateursayant une   dioptrieest de +3, +2, +1, -0.5, -1,
vision normale.Les personnesne por-    -2, -g et -4).
tant pas de lunettesmalgr6leurmyopie
ou presbytie,ou dont la visionn'estpas  Montagede la lentillede          manidre                         avecconig6e       de                  appropri6e                                        le  correctiondioptrique                                  qu'il          lunettes,                  trouvent                                 estport de
d'habitude ditficile d'observer I'image  D6tacher le bonnet de I'oculairedu
d travers le viseur. Ces personnes   viseur. Pousser la lentillede correction
remarqueront que  cette  lentille de   dioptriquedans le cadre de I'oculaire
correctiondioptrique(qui est un acces-   et remettreen position le bonnet de
soire en option) repr6senteun grand   l'oculaire.
avantage pour faciliter les prises de
vues.
View original page 6
From the M. Butkus archive. Original publisher and archive notices are retained.
Check the model and edition against your equipment.
PDF verified 2026-10-10.