Film cameras
Mamiyaflex User manual
User manual for Mamiyaflex. 14 pages in English. Read the original PDF, download or print a copy without registration.
14 pagesEnglish3.9 MB PDF

Loading your manual…Open PDF directly
Document details
- Brand
- Mamiya
- Model / document
- Mamiyaflex
- Document type
- User manual
- Language
- English
- Pages
- 14
- File size
- 3.9 MB
- Category
- Film cameras
- Document date
- Not specified in catalog
Search available document text
Find a term, then jump to its page in the original PDF. Image-only pages may not be searchable; check the PDF for exact wording and diagrams.
Page 3 · Read text
--  :,l{5.r;      -  -  .' -----r--T,f - -=TrqTI--      mv !G!c}  ,q
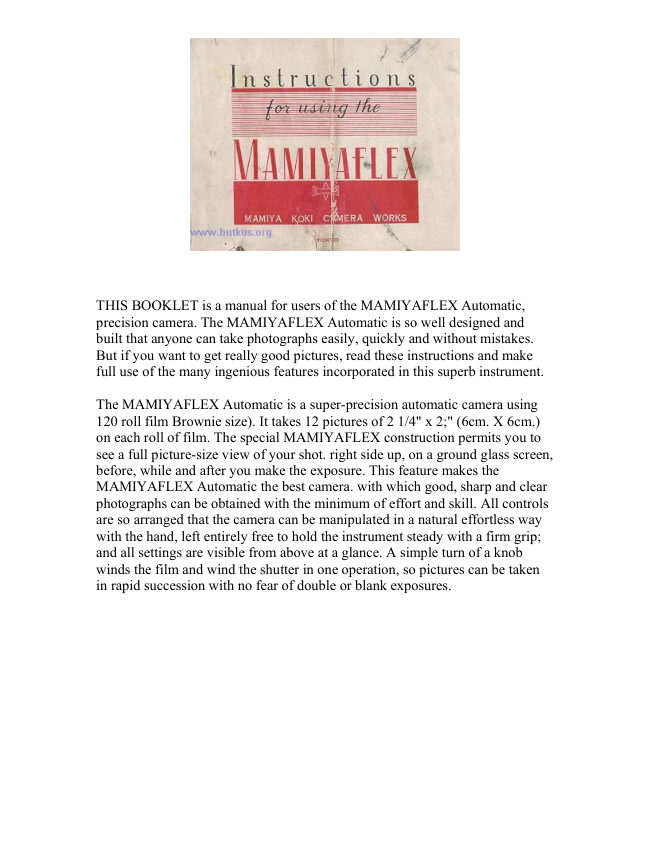
                                              www.butkus.us                             \-   THIS BOOKLET is a manual for users of the MAMIYAFLEX Automatic, precision
camera. The MAMIYAFLEX Automatic is so well designed and built that anyone can
take photographs easily, quickly and without mistakes. But if you want to get really
good pictures, read these instructions and mdke full use of the many ingenious features
incorporated in this superb instrument.
   The MAMIYAFLEX Automatic is a super-precision automatic camera using L20 roll
film Brownie size). It takeb 12 pictures of 2l'x2\tir  (6cm. X 6cm.) on each roll of
film. The special MAMIYAFLEX construction permits you to see a full picture-size view
of your shot. right side up, on a ground glass screen, before, while and after you make
the exposure. This feature makes the MAMIYAFLEX Automatic the best camera. with
which good, sharp and clear photographs cqg be obtained with the minirnurn of effort
and skill.  All controls are so arranged that ih" ."-"ra  can be manipulated in a natural
effortless way with the hand, left entirely free to hold the instrument steady with a firm
grip; and all settings are visible from above at a glance. A simple turn  r.rf a knob winds
the film and cock the shutter in one operation, so pictures can be taken in rapid succes-
sion with no fear of double or blank exposures.

                                     (2:)
View original page 3Page 6 · Read text
7
         A. FILM for the MAMIYAFLEX
         The MAMIYAFLEX Automatic will take any standard make of black and white
        color film of the 120 (Brownie) size. Each roll of lilm is sufficient for L2 exposures.

         B. LOADING the MAMIYAFLEX with FILM
           1. Disengage Back-Lid Lock Catch
         (12) and open up Back Lid Panel (21.)                                                                           .
        2  Pull out Spool Stud (15b), place
       the film in Film Chamber (1-8), fitting
        the grooved end of the spool to Spool
       Stud (15b). The spool clips in try it-
        self. tFig.4)


                                                                                       (Fig.
View original page 6Page 7 · Read text
www.butkus.us
              3. Remove paper seal of film roll
         and pull out enough of the paper lead-
          er to reach Take-Up Spool (l-9.) lnsert
         end of paper leader in slot of Take-Up
         Spool. (The black side of the paper
           leader should face the interior of the
          camera.) Check to see if film will be
+          taken up properly by giving the Film-
         Winding Knob a little twist. (FiS. 5)
                                                                               (Fig. 5)
d            4. Close Back-Lid and lock. When
          this is done, the figure " O "  will   autor.:ratically appear in Film Frame Indicator
        W'ndow (2).
             5. Turn Film-Wind Knob (3) until  it st,rps. Now everything is ready for exposing
          the first frame on the film :  the Film Franre Indicator shows " 1" and the shutter is in
            cock-


                                           (6)
View original page 7Page 8 · Read text
r         C. FILM TAKE.UP
          When the shutter is tripped ancl an exposure is made, the Film.Wincl f<*'bq$*,"-
         matically released. Turn the Knob until it stops, the exposed fra:ne will be taken up,
         the shutter will be recocked and the Film Frame Indicator will show the next number,
         D. UNLOADING FILM
            1. When 12 pictures have been taken, tlrus gposing:the entire roll of film, the Film.
       Wind Knob is freed. Keep winding  .rrr,it    of the paper leader is taken up.                                                                "tt
           2, Open up Back-Lid, seal end of fil,rn roll with the gummed paper provided, pull                                                                                        . "-                                                                         ,ii,                                         ''
        out Spool Stud (15a) and remove exnopod;1ll of film.
           3. Transfer empty spool to Take-U[rpbsition  t19).
           4. Close Back-Lid and lock. The Fitmt! Frame,,    Indicator will have returned to ..O ".                                                          i{r&'
                                               .#.
                                  :.../r                                         i/'
View original page 8Page 9 · Read text
www.butkus.us
           E. TAKING PICTURES WITH THE MAMIYAFLEX
             In photography, there are three things to which atiention must be given  :
                        I) Distance
                    2) Exposure Time
                    3) Lens Opening
            Then, for obtaining a really good picture, the subject matter must be properly
^        composed to fit into the frame.
 f         The MAMIYAFLEX Automatic deals with distance and composition in a most ingen-
  '        ious way: Focus is checked by the sharpness of the image on the ground glass screen, tI        which also is exactly as it will appear in the finished print. Depth of Focus --- the range
                                                                                                           '          *ithin which sharp images of the objects irr the picture field will be registered, depend-
         ing on the stopping of the lens opening -- is automatically indicated by the Depth of
        Focus Scale (6).


 '                                 (B)                                                                                                                                                                                                                                                 '.
View original page 9Page 10 · Read text
I- lgqEgq''g-
                       1. Holding the MAMIYAFLEX Automatic: Mani-
                     pulation of all the controls is done with the right hand;
                     so the left hand should be used to support and hold the
                  camera. (Fig. 6)
                       2. When the Hood Lock Catch (14) is disengaged,
                   the Focussing Hood (1) springs into position. Train the
                  camera on the subject matter, look down on ground glass
                                                                        seen(Fig. 6)             screen. Tht: image of the subject matter will be
                      projected on the screen. (Fig. 7)
                       3. Witt: the thumb and middle finger of the right
                    hand, turn the Focussing Knob (7) and bring the screen
                  image into sharp focus. The right forefinger will be rest-
                    ing lightly on the Shutter Trip Bar, ready to release the
                     shutter at any instant shifting the hand from the controls.
                                                                            tFig. 8)
(Fig. 7)                   ( ))
View original page 10Page 11 · Read text
www.butkus.us
   When the shutter is tripped and an exposure is made, it goes without saying that
the two other essentials - Exposute Time and Lens Aperture Stopping - have already
been attended to.
   4. When specially sharp focussing must be done the Image Magnifier (13) is used'
The Magnifier will spring into position when pulled out with the right index finger. tFig. 9)
The eye should be brought down as close as possible to the glass. (Fig. 10i


                     1Fig. 8r                          (Fig. 9)                        (Fig. 10)
                                   (lJ)                                                                                                  r.                         ^2
View original page 11Page 12 · Read text
www.butkus.us
         II.  Shutter Speeds and Lens Stops
   With the MAMIYAFLEX Automatic the setting of shutter speeds anct lens stops can
be done wichout shifting the hold on the c:tnrer:I.
       l.  Shutter Speeds: The shutter speed:;,Rulb. L, 12, 15. 1i10, It25,l,'50.1/100. 11250.
and 1 500 Sec.) are set b-v turning the Shutter Control Dial r11) to the desired readins.
 r N. Il. r . . . . with the shutter set at U500 it is not advisable to change the setting unless
the shutter has lteen tripped end uncocked. This warning zrpplies to all Compur type
shutters. As alread-v stated, the shutter is automatically cocked when the Film-Wind
Nob is turnecl to bring the next unexposnd frame into position. The Cable Relerse
Socket r.9) provided beneath the Shutter Trip IJar enables you to use both cable release
:rnd self-tirrrer.
    2. I.ens Aperture Str>ps: I.ens ()pening is controled by the I.ens Stops Control Dial
r10t. Lens speeds can be v:triecl from F 3.5 to F ll2.


                                         ( 1l )
View original page 12Page 13 · Read text
t
;                                                F.  FLASH PHOTOGRAPHY
Il                                       with the MAMIYAFLEX
                                     The MAMIYAFLEX Automatic is fitted with a
                                              precision flash synchronizing mechanism. Th.ere is
                                              therefore no need for a special synchronizer; zlnd
                                        u'hen the MAMIYA FLASH EQUIPMENT is used,
                                                             ali tha1" need be d.one is to cr>nnect the s1'nchroniz:ng
                                                lead wire to the Synchro-Flash Terminal (17). (Fig. i1l    /
                                            Other flash attachments available on the market
                                            nrav be used with siight nrodifications to end of the
                                                    ivire lead.
                       tFig. 11)
View original page 13Page 14 · Read text
G. WHEN NOT IN ACTUAL USEwww.butkus.us
    1. Before closing cover of the MAMIYAFLEX field case, it  is advisable to with-
draw the lens-shutter assembly by turning the focussing knob to infinity (o).                        .,
    2. Care should be exercised not to lose the double lens cap which affords protecUon
to the cqated lens against scratches, dust and moisture.


         MAMIYA-KOKI CAMERA WORKS
                    Hongo l-Chome, l3unkyo-ku, Tokyo
                       eable Address " l\'iAMlYA" TOKYO


                            113)
View original page 14Related documents and language editions
From the M. Butkus archive. Original publisher and archive notices are retained.
Check the model and edition against your equipment.
PDF verified 2026-10-10.