Film cameras
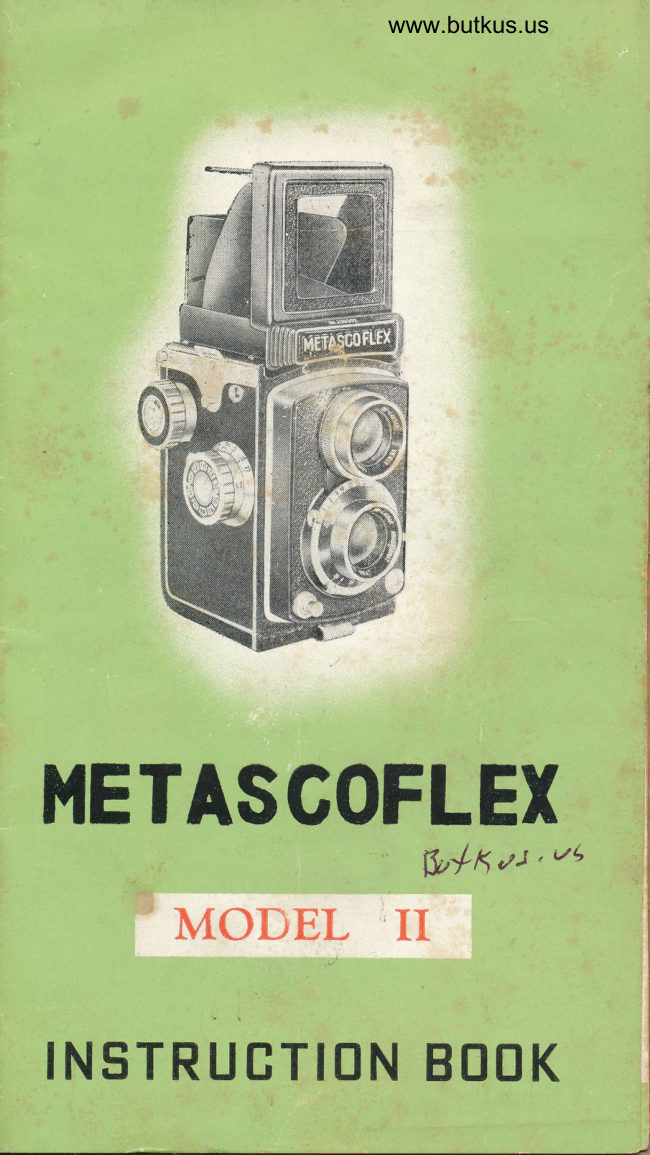
METASCOFLEX Model II User manual
User manual for METASCOFLEX Model II. 9 pages in English. Read the original PDF, download or print a copy without registration.
9 pagesEnglish5.1 MB PDF
Loading your manual…Open PDF directly
Document details
- Brand
- Metascoflex
- Model / document
- METASCOFLEX Model II
- Document type
- User manual
- Language
- English
- Pages
- 9
- File size
- 5.1 MB
- Category
- Film cameras
- Document date
- Not specified in catalog
Search available document text
Find a term, then jump to its page in the original PDF. Image-only pages may not be searchable; check the PDF for exact wording and diagrams.
Page 4 · Read text
www.butkus.us


   l.  Film !/inding Knob
  2.  Exposure Counter
  3. Film Winding Release Button
  4.  $(/inding Knob Reversing Press Button
  5.  Focussing Knob
  6. Shutter Speed Dial
  7" Shutter Cocking Lever
  B. Shutter Release Button
  9. Lens Aperture Lever
 10. L-ens Aperture Dial
  I l.  Flash Synchronizer
 12. Taking Lens .|3.       Self-l imer Charge Lever
 14. Finder Lens
 15. View Finder Flap
 16. Finder Hood
 17. View Finder Window .|8.     View Finder Button
 19. MagniFying Lens
 20. Back Lid Lock
 21. Red Mark
 22. Film lndicator


                                   -2\


(Fig. 2)                     (Fig. 3)
View original page 4Page 5 · Read text
LOADINO THE FILM
  Open the Back Lid Lock (zo) by turning
the lever toward the position marked ttOtt
 (fig. s). Push the lid backward.
   fnsert the film spool into the chamber (fig.
B), draw out the lid paper and insert it  into
the slit of Take-up Spool (f is. 7). Keep wind-
                                               rheins the Film !/inding Knob ( I )  until
double arrow appears on the edge of the lid
paper and stop when they aline with the Red
Mark (zl) on the camera (f'g. 6).
  Close the Back Lid and put the lock in place
by turning lever toward the position marked
u  Lt!.


                            ffi
                            itu           (Fig" 5)
                                                                                                    S${r.ir+:

                                      m,tn
        (Fig. 4)
View original page 5Page 6 · Read text
www.butkus.us

   V/hile pressing the Film \X/inding Release
 Button (s) with one  f inger, simultaneously
 push down the Winding Knob Reversing Press
 Button (+)  with other  f inger, so the marl,.
 tt Stt will appear in the Exposure Counter (z).
  Then wind the Film Winding Knob until it
                                tt  ttstops - the numeral     I   will appear in the Ex-
posure Counter.
  The f;lm is now ready for the first exposure.
After each picture is taken, press the Film
!/inding Release Button and wind the Film
!/indlng Knob until it stops again with Ex-
posure Counter registering next number. Re-
peat the same routine until 12 exposures are
taken.


                                                                                                                       (                                          Fie" 8)


                       (Fig. 7)


 (Fig.  6)
View original page 6Page 7 · Read text
FOCUSSING
                                                 ( 16 ) .  Push the View   Lift the Finder Hood
Finder Flap (rs)  lishtly, so the magnifvins
lens snaps into position. While looking at the
image appearing on the ground glass screen/
focus the lens by turning the Focussing Knob
(s) forward or backward.
                                    down  To close the Finder Hood, press it
light[y an.d it will fold in one action.
    I,n. case of taking snapshots or eye ievel
height surbjects, use the View Finder Window
by pressing down the Center Flap until it folds
down, cor,r,pletel'y. To close the View Finder
Flap, press the View Finder Button (tA)


     SETTINC THE SI{UTTER
  Turn the Shutter Speed Dial (6) to time
required and then press down the Shutter
Cocking Lever (z) until it stops-
SETTING THE LENS APERTURE
  Adjust by turning the Lens Aperture Lever
                                           arrow ( q)  to  lens aperture required. The
indicates correct aperture.
HO\(/ TO USE CABLE RELEASE
                                              by  Use the Over-lap type cable release
screwing on Body Shutter Release (B).
View original page 7Page 8 · Read text
www.butkus.us

     UNLOADING THE FIL/V{
   After the last exposure is taken, wind the
 Film \X/inding Knob until the  f ilm is wound
 completely. Then open the Back Lid and take
 out the exposed  f ilr.   Transfer the empty
 sgool to Take-up Spool chamber.
   I.IO\T TO USE FLASI.I SYNCHRONIZER
   Europeen type Synchronizer is built in  aneJ
 concealed in the body of camera. Use class
                                                                                                                                                                   |M bulb for the shutter speeds of  I to                                         /25
and class F bulb tor any speeds.
       FILM INDICATOR
  The film indicator is an added feature for con-
venience in knowing what type cf film has been
loaded in the camera. For example, if an East-
man Super XX film or equivalent is being used,
turn the dial on the film indicator (zz) to the
red dot. The numerals in black are for black
and white films and the numerals in red are for
color  f ilms. You rnay follow instructions as
given in each package of film but the expo-
sure index below may also serve as  ' your
guide.   '          Ansco Supreme            Eastman Super XX
          Agfa Inpan F             Agta Inpan ISS
Daylisht ASA 50 WESTCN 40   ASA  l OO WESTON BO
Tunssten ASA 40 WESTON 32   ASA BO WESTCN 64


                                      lndicator turning nibs
View original page 8From the M. Butkus archive. Original publisher and archive notices are retained.
Check the model and edition against your equipment.
PDF verified 2026-10-10.