Film cameras
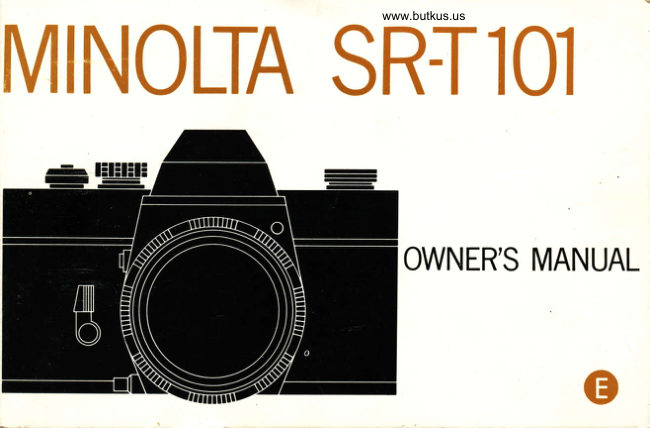
Minolta SRT-101 — service manual sample pages Service manual excerpt
Service manual excerpt for Minolta SRT-101 — service manual sample pages. 4 pages in English. Read the original PDF, download or print a copy without registration.
4 pagesEnglish0.7 MB PDF

Loading your manual…Open PDF directly
Document details
- Brand
- Minolta
- Model / document
- Minolta SRT-101 — service manual sample pages
- Document type
- Service manual excerpt
- Language
- English
- Pages
- 4
- File size
- 0.7 MB
- Category
- Film cameras
- Document date
- Not specified in catalog
Search available document text
Find a term, then jump to its page in the original PDF. Image-only pages may not be searchable; check the PDF for exact wording and diagrams.
Page 3 · Read text
-28-


    When  the adjustment   is  to  be made from  the                Fig. 25
      befinning,  turn  the adjustment screws about three
      turns  to raise them  from  their   initial  positions
     where  the adjustment  screws have been screwed
        first.   Then,  start  adjustment  from  such  raised
      positions. When adjustment  is made, care should
     be taken not  to disconnect the lead wires or give
    damage to the meter since the yare located adjacent
      the  adjustment   screws.  When  the  following
     adjustment  from  a)  to d)  is made and when you look  the image, ca.re must be  taken  to
       lightly  press or hold the pinchers portion.  Then,  tighten  three setscrews (qrgz)  and check
     again  if the image  is in focus at such tightened  position.
    a)  When the left portion  is of a wave form as illustrated
                                                                 Fig. 26
           in the right  figure, the left side is insufficient so that
         the focus adjusting screw on the left must be lowered
          for  adjustment.
    b)  When  the  left  portion  is of crossing waves form, the              Left  side
                                                                                   insufficiency
            left  side is over or  in excess so that  the   left  side
        focus adjusting screw must be raised for adjustment.
        Conversely when  the  right  side  is of a wave form     O         or crossing waves form,  the  right  side is insufficient
         or excess respectively, so that  the  right  side  focus       Left  side over
         adjusting  screw must be adjusted accordingly.
    c)  When  the lower  portion  is of a wave form as shown
          in the  right  figure,  the lower  side is insufficient  so
         that   the   lower  focus  adjusting  screw  must  be                                                                      Lower  side
        lowered  for adjustment.                                             insufficiency
    d)  When  the lower portion  is of crossing waves  form,                                                                         ,{
         the lower side portion  is in excess so that the lower
                                                                                                                                                                                                     II'              OOO
View original page 3Page 4 · Read text
-29-


                  9.  Engage the connecting string   for a  pointer (SOSS) and
                  loosen two  setscrews(Bff-f.aX2.5)    for   the  index
                      position adjuster (Zf Og) on the shutter mount base plate
                      -A.   Then move the adjuster (zf Oe) in such a manner
                       that  the screw head of the setscrew  is located  at the
                    center of the elongated slot of the  adjuster(ZtOa)  and
                    then tighten  the setscrew.  Set the shutter  base plate
                   -A  to bulb and one knot  portion  of the index coupling
                     string(sos3)   is inserted throuth  the  hole of the  joint
                   gegr (ZtS+) on the  shutter  mount  base plate A  and
                     pulled  out  outwardly   of  the  ctmera  body from  the
                   beneath of the  film  sensitive  ring (zOrO) so that  the
                    knot  portion   is engaged with  the  slot of the  adjuster
                     (2163), as  illustrated  in  the  figure.  Rotate but  not
                                                                    Fig. 29
                        twist  the shutter speed cam shaft (Zf SO) unerneath the
                     sensitive ring (zOro) so that the  coupling string (soss)
               may be engaged into the slot of the string pulley (AOfi).
                    Rotate the cam shaft (sOsO) in the clockwise  direction
                      four times so that  the notch portion  of the cam shaft
                    (sosO) may be positioned at the right  overhead position.                  B il- 1,4X 2.5.JL'lil--                 Engage the coupling string (sOsg) with  two  position of
                   the index pulley(sozs) in such a manner that the coupling sting (sosl) may not be twisted
               and connectthe knot portion to the notch portion of the index spring outer tube(SOS6).


                                                 Four times  rotate
                                                     the clockwise direction


                                            -                                   ll0  ltf,rtrte

                   Next, set the shutter position of the  shutter base plate A  to 250 or L25 and install the
                   coupling string (sosg) in such a manner that  the coupling string (sOss) maybe set to the
                 numeral 250 or I25 or the numeral indicator plate within the view-finder as illustrated in
                   the figure and paste the same in position.

                 Fig.

                                             Must be bent
                                                              right angle


                              www.orphancameras.com
View original page 4Related documents and language editions
From the M. Butkus archive. Original publisher and archive notices are retained.
Check the model and edition against your equipment.
PDF verified 2026-10-10.