Light meters
Pentax clip-on meter User manual
User manual for Pentax clip-on meter. 15 pages in English. Read the original PDF, download or print a copy without registration.
15 pagesEnglish6.4 MB PDF
Loading your manual…Open PDF directly
Document details
- Brand
- Pentax
- Model / document
- Pentax clip-on meter
- Document type
- User manual
- Language
- English
- Pages
- 15
- File size
- 6.4 MB
- Category
- Light meters
- Document date
- Not specified in catalog
Search available document text
Find a term, then jump to its page in the original PDF. Image-only pages may not be searchable; check the PDF for exact wording and diagrams.
Page 3 · Read text
The best-planned picture can be ruined by poor exposure.
   Bracketing your exposures may give you one usable negative or
 transparency out of four or five, but it is a needless waste of film
                                                                 meter,     - needless when you realtze that an accurate exposure properly used, will help you to obtain consistently good exposures
            under all but the most impossible lighting conditions.
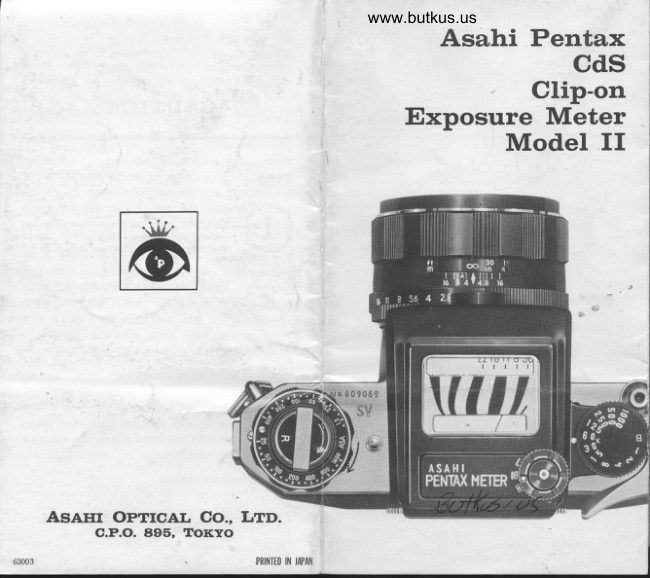
     The Asahi Pentax CdS Clip-on Exposure Meter is an accurate
             exposure meter, and it is easy to use prcperly. lt is
     extremely sensitive and highly selective. As its name implies,
           it simply clips onto your Asahi Pentax, and couples directly
           to the shutter speed dial. lt is light, compact, and fits
          your camera like a glove. Unlike a glove, however, this
          precision instrument will help you take better pictures by
     showing you the proper shutter speed and aperture to use in
                               order to correctly expose your film.
         In front of the meter's CdS cell is a lens which allows the
   meter to measure light at a 30o angle; narrower than'the angle
     of the standard lens. Because of this selective angle system,
  your Asahi Pentax Clip-on Meter will accurately measure exposure
       without being affected by peripheral light which could cause
a false reading. You are assured of a perfect exposure every time   !
View original page 3Page 4 · Read text
www.butkus.us
      SPECIFICATIONS
          Light sensitive element  Cadmium sulfide (CdS)
         Weight                129 gr. (4.6 oz.)
         Angle of measurement   30'
         Coupling system        Couples directly with shutter
                               speed dial and gives reading
                                   of diaphagm settings
         Film speed range       A5A6 - 1600
         Shutter speed range    B,1-1/1000sec.
        Diaphragm range            t lt.4-t 122
        Power source           l.3V mercury battery (Mal-
                                       lory PX-13 or PX-625)
         Battery checker         Push-button battery checker
         Switch positions       "1" (low) for dim light and
                        "H" (high) for high light in-
                                      tensity
         Light input window       Infra-red light-cutting glass
                        Digitally signed by
                  mike butkus
                  DN: cn=mike butkus,mike      o=orphancameras,
                   ou=29,
                   email=mike@butkus.
                       org, c=USbutkus
                     Date: 2018.10.16
                     12:48:28 -04'00'


           A  - Guide scale
           B - Battery checker mark
           G - Meter needle
           D - L (low) switch setting
           E - OFF switch setting
View original page 4Page 5 · Read text
F - H (hieh) switch setting
G - Battery checker button
H  - Swi-tch knob
 I  - Shutter speed index
J  - Shutter speed dial
View original page 5
Page 7 · Read text
I{ow  to attach the rneter to your
carnera

Press the claw release levers (N) and slide the
meter's legs (O) into the grooves on your cam-
era's viewfinder frame as far down as it goes.
Then turn the meter's shutter speed dial in either
direction to engage the coupling pin (S) in the
slot of the camera's shutter speed dial. When
the pin is engaged, turning the meter's shutter
speed dial will also turn the shutter speed dial
of your camera.


      P  - Claws
     Q - Mercury battery cover
      R - Mercury battery replacement Lever
      S - Shutter speed coupling pin
      T  - Film speed index
View original page 7Page 10 · Read text
www.butkus.us
   EIOW TO USE YOUR METEn'

    Figuring exposures with the Asahi Pentax Clip-
   on Meter is easy. First, line up the ASA number
   of the film you are using with the film speed
   index. If you are outdoors and the light inten-
    sity is high, turn the switch to the H setting.
   Then, turn the meter's shutter speed dial and
    set the shutter speed you wish to use opposite
   the shutter speed index. Compose your picture
     then lower your camera to see the meter's    -   needle. Be certain to keep the meter in approx-
    imately the same position as when you composed
   the picture. The diaphragm setting above the
   guide scale which lines up with the meter's needle
    is the correct aperture for your combination of
   film and shutter speed.

     If the needle does not move at the H setting, or
    for indoor pictures using available light, or out-
   doors in dim light or deep shade, turn the switch
   to L.
    If you wish to use a certain aperture  a wide                                           -   one for example, to render the background blur-
r   red   take your reading and line up the selected       -   diaphragm calibration with the needle by turn-
   ing the shutter speed dial. When the diaphragm
    calibration lines up with the needle, the shutter
   speed opposite the shutter speed index is the
   proper one to use.
View original page 10Page 11 · Read text
CAR'E OF YOUR METTn'
   Zero adjustrnent
       If the meter's needle does"not indicate the zero
     point when it is switched off, turn the zero ad-
     just screw to either direction until the needle
      rests exactly on the zero point.
   Battery replacernent
    Mercury batteries of the type used in this meter
    have an extremely good shelf life. A battery
      will give a constant current during its life, and
    when it dies, the current lowers rapidly. It will
      last for approximately one year, depending upon
     frequency of use. When the battery is exhausted,
     the needle will move very slowly, or not at all.
    Push the battery checker butron (G).  If the
    needle reaches the battery checker mark (B),
    the battery srill has sufficient capacity. If the
     needle does not reach the battery checker mark,
     replace the battery. Use Mallory pX-13; or
      its equivalent.

    To replace the battery, simply slide the replace-
    ment lever (R) out of the way and remove the
     battery cover. The battery will lift out easily
    and a new one can be put in its place. Insert
     the battery with the positive (+) side up, in con-
     tact with the batterv cover.


"d
View original page 11Page 13 · Read text
Diaphragm
                              Calibration


                        Zero Point

 Just as there are different ways of taking pictures,
 there are different ways of using your meter to
 determine proper exposure. Here are several
 methods.

At  ttre carnera position
For distant scenes, or when you do not want to
move in closer, point your meter slightly down-
ward to exclude excessive sky light which can
 inflate the meter reading and cause you to under-
expose your subject. Where shadow detail is
important, open up one full stop for black-and-
white and negative colour film, and a half stop
for reversal colour.
At ttre subject's position
For extremely critical exposures, move in closer
and take your reading directly from the subject.
Hold your meter about six or eight inches from
the subject (you may find it convenient to remove
the meter from your camera), making certain
that no shadows are cast by your hand or the
View original page 13Page 14 · Read text
www.butkus.us


 Leaving the meter switched on when not in use
 will rapidly exhaust the battery: Always switch the
 meter off when not actually taking readings   !


 meter on the area being measured. This meth-
od is particularly effective for relatively small
main subject areas such as a person's face, set
 against a much darker or lighter background,
when full exposure of the main subject only is
 important.

Substitute hand rnethod
When it is not practical to take a close-up read-
ing, try a substitute reading by using the palm
of your hand. Hold the meter six to eight inches
away, being careful that no shadows are cast
on the palm.

Take  several readings
It is often best to take readings from different
areas of your subject, using the average expo-
sure to obtain detail in both light and dark pic-
ture areas. This is practical  if no more than
a six-stop difference in high and low readings
exists with black-and-white film, or a three-stop
difference with colour.
View original page 14
Page 15 · Read text
CAUTION


         Keep the battery dry. Don't touch it
             with your finger unnecessarily. Wipe its
             surface completely with dry cloth before
             inserting it into the battery housing.o
           Don't measure the short current. Don't
            try to charge the battery. It will dete-
               riorate.@

          Don't throw a used battery into fire   !
            Don't short the battery I   It may explode.@
          Keep the battery out of the meter when
          you do not intend to use it for a lengthy
            period of time.@
View original page 15From the M. Butkus archive. Original publisher and archive notices are retained.
Check the model and edition against your equipment.
PDF verified 2026-10-10.