Heating & home equipment
Photo Eye Test -- for certain units Equipment reference
Equipment reference for Photo Eye Test -- for certain units. 1 pages in English. Read the original PDF, download or print a copy without registration.
1 pagesEnglish0.2 MB PDF
Loading your manual…Open PDF directly
Document details
- Brand
- Whitfield
- Model / document
- Photo Eye Test -- for certain units
- Document type
- Equipment reference
- Language
- English
- Pages
- 1
- File size
- 0.2 MB
- Category
- Heating & home equipment
- Document date
- Not specified in catalog
Search available document text
Find a term, then jump to its page in the original PDF. Image-only pages may not be searchable; check the PDF for exact wording and diagrams.
Page 1 · Read text
'.: ,,"
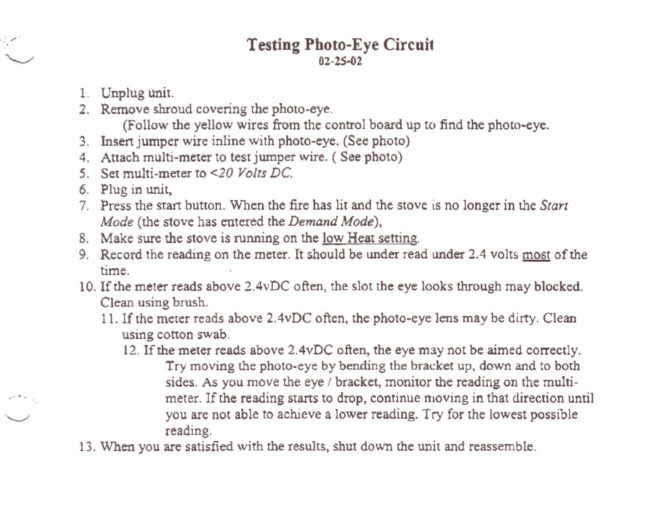
                                   Testing Photo-Eye Circuit
                                                             02-25-02

                 1.  Unplug  unit.
                2.  Remove  shroud covering  the photo-eye.
                     (Follow  the yellow wires from the control board up to find the photo-eye.
                3.  Insert jumper  wire inline with photo-eye.  (See photo)
                4.  Attach multi-meter  to test jumper  wire.  ( See photo)
                5.  Set multi-meter  to <20 VOlTS DC.
                6.  Plug in unit.
                7.  Press the start button. When the fire has  lit and the stove: is no longer  in the STarr
              Mode  (the stove has entered  the Demand Mode),
                8.  Make sure the stove  is running on the low Heat setting.
                9.  Record  the reading on the meter.  It should be under read under 2.4 volts mQ§! of the
                   time.
               10. If the meter reads above 2.4vDC  often, me slot the eye looks through may blocked.
                 Clean using brush.
                   11. If the meter reads above 2.4vDC  often, the photo-eye  lens may be dirty. Clean
                      using cotton swab.
                       12. If the meter reads above 2.4vDC  often, the eye may not be aimed cOITectly.
                           Try moving  the photo-eye by bending  the bracket  Up, down and to both
                                  sides. As you move the eye I bracket, monitor  the reading on the multi-
   ~.,.. -                         meter.  If the reading  starts to drop, continue  nloving  in that direction  until
                          you are not able to achieve a lower reading. Try for the lowest possible
                               reading.
               13. When you are satisfied with the results, shut down the unit and reassemble.
View original page 1Related documents and language editions

From the M. Butkus archive. Original publisher and archive notices are retained.
Check the model and edition against your equipment.
PDF verified 2026-10-10.