Film cameras
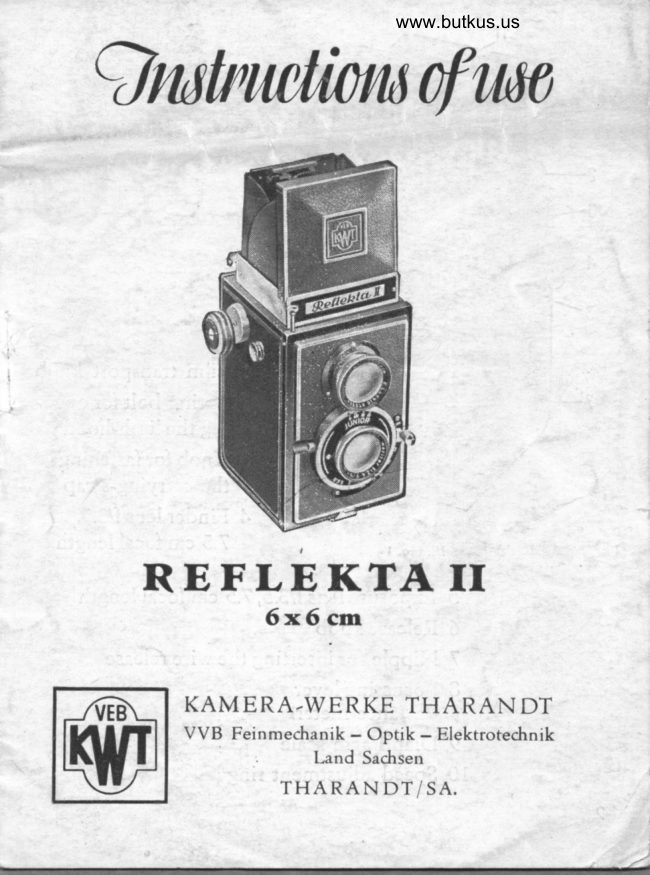
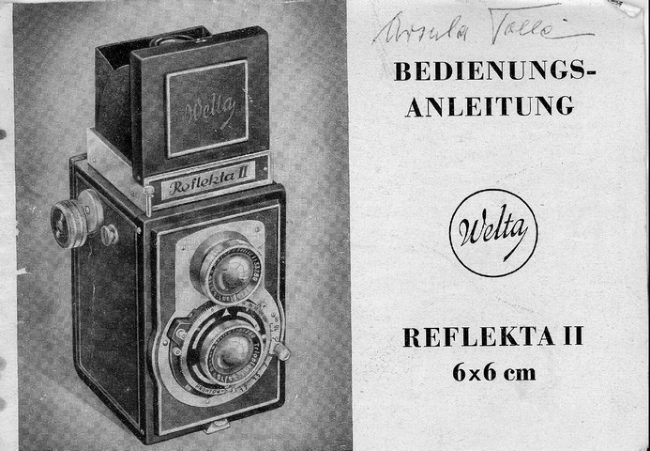
Reflekta II User manual
User manual for Reflekta II. 13 pages in English. Read the original PDF, download or print a copy without registration.
13 pagesEnglish3.1 MB PDF
Loading your manual…Open PDF directly
Document details
- Brand
- Reflekta
- Model / document
- Reflekta II
- Document type
- User manual
- Language
- English
- Pages
- 13
- File size
- 3.1 MB
- Category
- Film cameras
- Document date
- Not specified in catalog
Search available document text
Find a term, then jump to its page in the original PDF. Image-only pages may not be searchable; check the PDF for exact wording and diagrams.
Page 5 · Read text
A) Loading and Changing the Film
         The negative material used in the            IIn is                                                  'Reflekta          the Standard 6x9 cm roll film B II that takes
          12 pictures 6x6 cm.
  Opening Hold the camera with the lenses in the palm of
the camera the left hand, in an oblique position, inclining the
          upper part slightly downwards. Open the hinged                 '              latch (1,7\ at the base of the camera with the thumb
         of the right hand, lift the camera back and
           unfold the back and the baseboard by pulling
         away the hinged latch as shown in illustration
           No.3.
  Loading Swing out the lower spool bed (19) and insert
   the film the new film-spool, so that the coloured (red)
            surface of the protecting paper lies on the outer
            side when the film is being rolled ofi.
            Pull out the film-transport knob (1) ,.,d fi* it by
        a slight backward turn. Place an empty film-
          spool into the upper spool-bed (18) which has
         been swung out, with the notched end of the
         spool {acing the film-transport knob. After
            readiusting the upper spool-bed, press the film-
           transport knob (1) with a slight forward rotation
           into the camera again, until it snaps into the
          notch of the film-spool.
View original page 5Page 6 · Read text
www.butkus.us
The paper tongue pro-
jecting from the film
must now be drawn
across the two sliding
rollers and pushed into
the slit of the empty
spool, after which the
film must be straightened
out by two or three
rotations of the film-
transport knob (l). Make
sure that the
film runs quite
evenly, without
rubbing the
flanges o{ the
spool. (see ill.
No. 4)                         www.butkus.us


                    Ill. No.4


Fold up the camerr bacJ<, pressing it to the Closing
body, so that the edge nexr to the hinged the camera
latch (17) fits precisely between the camera body
and the front plate. The hinged latcl can now
easily be lo&ed.
View original page 6Page 7 · Read text
Opening the Push up the knob (L4) underneath the film
film window window (13), and the red film window becomes
           open to view. The white circle which is visible
         when the film window is closed. now dis-
               appears.
Transporting Advance the film-transport knob (l) slorvly until,
     the film after the caution sign, the number 1 appears
             in the film rvindow
 Closing the Push back the knob (14), and the'white circle in
film window the film window becomes visible again. The
            camera is now ready for the first exposure.
           The perforrnances 4 to 6 are repeated every time
           an exposure has been made, that means 12 times
             with each film. After the twelfth exposure, the
               film-rvinding knob must be turned until the film
                is {ully wound up and the protecting paper can
           no longer be seen in the film window.

  Removing Open the camera as]described in paragraph 1 on
     the film page 4, pull out the film-transport knob (l) and
              give it a short backward turn. Swing out the upper
              spool-bed (18,p, carefully remove the exposed film,
           and paste down the gumstrip. Take the empty
             spool out of the lower spool-bed, as described
              in paragraph 2 on page 4, insert it in the upper
              spool-bed, and load the new film in the manner
              described above
View original page 7Page 8 · Read text
www.butkus.us
   B) fne Technique of Exposing   '                                                                   .:
      Press the lever (2\ on the side of the light-hood, Opening and
    and the light-hood springs up. To close it, {old closing the
     dorvn first the fear flap and then the front flap light-hood
       until it clicks into the frame o{ the light-hood.
    To focus the subject, lrlove the lever knob (8) on Focussing
      the distance-scale and check the sharpness of the
      picture on the ground-glass screen. The sharpness
     can be regulated {rom infinity (rc) to a distance
                                                                                                                                                                              ':                I   of one metre. The exposed picture corresponds
      precisely to the finder image, owing to the fact
f,.Elbl     that the two lenses are connected.
                                                                         (1 1) Critical      For critical focussing,  lift the magnifying glass
                                       enlargement focussing     in the light- hood, and a twofold
     of the centre part of the picture will become
       visible.
       a) The Automatic Shutter ,Junioru forSettingthe
       * instantaneous exposures o{ rlzsth, l/soth and shutter
         l/rooth second and time exposures of any speeds
        desired length (B).
      Instantaneous exPosures: Tutn the
        milled ring (R) until the notch (K) stands above
       the desired number. The exposure with the
        corresponding speed is made by pressing the
       body shutter release (6).
17tjl
View original page 8Page 9 · Read text
Time exposures: Set
                      the notch o{ the milled
                     ring (R) above the B
                       mark. The shutter opcns
                by pressure on the re-
                       lease (6) and closes as
                   soon as the pressure is
                       relaxed. It is advisable
                 Ill. No.5          to use a tripod for time
  exposures. A tripod bush for this purpose
   is built into the bottom of the camera.
b) The o Prontor II o Shutter for instantaneous
  exposures from I to r/zsoth second and for
  time exposures of an-v desired length (B).
  Instantaneous exposures: Turn the milled
  ring (R) until the notch (K) stands above the
  desired number. Wind up the shutter by push-
  i.tg the lever (Sp) as {ar is it rvill go to the
  left. The exposure is
 made by pressing the
  release (6) Ill. No. l.           d:o/K
 From lto t/rooth second
  inbetween lengths can
 be chosen (e. g. bet-
         t/oth        r/roth ween    and
  second), there being a
 gradual rise in  the
  speeds over this range,                         Ill. No.6
View original page 9Page 10 · Read text
www.butkus.us
       Instantaneous exposures with delayed action:
      .Only {or speeds from 1 to 1/roo th second (sel{-
         release).

      After setting the speed and the lever (Sp),
     move the lever (V) in the lower part o{ the
       shutter as far as it will go to the le{t. Pressure
     on the release knob in the camera body first
       sets the delayed action spring working (about
      10 seconds), whereupon the exposure takes
        place.

     Trme exposures (B): Turn the milled ring (R)
        until the notch (K) stands above the R mark,
     and press the lever (Sp) as far as it  will
     go to the left. The shutter is opened by
       pressure on the release knob and remains
     open until, after any length of time, the
                                                        a       pressure is relaxed. It is advisable to use
       tripod for time exposures. A tripod bush (16)
       for this purpose is built into the bottom of
       the cam era.

      c) The Automatic Shutter uVelaxu for instantan-
                                   l/roth     l/zooth      eous exposures {rom      to       second
     and for time  exposures of any desired
       length. (B).
                                                                  9
                                                                                                                 /tll..
View original page 10Page 11 · Read text
Instantaneous exPosures:
                                                                           (R)                       Turn the milled ring
                                until the desired number
                               stands above the M mark.
                              Th e correspond in g exposure
                                                  on                            is made by pressure
                           the shutter release (6)  Ill.
                                            lll. No.7      No. 1.
       Time exposures: Turn the milled ring (R)
              until the uBo stands above the M mark.The shutter
          opens by pressure on the release knob (6) and
          remains open until. after the desired length of
             time, the pressure is relaxed. It is advisable to use a
                                                                                   (1 6) {or this                                     t ripod for time exposures. A tripod bush
          purpose is built into the bottom of the camera.
Setting the The diaphragm, between the largest aperture o{
diaphragm  f/3.5 and the smallest o{1122 (uVelaxu Shutter Il16),
              is adjusted by means of the moveable lever (9)
            situated on the lower part o{ the obiective.
          Important! The smaller the aperture, the longer
            will have to be the exposure. The depth-o{-
            sharpness, however, increases with the smaller
             apertures. For example: When set at 3 metres
           with an aperture oI 113.5, the depth-o{-sharpness
                               r eaches {rom 2.63 to 3.50 metres, but at {/8 it
            reaches from 2.25 to 4.50 metres. (Compare the
             clart (12) on the camera bacJ<).

 10
View original page 11Page 12 · Read text
www.butkus.us
When you release the shutter, do absolutely press
down the release-knob to the touch, in order to avoid
the possibility of a mis-exposure,

                                                     (6), as d€scrrDeo
                              above. This is
                             done most con-
                                 veniently with
  \o
                                                      of   '\\-\\                      the thumb                            the right hand, while
                       the camera is held
                          firmly between the
                                 right and the left hand,
                            as shown in illustrat-
                       ion No. 8. In this
                              position the camera is
                              well protected against
                            unsteadiness. A flex-
                                    ible wire release can, if
                              Ill' No' 8        desired, be screwed
  into the nipple (7) of the release knob
 When the shutter is being released, the lock Lock against
  against double exposures, rvhich is coupled with double
  the shutter, is put into action. Only after the exposures
  film has been transported by advancing the
  transport knob (1) can the shutter be released
  again. The, carhera is ready for the next exposure
  as soon as the follou'ing number of the film app-
  ears in the film windou'.
                                      u
View original page 12Page 13 · Read text
C) A fewWinks for the Photographer
                                                                                                                                                                                  4f.
               1. Do not {orget to turn the film on to the next
           number immediately after each exposure.
             2. Shutter speed and diaphragm are closely conn-
              ected. The more the light is taken away by
             setting the diaphragm at 8, 11, or a larger
            number, the longer must be the time o{ ex-
             posure. If, {or instance, the speed at a 5.6
                                         l/rooth             aperture has to be       second, it is also
             possible to take the diaphragm number 8 and
                  l/roth                   second, or the diaphragm nu--ber 11 and
                  l/zrth                  second. (These figures can be continued
                                             The           in an upward or downward sequence.)
            only difierence lies in the depth-of-sharpness
              of the picture.                                                                             ,
               3. The advantage o{ the small aperture (8, 1I, 16
                 etc.) is an extensive depth-of-sharpness' rvhich
          means that the foreground and background
              will appear sharp. The advantage of the wide
              aperture: Shorter exposure time and less risk
                of blurring the picture by unsteadiness. Rapidly
           moving objects must in any case be taken at
          a high-speed setting.
                   Agcnts:

                                                         RESDEN A 21   D04 1049 I

t2
 .l
View original page 13Related documents and language editions
From the M. Butkus archive. Original publisher and archive notices are retained.
Check the model and edition against your equipment.
PDF verified 2026-10-10.