Film cameras
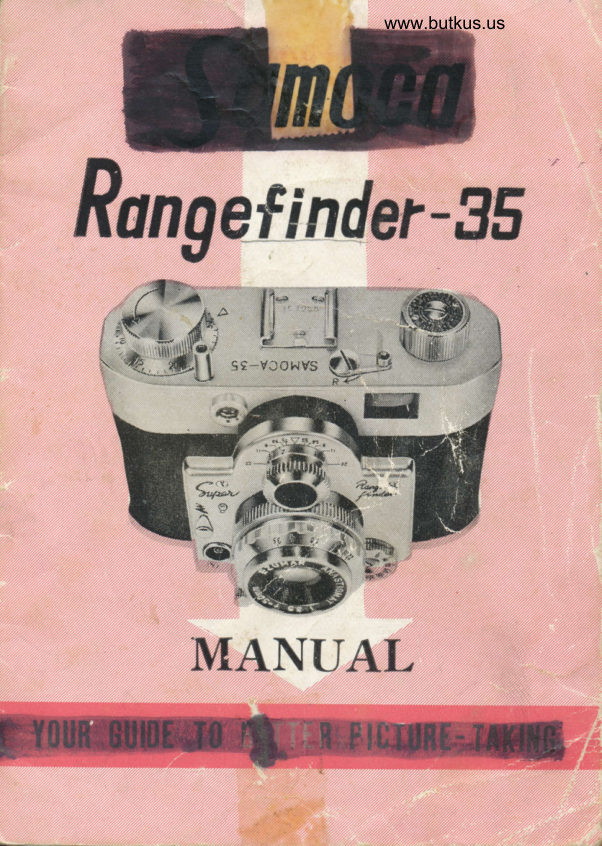
SAMOCA Rangefinder 35 User manual
User manual for SAMOCA Rangefinder 35. 13 pages in English. Read the original PDF, download or print a copy without registration.
13 pagesEnglish4.4 MB PDF
Loading your manual…Open PDF directly
Document details
- Brand
- Samoca
- Model / document
- SAMOCA Rangefinder 35
- Document type
- User manual
- Language
- English
- Pages
- 13
- File size
- 4.4 MB
- Category
- Film cameras
- Document date
- Not specified in catalog
Search available document text
Find a term, then jump to its page in the original PDF. Image-only pages may not be searchable; check the PDF for exact wording and diagrams.
Page 3 · Read text
www.butkus.us
          OESCRIPTION

           ( 1 )  Film W-inding Knob
        (2)  Film Counter Dial                             ./  .
                               Scale          ( 3 )  Depth of Field
            ( 4> FX Lever
        (5)  FlashTerminal      I                          f'
        (6)  Focusing Knob
           ( 7 )  Shutter Release Button
        (8)  Accessory CliP
            ( 9 )  Gear Release Lever
       (10) Film Rewinding Knob
       (11) Lens OPening Ring
       (12) Shutter SPeed Dial
       (13) Eye Piece (Coupled Range Finder')
I        ,tn,  Tripod SocketI       Crl) Camera Back
       (16) Lock Dial
       (17) Stay
       (18) Film Rewinding Shaft
       (19) Film Cartridge Chamber
       (20) Film Aperture
       (2L) Sprocket Gear
       (22) Film Pressure Plate
       (23) Take-uP SPool
       (24) Spring for f,ilm Pressure Plate.
,      (25) Film Cartrifie Fixing Knob
       (26) Film Cartridge Fixing Shaft
View original page 3Page 4 · Read text
Venmo @mike-butkus-camera  Ph. 2083
PayPal Name  Lynn@butkus.org      www.PayPal.me/lynnbutkus
View original page 4
Page 6 · Read text
www.butkus.us

        lilsTmtJ0Tt0Ns
  l" L()r\Illl\(;
  Turn the lock dial (l_6) on the bottom of the
 camera until the ,'O', position lines up with                                       theA,
 then open the camera back by pulling it towards
 the bottom. The Samoca can be loaded with
 any make of 3bmm. Daylight Loading Cartridge
 that is commercially available.      Pull about
 3% inches of film from the end and slide it into
 the slot of the take-up spool. Lift  the film
 pressure plate (22) and insert the film cartridge in
 the film chamber, then turn the film winding knob
 (1)until the film
 is tight and the
 sprocket gear
 (21) engages the
 holes in the film.
  Replace the
film   pressure
plate, slide the
camera-back into
position and turn
View original page 6Page 7 · Read text
((O" to '(L" with the "L" the lock dial from
 lined up with the A.
  To advance the section of film exposed during                                                                               '/      /" loading, turn the film winding knob towards
 the arrow mark until it stops, press the shutter
 release button, turn the winding knob 6'again
 until it stops, and press the release button once
 more.
  Turn the film counter  dial (2)  until "0" is
 opposite the red dot. The camera is now ready
 to use.

2. HOW TO TAKE PICTURBS                                                      {
                            Turn the film
                              winding knob (1)
                                 unLil it  stops.
                      The shutter is
                             cocked automa-
                                         tically as the film
                                       is advanced one
                                  frame.
View original page 7Page 8 · Read text
www.butkus.us
       With the coupled rangefinder (13) you can
       easily focus exactly, at any distance, almost
       instantaneously. A glance through the coupled
      view and range finder, a quick turn of the preci-'
      sion helical mount to merge the double images
       into a single one and your picture is in"'perfect
        focus.
         Just 3 preliminary steps are needed before you
       shoot a picture   :
        (1) Turn the film winding knob until it stops.
        (2) Focus through the coupleC view and range
 I          finder that operate by means of a single eye piece.

"l


                              sAMocA-3s          *e
  L@
                                                        I  I**tT-*
View original page 8Page 9 · Read text
(3) Gently depress the shutter release button.
  The film counter dial ( 2 ) automatically indica-
 tes the number of films that have been exposed
 ancl prevents unintentional double exposure. When'
 you want to make a double or multiple exposures,
 you simply turn the gear release lever (                                               g ) .,A"
 to 6(R" and back from '(R" to "A" again. This
 cocks the shutter for another exposure on the
 same frame; and the operation may be repeated
 for as many exposures as you wish to make.
  The mark "* " is for using Electronic Flash
 and the mark "E " is for using Flash Bulb.
  When using a flash unit, fix the end of the
 electric cord to the terminal ( 5 ). The flash bulb                                                                )
 will work simultaneously with the shutter release.
   If you use a cable rclease, screw it into the
 shutter release butto4 (7 ).
3. UNLOADING
  After you have exposed all the frames,. the film
should be rewound onto the original cartridge by
turning the rewinding knob (10) clockwise before
u4loading. To release the sprocket gear (2I),
the gear release lever ( 9 ) must be turned from
"A" to "R" before rewinding.

         itu'
View original page 9Page 10 · Read text
www.butkus.us
  4. FIXED FOCUS
   When you shoot candids, it is often more con-
  venient to use your camera at a fixed focus than.r
  to set the distance for every shot. For instance,
 suppose you decide on a fixed focus of 10 feet
 between camera and subject., S"t the dllstance
 scale at 24 ft. (red figure) and the lens opening
 at B (red figure). Then any objects between r0
  ft. and infinity will be in sharp focus.

 5. DEPTH OF FIELD SCALE
  As you reduce the opening of the lens, the
 depth of fietd (sharp area) increases in both a
 forward and backward direction from the distance
 at which the lens is focused. you can find the
depth of field for any given lens opening and
distance setting from the Depth of Fierd scale
( 3 ) on your camera. Locate the F stop you
plan to use in the vertical rine at the left and
relate it to the distance given horizontally on
the top of the table.
View original page 10
Page 12 · Read text
www.butkus.us
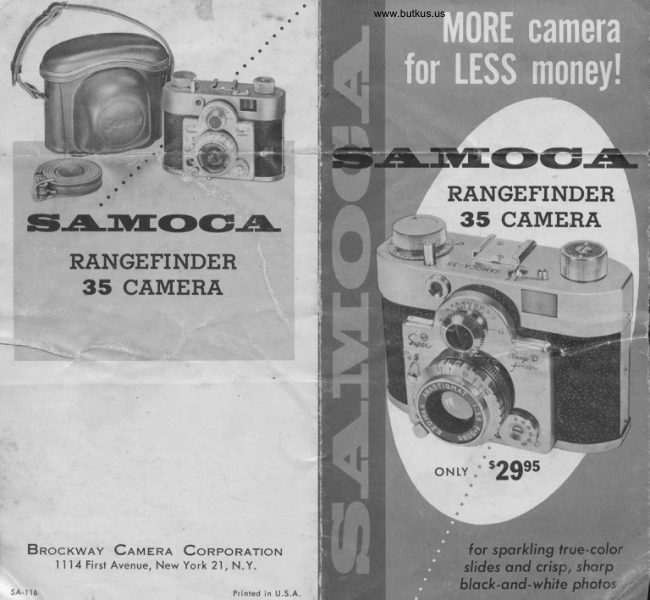
   sAtvl0cA RANCErl,il,pfiR.35 CAtvlERA
                                                    {f.#


 t


 I


:


t


i
i.

          . EZU}y4AR f 3.b lens
          . Coupled one Window View-and Range_Finder
             ' Automatic Film Transport coupled with shutter
       Cocking
     'Accurate samoca Shutter from 1/10 to rl20o
      sec. and "B"
   LOW PRICED PRECISION- BUILT
   35mm RAME*FIAIDER CAMERA
View original page 12Related documents and language editions
From the M. Butkus archive. Original publisher and archive notices are retained.
Check the model and edition against your equipment.
PDF verified 2026-10-10.