Light meters
Sekonic L-86 User manual
User manual for Sekonic L-86. 7 pages in English. Read the original PDF, download or print a copy without registration.
7 pagesEnglish0.4 MB PDF
Loading your manual…Open PDF directly
Document details
- Brand
- Sekonic
- Model / document
- Sekonic L-86
- Document type
- User manual
- Language
- English
- Pages
- 7
- File size
- 0.4 MB
- Category
- Light meters
- Document date
- Not specified in catalog
Search available document text
Find a term, then jump to its page in the original PDF. Image-only pages may not be searchable; check the PDF for exact wording and diagrams.
Page 3 · Read text
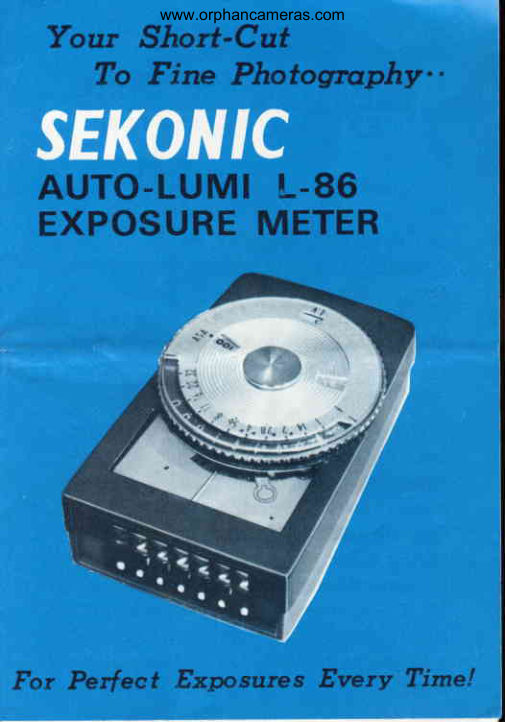
www.orphancameras.comSEKONIC

   EXPOSURE METER

Complete*,an leathercase and neck cord.
At this tiny price,the L-86will pay for it-
self in no time, Onceand for all,you'llstop
wastingcostlyfilm..insteadperfectlyexpo-
Sed pictureswill be yourseverytime!
And the L-86 does it  all so easily,  so
effortfessly,thanksto Sekonic'ssimplified,      ---
yet advanceddesign,and of course,sekonic's{t**
renownprecisionand quality.
Just lookat thesefeatures:Auto-guideindi-
cator for quick,accuratereadings...single-
rangesjmplicity...versatility,for stills and
movies,color and black-and-white..convenien
one-handoperation..f/stops f 1 to f 32 ...
shutter8 sec. to t/ 20mth..ASA 6 to 12,000
... exposurevaluescale(E.V.S.)numbers2 to
19...DfN numbers3 to 42... ruggedness
quality components...lightweightandcompact
... handsometwo-tonecase...plus so much
more!
View original page 3Page 4 · Read text
HOW TOwww.orphancameras.comUSE THE SEKON

   SELECTING ASA SPEED SETTING
     First, determinef rom the instruction sheet en-
    closed with your film,  the  correct ASA  rating
    number. Turn the innerdial until the desiredASA
    number appearsin the ASA window.
   READING THE METER
   Now that your ASA is in place, simply point the
    meter at your subject (at a distanceof 3-6inches).
    This will activate the red needle.when the needle
    stops moving, rotate the outer dial (shutter speed
      dial) until the greenauto-guideindicator is aligned
     with the red needle.Upon achievingalignment,re-
     lease the outer dial and take your reading(the red
     outer dial indicatesshutter speed;the white inner
     dial indicatesf/stops). Any combinationwill give
    you a correct readingbutselectthef/ stop/shutter
    speed combinationwhich best suits your subject.
        lf your camera incorporatesan EVSor LVS system
     of exposuresetting,simply read the number which
    appears in the EV window,after you have aligned
     the needleand auto-guideindicator.Then set this
    number on your camera and you're ready to shoot
    a perfectly exposedpicture.

   READING  I NACCESSIBLE SUBJECTS
   When your subject is inaccessible,use the palm of
    your hand as a substitute. Positionyour hand so
     that the light strikes the palm at the same angle
    as  it is hitting your subject. Take your reading
     with the meter about 4' away from your palm.
View original page 4Page 5 · Read text
C L-86 EXPOSUREwww.orphancameras.com METER

    READING UNDER BRIGHT LIGHT
           lf the sun is very bright behindor near your sub-
       ject, point the meter slightly down  to   prevent
      inaccuratereadings because of excessive  light
      from the sky.

    READING CLOSE-UP SUBJECTS
     Take several readingsat different parts of your
      subject. The correct f/stop is determinedby tak-
      ing the average of these readings.

    ZERO CENTERING ADJUSTMENT
     To insure meter accuracyat all times,  it  is ad-
      visableto check the zero centering from time to
      time. First, cover the photo cell with the palm of
      your hand. The red needle should align perfectly
      with the black dot located near the letter "S"  in
      the light meter window,if alignmentdoes not take
      place,adjustthe zero centeringscrewat the backof
      the meter.Holdmeter as shownin the illustration,co-
      covering the photo cell with a dark card. Turn the
     screw slightly in either directionuntil the needleand
      zerodot align.Your meter is
     nowzero centeredfor
      readings of  pin-point
     accuracy.
View original page 5From the M. Butkus archive. Original publisher and archive notices are retained.
Check the model and edition against your equipment.
PDF verified 2026-10-10.