Film cameras
Ultrablitz BAUER E 160 User manual
User manual for Ultrablitz BAUER E 160. 5 pages in German. Read the original PDF, download or print a copy without registration.
5 pagesGerman1.2 MB PDF
Loading your manual…Open PDF directly
Document details
- Brand
- Ultrablitz
- Model / document
- Ultrablitz BAUER E 160
- Document type
- User manual
- Language
- German
- Pages
- 5
- File size
- 1.2 MB
- Category
- Film cameras
- Document date
- Not specified in catalog
Search available document text
Find a term, then jump to its page in the original PDF. Image-only pages may not be searchable; check the PDF for exact wording and diagrams.
Page 1 · Read text
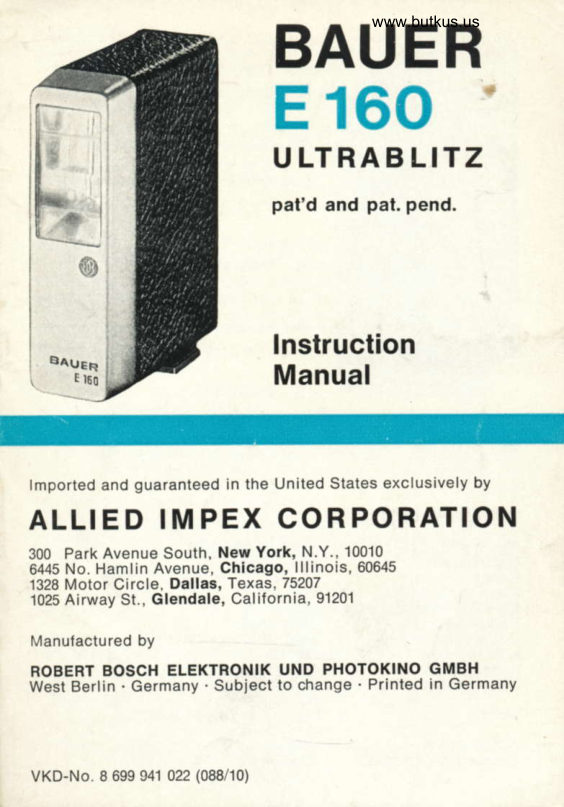
BAUERwww.butkus.us
       E 160
              U LTRAB LITZ
                           pat'd and pal. pend.


                   lnstruction
               Manual


lmport€d and guaranteed in the United States exclusively by
ALLIED IMPEX CORPORATION
300 Park Avenue South, N€w York, N.Y., 10010
6445 No. Hamlin Avenue, Chlc.go, lllinois,60645
1328 Motor Circle. Dllla.. Texas,75207
1025 Airway Sl., Glendale, Calitornia, 91201

Manulactured by
ROBERY BOSCH ELEKTRONIK UT{D PHOTOKII{O GiIBH
W€sl gerlin . Germany Subioct to change Prlnted in Germany


VKD-No. 8 699 941 022 (088/10)
View original page 1Page 2 · Read text
A.C. and charging plug socket

                             Lens stop computer

                              Operating switch
                               with readiness
                                 indicator lamp


                4  Manual release

                5  Sync cord socket

                6  Contact foot

                                                                 Digitally signed by Mike Butkus
                                                 DN: cn=Mike Butkus, o, ou=Butkus.org,
                                                     email=mike@butkus.org, c=USMike Butkus         Date: 2024.11.27 15:29:05 -05'00'


TECHNICAL DATA
Guide number            63 for 50 ASA  f ilm
Light output              1250 BCPS
Recovery time              Batt. 8...10 sec, on A.C. 6 sec
Flash duration                   r/soo S€C
No. of llashes per charge approx. 45
Radiation angle        Wide angle
Color temperature         5,6000 K (corresp. to medium daylight)
A.C. voltages                  '115. 125. 160,220,240 V,40-60 c/s
Battery                     4.8 V NC accumulator
Dimensions                2.8 x 9.1 x 7.1 cm
                              (11/e" x35/e" x23/t")
Weight                   240 g, charging plug 230 g
                                    (8'/z ozs/B ozs)
Accessories             Charging plug. sync cord
Optional equipment      Adapters for Rollei, Leica
                      and ASA Bipost
View original page 2Page 3 · Read text
SWITCHING ON                       www.butkus.us
Before switching on for the first time, it is recommended  to
form the flash capacitors. Detailed instruclions see overleaf.
In the case of cameras with contact shoe, the flashlight is
automatically synchronized when slid intc place.
With cameras having a conventional sync nipple, the sync
cord is connected to the X-contact.
Switch on the llashlight after sliding  it into the shoe, otherwise
an unnecessary    f lash will be released.
The operating switch (3) has three positions:
B  Battery operation ON
)l-  Battery OFF - on A.C.: charge only    A.C. operation: FLASH (forming)
On battery operation, a quiet, high-pitched note will be heard,
denoting that the flashlight is in operation. When the readiness
indicato"r lamp (3) lights=up, the fiashlight is ready for use. In
between series of shots, it should be switched  off.
The indicator lamp will not light up in the charge-position'tl-".

CAMERA SETTINGS
For between-lens shutters, any desired shutler speed may be
used. Recommended shutter speed is about  r/rzs sec. In the
case ol focal plane shutters, the camera manufacturer's in-
structions should be consulted. Most focal plane shutters are
correctly synchronized at about r/so S€c.
The stop setting can be read off from the stop computer (2)
opposite the distance. The illustration shows the setting for50 ASA  f ilm, e. g. lens stop 5.6 at 12 feet (Guide No. 63 : dis-
tance 12 feet = stop 5.6).
ASA  f ilm speed   12  25   50  100 200 400  800Guide number    32  44   63   88 126 176 252

BATTERY CHARGING - FLASHING FROM A.C.
Use a pointed object to set voltage selector switch to local
 voltage. Insert cord plug in socket (1) ol  f lashlight.
Use only on A.C.
Gharging is carried out with the operating switch in the center
position-marked ")F",  and is terminated by withdrawing the
 plug from the A.C. socket.
View original page 3
Page 4 · Read text
In order to have a full reserve of flashes at all times and keep
the flashlight at the peak of its performance,  it is recommended
to bring up the charge after every series of flashes.
One charge (14 hrs) is sufficient for app. 45  f lashes,
therelore: Recharge 4 hours for every 10 llashes.
Even when the flashlight is not used. the batteries should be
charged from time to time, for every battery is subject to
gradual self-discharge. This can be perceived by the increased
length of the recovery time.
Should the recovery time be 30 seconds or more, the battery
should be charged for 14 hours in any case. An occasional
longer charge will not damage nickel cadmium accumulators.
The flashlight can be used on A.C. with the operating switchin position "-"   after the indicator lamp (3) lights up. Switching
off is likewise .automatic upon withdrawing the plug.
FURTHER MAINTENANCE HINTS - FORMING
Before switching on for the first time, or after a few weeks of
non-use, please connect your flashlight to the A.C. via the
charging plug for about 20 minutes with the operating switcll inposifion "-"  and release a few flashes at the same time. This
effectively forms the flash capacitors and keeps the flashlight
at full peirformance level. Therefore, the best maintenance  of
all for an electronic flashlight is frequent use.

SERVICE AND GUARANTEE
Your ULTRABLITZ BAUER E 160 is designed on the most up-
to-date principles. Meticulous quality-control in manufacture rs
followed by a rigorous linal inspection.
Please read carefully the terms of your guarantee. To validate
your guarantee,  fill out your registration card now and mail  it
without delay. Should your BAUER E 160 fail to function prop-
erly at any time, send  it to Allied lmpex Corp., sole authorized
importers for the Unites States, at the address nearest you.
Please pack it carefully, and include a brief description  of
what is not operating properly.
Your flash unit is guaranteed for six months, as described in
the guarantee packed with the unit. lf the unit is returned for
repairs under the guarantee, please enclose the guarantee
card; otherwise, repairs cannot be made without charge.
For repairs within the guarantee, please enclose $ 1.50 to
cover handling, insurance and return postage.
For repairs not covered by guarantee, send no money; you
will be sent an estimate of the repair charge.
View original page 4
From the M. Butkus archive. Original publisher and archive notices are retained.
Check the model and edition against your equipment.
PDF verified 2026-10-10.