Lenses & filters
Vivitar 85 - 205 F3.8 lens User manual
User manual for Vivitar 85 - 205 F3.8 lens. 13 pages in English. Read the original PDF, download or print a copy without registration.
13 pagesEnglish3.7 MB PDF
Loading your manual…Open PDF directly
Document details
- Brand
- Vivitar
- Model / document
- Vivitar 85 - 205 F3.8 lens
- Document type
- User manual
- Language
- English
- Pages
- 13
- File size
- 3.7 MB
- Category
- Lenses & filters
- Document date
- Not specified in catalog
Search available document text
Find a term, then jump to its page in the original PDF. Image-only pages may not be searchable; check the PDF for exact wording and diagrams.
Page 1 · Read text
www.butkus.us


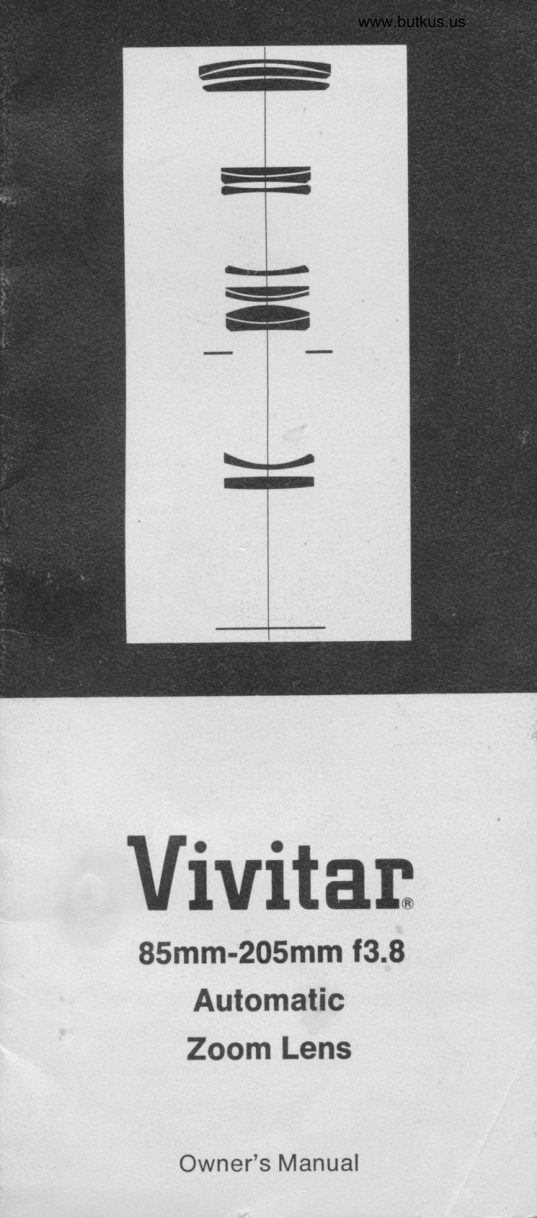
Viuitan
 85mm-205mm f3.8
    Automatic
   Zoom Lens


    Owner's Manual
View original page 1Page 2 · Read text
YOUR NEW Vivitar 85mm-205mm f3.8 Automatic
Zoom Lens is a part of a complete automatic lens
 line created by photographers for photographers.
Computer-designed  for optimum optical perform-
ance, your lens has been precision-engineered,
manufactured and field tested for optical and
mechanical reliability. To you, the photographer,
this means crisp, clear images with exceptional
tonal gradation, color balance, line resolution
and contrast.
One of the most versatile photographic accessories
avaifable, your new Vivitar Automatic Zoom Lens
can be set for any focal length between B5mm and
205mm without ever removing the tens from your
camera. This ability to "dial in" the size of your
image allows you total creative expression in nearly
every photog raph ic situation.
View original page 2
Page 4 · Read text
www.butkus.usk
Mounting your lens
YourVivitarAutomatic Zoom Lens has been designed
to mount with the simplicity and ease of your normal
lens. However, because  it is longer than your normal
lens special care should be taken when aligning  it
on the camera. Holding the lens firmly around the
Mounting Grip @ will enable you to achieve better
balance during the mounting procedure.


Holding your lens
When using your Iens it is best to support the
camera/lens combination by placing your left hand
underneath the lens as shown. This leaves your other
hand free to operate the controls of your camera and
assures proper balance and stability.
View original page 4
Page 5 · Read text
www.butkus.us

         t_t
   J*'


 The Grips on the Focusing Ring, Zooming Ring and
 Aperture Ring of your lens have been designed with
 differing patterns. Becoming familiar with the ,,feel"
 of each ring will enable you to quickly and easily
 locate these controls without removing your eye
 from the camera's viewfinder.

Focusing and Zoom Control
After your Vivitar Automatic Zoom Lens is mounted
on your camera, focus on the subject as you would
with your "normal"
 lens. Since a higher
magnification allows
you to see your
subject more clearly
you may find  it
convenient to focus
first at the 205mm
focal length. Once
focused on your
subject, the cam-
operated focusing
system of your lens
maintains focus
even as you change
the zoom position.
However, where
critical focusing is
necessary,  it is
always recom-
mended that you
re-focus your lens at
the new focal length.
View original page 5Page 6 · Read text
ZOOM LEVER
Each Vivitar Zoom
Lens is supplied
with a Zoom Lever
@ which attaches
by simply removing
the screw (Q) on the
Zooming Ring (,
and replacing  it with
the lever. This lever
is an aid in setting
the zoom position
you desire more
quickly.

      DISTANCE SCALES
        Your lens has two Distance Scales @ which
         give you the distance measured from the
        subject in focus to the film plane. The white
       numbers denote this distance in feet while
        those in green represent distance in meters.

            DISTANCE INDEX MARK
             The Distance Index Mark @ ls tne
               reference point for the correct focus
                 position of your lens and is used in
               conjunction with the Distance Scales.

                   INFRARED INDEX MARKS
                     The Vivitar Automatic Zoom
                      Lens has three red Infrared
                       Index Marks @ for use
                         with infrared film. These
                      marks are provided for the
                         three major focal lengths,
                                      i.e. 85mm, 135mm and
                    205mm. When using
                           infrared film, focus normally      I
                     on your subject and read               I
                          the distance as indicated               I
                        opposite the Distance Index         I
                    Mark (!. Then turn the
                       Focusitg Ring @ until the
                        distance reading is
                        opposite the Infrared Index
                     Mark for the focal length
                      you are using. For focal
                          lengths other than those
                          indicated, approximate the
                        variance between the
                          Infrared Index Marks and
                         adjust the Focusing Ring
                         accordingly.

                            6
View original page 6Page 7 · Read text
Venmo @mike-butkus-camera  Ph. 2083
PayPal Name  Lynn@butkus.org      www.PayPal.me/lynnbutkus
View original page 7
Page 8 · Read text
www.butkus.us

 Aperture Control
 The automatic diaphragm operation of your lens
 allows you to focus and compose your picture with
 the diaphragm at maximum aperture or "wide open."
 When shooting, the diaphragm will automatically
 stop down to the preselected aperture at the moment
 of exposure and re-open as soon as the exposure
 is completed.

 EE COUPLED LENSES
 Some cameras (such as the Konica Autoreflex
 series) automatically determine the correct aperture
 for a given photographic situation. For a lens to
 operate automatically with these cameras it must be
 coupled to the camera's EE mechanism.
 Vivitar Automatic Zoom Lenses designed with EE
 coupling mechanisms differ from other lenses
 as follows:
 A. Aperture Scale-Since cameras with EE mecha-
 nisms work
 automatically to
f16 only, the
aperture range
 of the EE
coupled Vivitar
Zoom Lens is
from f3.8 to f16.


B. EE Lock Button -To ensure that the lens is notaccidentally removed from EE operation, the
Aperture Ring locks with a positive click when placed
in the '3EE" posi-
tion. When you
wish to set aper-
ture manually,
depress the EE
Lock Button
to move the
Aperture Ring
from the "EE"
position.
View original page 8
Page 9 · Read text
f3.8


Depth of Field
The depth of field (area in sharp focus) when
focusing your Vivitar Automatic Zoom Lens on a
subject is determined by the focal length you have
chosen, and the aperture. As you change your focal
length by zooming from 85mm to 205mm, the depth of
field becomes shallower. By stopping your lens down,
e.g. from f3.8 to f16, this depth can be increased.
Depth of Field Preview
You can see the effects of depth of field in your
camera's viewfinder by using the depth of field
preview control which is located either on the camera
body or on your lens. Vivitar Automatic Zoom Lenses
designed for use on cameras not having depth of
field preview controls on the camera body provide
either a Preview Button or an Auto/Manual Switch.
These controls are built into the Lens Mount @.
By sliding the Preview Button or setting the Auto/
Manual Switch to the "M" position, the diaphragm of
the lens is stopped down enabling you to see the
depth of field (area in sharp focus) for the particular
f-stop you have selected.

Preview Button
Slide to stop
diaphragm down.
When released,
diaphragm re-
turns to auto
operation.


Auto/Manual
Switch
Set to "M" posi-
tion to stop dia-
phragm down.
Return to "A" to
re-activate auto
diaphragm
mechanism.
View original page 9
Page 11 · Read text
Using the Lens Hood
Your lens has a built-in Retractable Lens Hood @
which should be used to protect against extraneous
light striking the lens and causing unwanted glare.
To extend or retract the lens hood, use a gentle,
twisting motion.
Taking care of your Lens
A. When attaching threaded accessories (filters, etc.)
   to your lens, align the accessory very carefully
   with the filter thread to prevent any possibility
   of damage.
B. Keep your lens dust-free by making sure both
   front and rear lens caps are on when it is
   not in use.
C. Clean your lens by blowing  it with an air brush or
   wipe it lightly with a camel hair brush or lens
   tissue. In EXTREME cases use a soft cotton cloth
   moistened with denatured alcohol.
  NEVER RUB THE LENS SURFACE WITH YOUR
  FINGER, CLOTHING OR ANY OTHER ABRASIVE
  MATERIAL. Cleaning your lens in this way will
   eventually scratch the lens coating and can cause
  damage to the element surface.
D. Always store your lens in a cool, dry place. lt's a
  good idea to store it with the silica gel packet
   supplied with your lens just to be sure.

                            10
View original page 11Page 12 · Read text
www.butkus.us

 Specifications
 Focal Length Range:85mm to 205mm
Angfe of Acceptance: 28" at 85mm to 12" at 205mm
Zoom Ralio: 2.4:1
 Optical Construction: 13 elements in 9 groups
Aperture Range: t3.8 to t22
                      (f3.8 to f16 on EE Coupled Lenses)
Minimum Focusing Distance From Film plane:
  6h tt. (1.93meter)
Weight: 32 oz. (907.2 gr.) approx. depending on
  Lens Mount
Length at o  : 7Y4" (184.2mm)
Maximum Barrel Diameter : 21h,, (63.5mm)
Accessory Size: 58mm th readed
Lens Hood: Built-in, retractable
Accessories Included: Front and Rear Lens Caps,
  Zoom Lever, Silica Gel packet


                                                                        .--."--  . -,i&
View original page 12Page 13 · Read text
Vivitar Corporation
a subsidiary ot, Poflder 8<T| est,lnc.
            USA / JaPan  / W. GermanY
Corporate offices: Ponder & Best, Inc.
               Los Angeles, Ca. 90064 USA


                                9/71 Printed in JaPan
                                                                    | ... -  ,..,|:
View original page 13From the M. Butkus archive. Original publisher and archive notices are retained.
Check the model and edition against your equipment.
PDF verified 2026-10-10.