Camera accessories
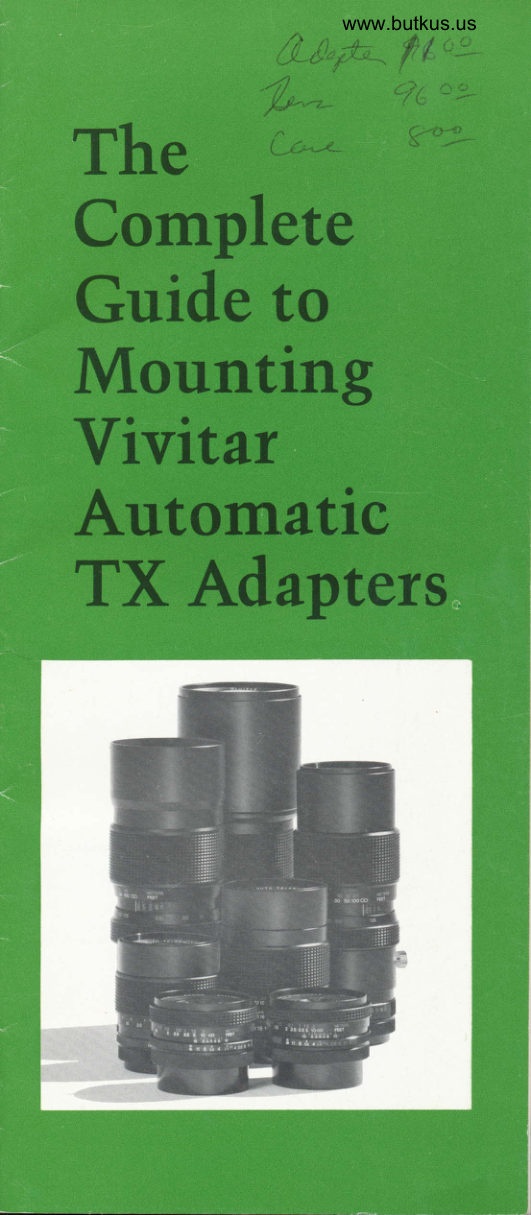
Vivitar Automatic TX mounting Guide Reference guide
Reference guide for Vivitar Automatic TX mounting Guide. 22 pages in English. Read the original PDF, download or print a copy without registration.
22 pagesEnglish2.5 MB PDF
Loading your manual…Open PDF directly
Document details
- Brand
- Vivitar
- Model / document
- Vivitar Automatic TX mounting Guide
- Document type
- Reference guide
- Language
- English
- Pages
- 22
- File size
- 2.5 MB
- Category
- Camera accessories
- Document date
- Not specified in catalog
Search available document text
Find a term, then jump to its page in the original PDF. Image-only pages may not be searchable; check the PDF for exact wording and diagrams.
Page 2 · Read text
Universal
Attaching the Adapter
A. On your Vivitar Automatic TX Lens:

    Locking    1 -  RotateRingthe@Lensin theMount"-+O"
    (open) direction until  it stops.
   Remove the rear lens cao.
    2   minimum-  Rotateaperturethe Aperture(i.e.  f 16Ringorf22)to the
   on the white scale. (See Photo "A")
B. Carefully align the white arrows
   engraved on both the adapter and
    lens mount and drop the adapter
    into place. (See Photo "8") To seat
    the adapter lirmly in place, it may
   be necessary  to wiggle the adapter
   back and forth slightly.
C. Rotate the Lens Mount Lockino
   Ring Q in the "-+L" (lock)
    direction to secure the lens mount
   adapter in place.
D. Mount the lens/adapter
   combination to your camera in the
   same manner as your normal lens.


Removing the Adapter
A. Press the silver button on the Lens
   Mount Locking Ring O and rotate
    the ring in the "-+O" (open)
    direclion until  it stoos.
B. Carefully  lift the adapter   f rom the
    lens mount.
View original page 2Page 5 · Read text
Minolta
 Attaching the Adapter
 A. On your Vivitar Automatic TX Lens:
    1    Rotate the Lens Mount Lockino
    Ring- O inthe "-+O" (open)
    direction until  it stops. Remove the
     rear lens cao.
    2    the- silverRotateAperturethe apertureCouplingring Forkuntil @
     aligns with the green dot G) on the
    lens mount. (See Photo "A")
 B. On your Vivitar TX Lens Mount
    Adaoter:
    3  @- wilhAlignlhethegreenAperturedot @Signal. (See Pin    Photo "8")
    4    the- adapterLocate whichthe aperturematchesscalethe on
    aperture range of your Vivitar
   Automatic TX Lens.
   5^- With the Aperture Coupling Lug
    @) facing you, rotate the aperture
    scale on the adaoter until the color
   coded reference dot for the scale
    selected is directly opposite the lug.
    Press the aperture ring slightly until
   the lug falls securely in the groove
   below the proper reference dot.
   (See Photo "C")
   6   adapter-  Holdin thethisapertureposition ringas shownof the
   when mounting the adapter to the
     lens.
C. Carefully align the white arrows
    engraved on both the adapter and
    lens mount and drop the adapter into
    place with the Aperture Signal Pin
    between the blades of the silver
    Aperture Coupling Fork. (See Photo
    "D") To seat lhe adapter   f irmly in
    place,  it may be necessary to wiggle
    the adapter back and forth slightly.
D, Rotate the Lens Mount Lockino
   Ring @ in the "+L" (lock) diiection
    to secure the lens mount adaoter
    in olace.
E. Mount the lens/adaoter
   combination to your camera in lhe
   same manner as your normal lens.

NOfE: When mounted correctly, the
lens will function on the green aperture
scale of the lens.

Removing lhe Adapter
A. Press the silver button on the Lens
   Mount Locking Ring e and rotate   the ring in the "-+O" (open)
    direction until  it stops.
B. Carefully  lift the adapter from the
   rens mount.
View original page 5Page 6 · Read text
www.butkus.u


                                                         Digitally signed by Mike Butkus
                                           DN: cn=Mike Butkus, o=Butkus camera manuals,
                                                ou=butkus.org, email=mike@butkus.org, c=USMike Butkus  Date: 2022.02.13 01:20:31 -05'00'
View original page 6Page 7 · Read text
Canon FLIFD
 Attaching the Adapter
 A. On your Vivitar Automatic TX Lens:
               the                 Lens Mount                             Lockino     1 - Rotate                        (open)    Ring            "+O"                                        direct'ion    @ in the
     until it stops. Remove the rear lens cap.
    2 - Rotate the Aperture Ring until the     silver Aperture Coupling Fork t) aligns
     with the green dot @ on the lens
    mount. (See photo "A'  7
 B. On your Vivitar TX Lens Mount Adapter:                             '@    3         the Aperture Signal Pin      --Align    with the green dot O. (See photo "B")
 C, Carefully align the white arrows
    engraved on both the adapter and lens
    mount and drop the adapter into place
    with the Aperture Signal Pin between
    the blades of the silver Aperture
    Coupling Fork. (See photo "C") To
    seat the adapter firmly in place,  it may
   be necessary to wiggle the adapter
    back and forth slightly.
D. Rotate the Lens Mount Locking RingO
     in the "+L" (lock) direction to secure
    the lens mount adapter in place.
Mounting the Lens/Adapter
To Your Camera
A. Turn the bayonnet ring on the adapter
    untilthe red dots on the ring and collar
    are aligned. (See photo "D") The
   "EElManual" selector switch will slide
    to the "M" position.
B. Mount the lens/adapter  to your
   camera jn the same manner as your
   normal lens.
C, To assure full coupling to the "EE"
   operation of automatic exposure
    control cameras, slide the
   "EElManual" selector switch to the
   "EE" position and set the aperture
    ring on the lens to the green circle.
D. On non-automatic exposure cameras,
    or to manually override the auto
    feature, slide the "EElManual"
    selector switch to the "M" oosition.
NOfE: When mounted correctly, the lens
willfunction on the green aperture scale
of the lens.
Removing the Adapter
A. Press the silver button on the Lens
   Mount Locking Ring O and rotate the    ring in the "-+O" (open) direction
    until  it stoos.
B. Carefully  lift the adapter from the
    lens mount.
View original page 7Page 9 · Read text
Nikon/Nikkormat
Altaching the Adapter
A. On your Vivitar Automatic TX Lens:
    1    Rotate the Lens Mount Locking
   Ring- O in the "+O" (open)
    direction until  it stops. Remove lhe
    rear Iens cap.
   2    the- silverRotateAperturethe ApertureCouplingRingForkuntil@
    aligns wjth the white arrow on the
    lens mount. (See Photo "A")
B. On your Vivitar TX Lens Mount
   Adaoter:
   3  @- withAlignthethewhiteAperturearrow Signal Pin
   (See Photo "8")
C, Carefully align the white arrows
   engraved on both the adapter and
   lens mount and drop the adapter
    into place with the Aperture Signal
    Pin between the blades of the silver
   Aperture Coupling Fork. (See Photo
   "C") To seat the adapter  f irmly in
    place,  it may be necessary  to wiggle
   the adapter back and forth slightly.
D. Rotate the Lens Mount Lockino
   Ring O in the "+L" (lock) direction
    to secure the lens mount adapter in
    orace.
E. Mount the lens/adaoter
   combination to your camera in the
   same manner as your normal lens.

NOfE: When mounted correctly, the
lens will  f unction on the white aoerture
scale of the lens.
Removing the Adapter
A. Press the silver button on the Lens
   Mount Locking Ring e and rotate   the ring in the "+O" (open)
    direction until  it stops.
B. Carefully  lift the adapter from the
   lens mounI.
View original page 9Page 11 · Read text
Konica AutoReflex
Attaching the Adapter
A. Rotate the Lens Mount Lockino                                   -   Ring @ in the "+O" (open)
    direction until  it stoos. Remove the
    rear lens cap.
B. Turn the Aperature Ring on your
    lens until the white circle on the
    white aperture scale aligns with the
    Aperture Reference Mark @ . (See
   Photo "A")
C. Carefully align the white arrow of
    the lens mount adapter with the
    white arrow on the lens mount and
   drop the adapter into place. (See
   Photo "8")
D. While holding the adapter, slide the
   Aperture Closing Tab @ clockwise
   as tar as  it will go. (See Photo "C")
E. Rotate the Lens Mount Locking
   Ring @ in the "+L" (lock) direction
    to secure the lens mount adaDter
    in olace.
F. Press the Aperture Signal Pin @
   down with your finger tip and move
       it counter-clockwise as far as  it will
   go and release. (See Photo "D")
G. Mountthe lens/adapler
   combination to your camera in the
   same manner as your normal lens.
H. To assure full coupling to "EE"
    operation cameras, turn the "EEl
   Manual" ring to the "EE" position.
    Set the aperture ring on the lens to
    the white circle.
 l. To override the automatic ooeration
    of the camera, turn the "EEi Manual"
    ring to the "M" position.
NOfE: When mounted correctly, the
lens will function on the white aoerture
scale of the lens.
Removing the Adapler
A. Press the silver button on the Lens
   Mount Locking Ring @ and rotate
   the ring in the "+O" (open)
    drrection until  it stoos.
B. Carefully  lift the adapter from the
    lens mount.
View original page 11Page 13 · Read text
Olympus OM
Attaching the Adapter
A. On your Vivitar Automatic TX Lens:
    1 - Rotate   Ring              the "-'o"Lens Mount(open)Lockino    O in the
    direction until it stops. Remove the
    rear lens cap.
   2    the- silverRotateApertuiethe ApertureCouplingiForkRing until @
    aligns with the green dot Q) on the
    lens mount. (See Photo "A")
B, On your Vivitar TX Lens Mount
   Adapter:
   3^- Align the Aperture Signal Pin
    (9with the green dot O   (See Photo "8")
C, Carefully align the white arrows
   engraved on both the adapter and
    lens mount and drop the adapter
    into place with the Aperture Signal
    Pin between the blades of the silver
   Aperture Coupling Fork. (See Photo
   "C") To seat the adapter firmly in
    place,  it may be necessary to wiggle
   the adapter back and forth slightly.
D. Rotate the Lens Mount Locking
   Ring O in the "-+L" (lock) direction
    to secure the lens mount adapter in
    prace.
E, Mount the lens/adaoter
   combination to your camera in the
   same manner as your normal lens.
NOIE; When mounted correctly, the
lens will function on the white aperture
scale of the lens.
Removing the Adaptel
A- Press the silver button on the Lens
   Mount Locking Ring e and rotate   the ring in the "--+O" (open)
    direction until  it stops.
B. Carefully  lift the adapter from the
   lens mount.
View original page 13Page 15 · Read text
Pentax ES
Attaching the Adapter
A On your Vivitar Automatic TX Lens:
                the                  Lens Mount                             Lockino     1 -  Rotate                "-+O"                        (open)    Ring     e  in the
    direction until  it stops. Remove the
    rear rens cap.
   2-Turn the Aperture Ring until the
    gold Aperture Coupling Fork @ on
    lhe lens mount aligns with the yellow    dot (, on the lens mount.
    (See Photo "A")
B. On your Vivitar TX Lens Mount
    Adaoter:
   3^- Align the Aperture^Signal  Pin   C) with the yellow dot (t
    (See Photo "B")
C, Carefully align the white arrows
   engraved on both the adapter and
    lens mount and drop the adapter
    into place with the Aperture Signal
    Pin between the blades of the gold
    aperture coupling fork. (See Photo
    "C") To seat the adapter  f irmly in
    place,  it may be necessary  to wiggle
    the adapter back and forth slighily.
D. Rotate the Lens Mount Locking
   Ring @ in the "+L" (lock)
    to secure the lens mount adapter in
    otace.
E. Mount the lens/adapter
   combination to your camera in the
   same manner as your normal lens.
NOfE: When mounted correctlv. the
lens will function on the white 6oerture
scale of the lens.
Removing the Adapter
A. Press the silver button on the Lens
   Mount Locking Ring @ and rotate
   the ring in the "-+O" (open)
    direction until  it stoDS.
B. Carefully  lift the adapter from the
   lens mount.
View original page 15Page 17 · Read text
Pentax PK
 Attaching the Adapter
 A. On your Vivitar Automatic TX Lens:
            'I    Rotate the Lens Mount Lockino
     Ring- O in the "-+O" (open)
      direction until  it sto0s. Remove the
      rear lens cap.
     2     the- silverRotateAperturethe ApertureCouplingRingForkuntil
  @ aligns with the greeh do-t @ on
     the lens mount. (See photo "A")
 B. On yourVivitarTX Lens Mount
     Adapter:
    3^- Align the Aperture Signal Pin
     (9 with the green dot @.
     (See photo "B")
 C. Carefully align the white arrows
    engraved on both the adapter and
     lens mount and drop the adapter
      into place with the Aperture Signal
     Pin between the blades of the silver
--.. Aperlure Coupling Fork. (See
    photo "C") To seat the adapter
      firmly in place, it may be necessary
      to wiggle the adapter back and
     forth slightly.
 D. Rotate the Lens Mount Lockino
    Ring @ in the "-+L" (tock)
     direction to secure the lens mount
     adapter in place.
 E. Mount the lens/adapter  to your
    camera in the same manner as vour
    normal lens.
 NOfE; When mounted correctly, the
  lens will function on the white aperture
 scale of the lens.

 Removing the Adapter
 A. Press the silver button on the Lens
    Mount Locking Ring @ and rotate     the ring in the "+O" (open)
     direction until  it stops.
 B. Carefully  lift the adapter from the
     lens mount.
View original page 17Page 19 · Read text
Fujica ST
 Attaching the Adapler
 A. On your Vivitar Automatic TX Lens:
     1    Ring-  Rotate@ in thethe "+O"Lens Mount(open) Lockino
     direction until  it stoos. Remove the
     rear lens cao.

    the    2 - silverRotateAperturethe ApertureCouplingRingForkuntil
  @ aligns with the greeh dot @ on
    the lens mount. (See photo "A")
B. On your VivitarTX Lens Mount
    Adapter:
   3^- Align the Aperture Signal Pin
    (9 with the green dot O    (See photo "B")
C. Carefully align the white arrows
   engraved on both the adapter and
    lens mount and drop the adapter
    into place with the Aperture Signal
    Pin between the blades of the 6ilver
    Aperture Coupling Fork. (See
   photo "C") To seat the adapter
    firmly in place,  it may be necessary
    to wiggle the adapter back and
    forth slightly.
D. Rotate the Lens Mount Locking
   Ring e  in the "-+L" (lock)
    direction to secure the lens mount
   adaoter in olace.
E. Mount the lens/adapter to your
   camera in the same manner as vour
   normal lens.
NOfE: When mounted correctlv. the
lens will function on the white dperture
scale of the lens.

Removing the Adapter
A. Press the silver button on the Lens
   Mount Locking Ring O and rotate   the ring in the "+O" (open)
    direction until  it stops.
B. Carefully  lift the adapter from the
    lens mount.
View original page 19Page 21 · Read text
Mamiya/Sekor SX
Attaching the Adapter
A, On your Vivitar Automatic TX Lens:
              the                Lens Mount                            Lockino    1 - Rotate                         (open)   Ring              "-+O"    O in the
    direction until  it stops. Remove the
    rear rens cap.
   2 - Rotate the Aperture Ring until   the silver Apertuie Coupling?ork@
    aligns with the green dot G) on the
    lens mount. (See Photo "A")
B. On your Vivitar TX Lens Mount
   Adapter:
   3        Align             the                Aperture                          Signal Pin     -             green       with           the  @                     dot @.
   (See Photo "8")
C. Carefully align the white arrows
   engraved on both the adapter and
    lens mount and drop the adapter
    into place with the Aperture Signal
    Pin between the blades of the silver
   Aperture Coupling Fork. (See Photo
   "C") To seat the adapter firmly in
    place, it may be necessary to wiggle
   the adapter back and forth slightly.
D. Rotate the Lens Mount Lockino
   Ring @ in the "-+L" (lock) diEction
   to secure the lens mount adaoter in
    prace.
E. Mount the lens/adapter
   combination to your camera in the
   same manner as your normal lens.
NOIE: When mounted correctly, the
lens will function on the white aperture
scale of lhe lens.
Removing the Adapter
A. Press the silver button on the Lens
   Mount Locking Ring @ and rotate
   the ring in the "+O" (open)
    direction until  it stoos.
B. Carefully  lift the adapter from the
   Iens mount.
View original page 21From the M. Butkus archive. Original publisher and archive notices are retained.
Check the model and edition against your equipment.
PDF verified 2026-10-10.