Film cameras
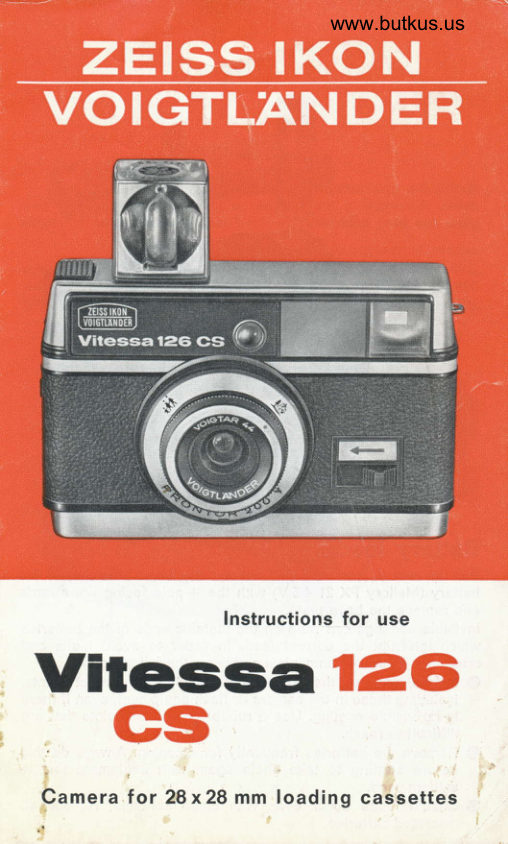
Voigtlander 126 CS User manual
User manual for Voigtlander 126 CS. 8 pages in English. Read the original PDF, download or print a copy without registration.
8 pagesEnglish2.0 MB PDF
Loading your manual…Open PDF directly
Document details
- Brand
- Voigtländer
- Model / document
- Voigtlander 126 CS
- Document type
- User manual
- Language
- English
- Pages
- 8
- File size
- 2.0 MB
- Category
- Film cameras
- Document date
- Not specified in catalog
Search available document text
Find a term, then jump to its page in the original PDF. Image-only pages may not be searchable; check the PDF for exact wording and diagrams.
Page 1 · Read text
www.butkus.us


                     Instructions for use
          126-Vitessa  cs
 Gamera ior ?Ex28 mm loading cabsettes
View original page 1Page 2 · Read text
Digitally signed by Mike Butkus
                                                                                                 DN: cn=Mike Butkus, o=Butkus camera manuals,
                                                                                                             ou=butkus.org, email=mike@butkus.org, c=US           Mike Butkus         Date: 2023.04.29 18:12:45 -04'00'
Battery loading
Pull up lock A, turn 90o and remove the base plate. Insert the
battery (Mallory PX 21 4.5V) with the + pole facing downwards
and replace the base plate.
lnvisible coatings can form on the metallic ends of the batteries
which interrupt the current feed. In order to avoid faults and
erroneous measurements, please observe the following:
O Before inserting the power sources wipe all contact points,
    including those in the camera or flash equipment, even  if there
    is no visible coating. Use a rubber pencil for points that are
    difficult to reach.
O Remove the batteries frequently for cleaning. Always do this
   before starting to take shots again with equipment that is
   seldom used.
O Should faults occur even with clean contacts, replace. all
   inserteed batteries.
View original page 2Page 3 · Read text
www.butkus.us


Film loading
Open the camera back by means of slide B, insert the film
cassette and close the camera back. At the same time. this auto-
matically sets the film speed (DlN or ASA).
Maladjustment of the shutter release
In order to demonstrate or test the camera functions, including
the lamp indication, the shutter must be tensioned and the release
then depressed.  lf a demonstration cartridge is not available, this
is usually done by disengaging the stop lever inside the camera.
lf the camera back, however, which releases the double exposure
locking device, is not subsequently closed, there is the possibility
of maladjustment of the release mechanism and the B-locking
device, when the release is firmly pressed right down.
When demonstrating the camera, therefore, plase use a demon-
stration cartridge and, in any case, always close the camera back.
View original page 3
Page 5 · Read text
www.butkus.us


Turn ratchet wheel C as far as it will go. The number "1" will
now be visible in the control window in the back of the camera.
This indicates that the camera is ready for shooting. After each
exposure, turn the ratchet wheel as far as it will go.
After the final exposure, turn the ratchet wheel until no yellow
paper is visible in the window in the camera back. Only now
should the film cassette be removed.
View original page 5
Page 6 · Read text
www.butkus.us
W@


Focusing
Set the red dot on the lens either at the group symbol (shooting
distance from 1.5-5m) or at the landscape symbol (shooting
distance from 5m-oo).
The bright-frame viewfinder outlines the picture that will be ex-
posed on the film. When setting at the group symbol the dis-
placed lines in the bright-frame should be used as guide.
View original page 6
Page 7 · Read text
r.r
                Ll-r


Exposure
Sight the subject through the viewfinder and, at this stage, press
shutter release button D down to the pressure point only. lf
no red arrow appears above the finder frame, immediate ex-
posure is possible by pressing the release button right down.
The exposure time is t/rzs sec.. lf a red arrow appears, however,
which the electronic control system has caused to light up on
account of the prevailing light conditions, move slide E in the
direction of the arrow as far as it will go and retain in this
position. lf the red arrow disappears, exposure is possible. (The
exposure time is then 1ft0 sec.) lf  it remains visible, however,
only flash exposures are possible under the prevailing light
conditions.
View original page 7Page 8 · Read text
www.butkus.us


                                       \-r'                                t/-Flash Exposure
Set the red dot on the lens ring at the group gfmbol and insert
the flash cube into the round socket F. Move s-lide E as far as it
will go and retain in this position during exposure. The standard
shutter speed setting of l/rzs s€c, is thus changed to tAo sec.
After the shot has been taken and the shutter released, the
flash cube rotates automatically until the next bulb is in position
for the next shot.
Do not attempt to turn the flash cube by hand, as this is liable
to damage the mechanism. When the four bulbs have been
"fired", pull out the flash cube and, if necessary, insert a new
one.

Favourable flash ranges:
Colour reversal film 19 DIN . . . from 2.5 to 4  m;
Colour negative film 19 DIN  . . . form 2  to 4.5 m;
Black/white film    22 DIN  . . . from 3  to 7  m:
Colour reversal film 23 DIN . . . from 3.5 to 6.5 m.
View original page 8From the M. Butkus archive. Original publisher and archive notices are retained.
Check the model and edition against your equipment.
PDF verified 2026-10-10.