Film cameras
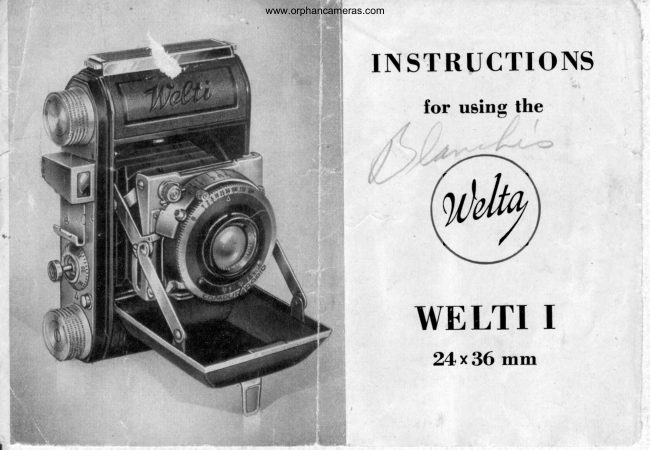
WELTA Welti User manual
User manual for WELTA Welti. 13 pages in English. Read the original PDF, download or print a copy without registration.
13 pagesEnglish2.7 MB PDF

Loading your manual…Open PDF directly
Document details
- Brand
- Welta
- Model / document
- WELTA Welti
- Document type
- User manual
- Language
- English
- Pages
- 13
- File size
- 2.7 MB
- Category
- Film cameras
- Document date
- Not specified in catalog
Search available document text
Find a term, then jump to its page in the original PDF. Image-only pages may not be searchable; check the PDF for exact wording and diagrams.
Page 3 · Read text
!                                                     q

 Something very important    !

 First study carefuliy the in-
 structions, and then try all
manipulations several times
before taking pictures. This
 is a matter of great importance
if you are anxious to succeed
in using satisfactorily your
"\MeIti"    right from the
beginning. If doing SO, the
"'\ru' e I t i " will recompense
you by making veiy nice
exposures  !
        Good LiSht!


2
                         F
View original page 3Page 4 · Read text
www.butkus.us
l. How to open and close
the camera


There is hardly anybody who ignores
how to open and close a camera. But he
who is not yet aware of it, any photo-
graphic dealer will give him a hint when
demonstrating the camera.

Only one point is still worth mentioning:

When having maae exposures, be care-
ful in bringing into their normal position
the diaphragm lever and helical focus-
ing lever before closing the camera. If
you pay attention to this, you may
prevent the camera from being damaged,
and to avoid troubles whatever to the
mechanism.
View original page 4
Page 5 · Read text
2. How to focus the camera
   A hint for you:
      Focus our "\trfelti" to a distance
       of 18 feet, stop down to 11, and
     you will always have a sharp
      focusing of pictures to be taken
      from 10 feet to ,,infinity,'.


                   www.butkus.us

                  Fig. I
Focusing the front lens
The focusing by feet is quite easy. The
Objective .2.9 Radionar is mounted in
4                   I
View original page 5Page 6 · Read text
www.butkus.us

the so-called front lens mount (see
fig. 1).
On this lens mount you see the distance
in feet and the "infinity". May the
following example show you what to do
further:
Suppose your object is six feet away,
you simply turn the lens mount to the
left until the mark under the number 2
alines with the indicator near the lens
mount. After having taken the picture
the lens mount is to be turned back to
the stop, thus focusing the camera to
"infinity". If you want to get a better
depth of focusing use the diaphragm,
too, and consult the table for the depth
of focusing which may be the most
suitable diaphragm for the picture to be
taken.

Helical Focusing
The objectives 3.5 Xenar, 2.9 Xenar,
2.8 Tessar and F : 2.0 Xenon are mount-
ed in the helical focusing mount. The
                                   5
View original page 6Page 7 · Read text
7

          focusing lever is to be seen between
         the shutter casing and the lens panel
         (see fig.2).


                               Fig.2
      We give you hereunder some examples
          just to make the further manipulations
       more easily understandable   :
         At the left side of the focusing lever you
           will see the feet scale. After having as-
         certained that the object to be taken is
          6 feet away from your camera, you take
        6
View original page 7Page 8 · Read text
www.butkus.us

 the focusing lever, on which you find
a white marking line. Push the lever
forward until the marking line of the
 Iever alines with the mark under the
number 2. After having made the expo-
 sure, be careful in removing back the
focusing lever to the stop just as you
did before, and the camera is now
focused to "infinity". The table at the
camera, showing the depth of focusing,
will clearly indicate which is the very
diaphragm you must use.
3. Ifow to put in the film
First of all remove the knob you see on

                                                                                                                                                                      .top of the camera in the direction of
the arrow, thus releasing the back of
the camera from the body. These two
parts being hinged, the back is allowed
to hang down without being held fast
(see fig. 3). Put then the film cartridge
into the film chamber you see below.
You have nothing else to do but to draw
out the back-rolling knob (see fig.3a),
but on putting in the film, be careful
that the slit-bolt engages the bar of
                                7
View original page 8Page 10 · Read text
www.butkus.us


                                                                                               Digitally signed by mike butkus
                                                                         cn=mike butkus,          mike              DN:o=orphancameras,                                                                                           ou=29,
                                                                             email=mike@butkus.org, c=US
                                                                                   Date: 2019.12.11 20:35:48 -05'00'          butkus                                                   Fig. 4
     the spool: Fig. 4 may show you how
      the film is correctly put in.
      Hereafter draw the film across the ca-
      mera, put the one pointed end into the
        slit of the empty spool, thus allowing
      the strip to be seen through the second
I        slit. It is adviceable, however, to fold
      this end of the film, as it facilitates
      very much the running of the film. you
      then turn the knob (gb) in the direction
       of the arrow until the film gets the very
                                     9
View original page 10Page 11 · Read text
tension, but take care that the little
toothed wheels engage the perforation
of the film.
Now the camera is to be closed again  I
Heieafter turn the rolling-knob (fig.3b)
in the direction of the arrow until you


                       Fig. 5
feel the stop. The blocking lever of
the counter will then be more visible
(fig.5a). Then you press down the
blocking lever, and turn the rolling-
knob (fig. 3b) again to the stop. This
proceeding is to be repeated. You may
but then take the first photograPh,
but be careful that the marking line
of the first picture on the counter is
placed exactly close to the marking
line on the covering-plate of the camera
(see fig. 5c).
10
View original page 11Page 12 · Read text
www.butkus.usV-T

       After having taken the first iicture,
       you must again press down the blocking
        lever (fig. 5a) turning the rolling-knob
         (fig. 3b) again to the stoP. The fiIm
       is then ready for taking' the second
       photograph. Repeat these manipula-
       tions until the 36th exPosure.
     On having taken all 36 Pictures, the
       coupling-knob (see fig.3c) must be
      drawn off the body of the camera' then
       turned slightly to the left, and left in
        this position. Hereafter turn the back-
        rolling knob (see fig. 3a) in the direc-
        tion of the arrow until the film will be
       spooled back, and then bring the coup-
       ling-knob (fig.3c) into its initial posi-
         tion. Open the body of the camera and
       draw out the back-rolling knob (fig. 3a).
      There is no trouble whatever in taking
       the exposed film from the c?filerar
       4. Release of the shutter
        After having wound the shutter, press
      down the little knob of the release
       with the forefinger of the right hand,
      and the shutter releases
                                           11
View original page 12Page 13 · Read text
The handling of theTubulatVi"-
Finder with Parallax Compensa-
tion is most simple.


Remove the knob (a) to left and the
view finder is ready for the short-range
photograph (feet 2.25-gl.
                                                                                 ( b )A pressure on the view finder body
allows the knob to snap automatically
into its primitive position, then the
photograph can be focussed (feet 18
to "infinity"  ).
The details about the art of Photo-
 graphing thay be seen from the Welta
 handbook which we add to each camera.
      We wish You the best
                                                                                                                         I            success in taking Pictures
 l2                       Printed in Germany
View original page 13Related documents and language editions
From the M. Butkus archive. Original publisher and archive notices are retained.
Check the model and edition against your equipment.
PDF verified 2026-10-10.