Film cameras
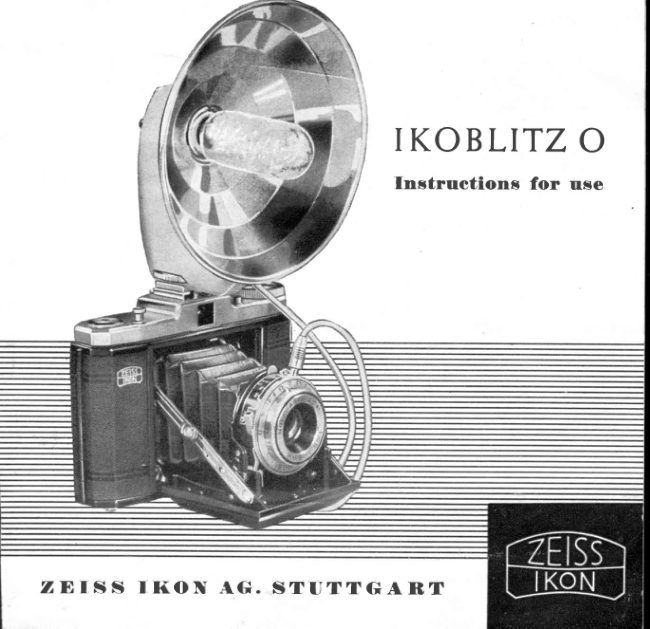
Zeiss Ikon IKOBLITZ O User manual
User manual for Zeiss Ikon IKOBLITZ O. 5 pages in English. Read the original PDF, download or print a copy without registration.
5 pagesEnglish0.7 MB PDF
Loading your manual…Open PDF directly
Document details
- Brand
- Zeiss Ikon
- Model / document
- Zeiss Ikon IKOBLITZ O
- Document type
- User manual
- Language
- English
- Pages
- 5
- File size
- 0.7 MB
- Category
- Film cameras
- Document date
- Not specified in catalog
Search available document text
Find a term, then jump to its page in the original PDF. Image-only pages may not be searchable; check the PDF for exact wording and diagrams.
Page 2 · Read text
I KOBLITZ O
                                         Instruetions    for  use


Z N T S S     I K O N  A G . S T U T T G A R T
View original page 2Page 3 · Read text
The  nurnllers    of  the  illustrations      refer   to  the  follorving    parts:

1  Lock for battery case           5  Synchro-lead
2  Ref lector bayonet socket        6  Test bulb
3   lt4illed screw with tripod bush      7  Milled screw for test bulb
4  Foot for accessorv shoe         8  Ejector knob

                 www.orphancameras.com
View original page 3Page 4 · Read text
FI
      The  f I{OBLITZ   O

               is a small, light-weightand easily operatedcapacitorflashgun.In
            order to have it alwaysat hand it can be carried along in its small
             carrier bug. It can be usedwith all camerasand with all flashbulbs
           having an A. S.C. C. (15 mm) socket.The bulb is fired by the
            current of a small, commercial22.5volt battery.


          Ilotc   tlte  II{OBLITZ           is operqted

I         1 .  I N S E R T I o N o F T H E B A T T E R y ,T h e c o v e r l i d o f  t h e b a t t e r y c a s e
            can be opened by turning the lock with a coin (1). The two dots
            must be side by side. Insert the batterl'  (it does not matter whether
              the "plus"  or the "minus" pole is above), but make  sure that the,F"
             contacts are clean.t
           2. ASSENIBLyrrrTH THE cArlrERA:Set up the reflector and fix  it to
             the case by u gentle turn to the right (2). Slip the rKoB Lrrz  in the
            accessory shoe of the camera (if  it does not  fit  tight enough bend
            up the nose on the foot (4) of the rKo r^urz).   If the camera has
            no accessory shoe or this shoe has to be used for other purposes,
            loosen the foot for the accessory shoe (4) by turning  the milled
            screw (3) and fix the IKo BLrrz  to the camera by using the'tripod
           bush of the camera or one of the usual camera brackets.
View original page 4Page 5 · Read text
3.  :1".,il:';,",ff;,J#""#:hi;T"i"';'l-il:Jnl.ll
   flashbulb to be used (see instruction for use of flashbulb). Then
   connectthe synchro-lead(5) with the contact socketof dre shutter
   and insert the flashbulb (not the other way round!). Pressthe green
   button (6),  if   it  lights up, the flashbulb and the circuit are in
   working order and the IroBLrTz  is ready for use. (Burnt out test
   bulbs can be replacedafter unscrewingthe milled screw (7)).

4. SToRAGEoF THE IKoBLITZ: Consumedflashbulbsare ejected
   by depressingthe red knob (8). A fresh llashbulb sbould neoer be
     left in tbe so&et when tbe llashgun is not in use, becauseit will                         ilt
    exltaust tbe battery. Take off the reflector by turning it to the left          i-
   and insert it into the side of the case to which the loops for the       E
   carrying straps are fitted.                                                F
    Into the other side of the case the battery caseis inserted.

Tedrnical development may require slight changes in the IKOBLITZ    as compared     =
with  this description.
                                                                              F
                                                 =

                                                 =

            Z E I S S     I K O N  A G .  S T U T T G A R T

                                                i     gi:l  31gl1316Printed in Germany, Author  : J. Kraatz 10 0554'2            -1.
                 www.orphancameras.com                                                                  4. t
                                                                                                                                                   t
View original page 5From the M. Butkus archive. Original publisher and archive notices are retained.
Check the model and edition against your equipment.
PDF verified 2026-10-10.