Sewing machines
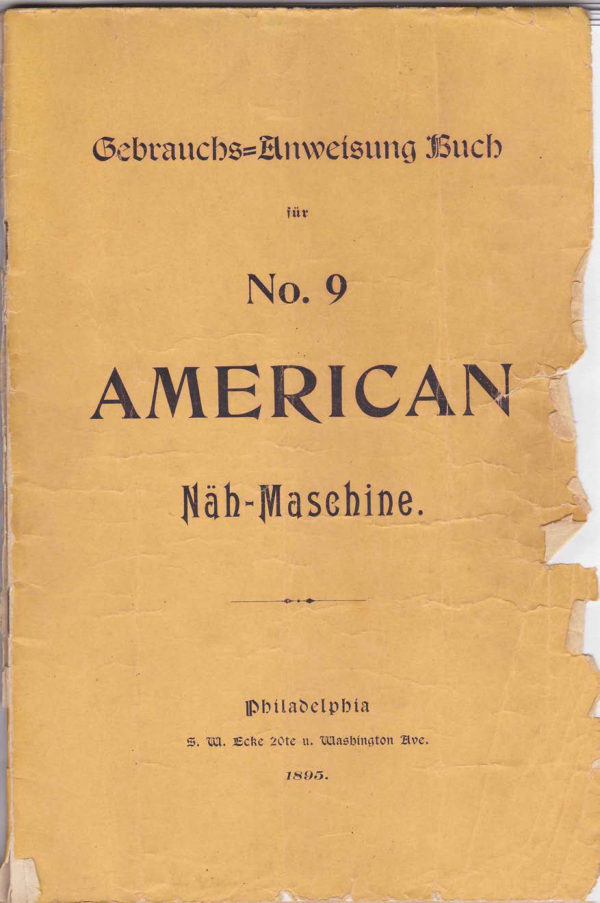
American Sewing Machine — User manual
User manual for American Sewing Machine. 14 pages in English. Read the original PDF, download or print a copy without registration.
14 pagesEnglish14.1 MB PDF
Loading your manual…Open PDF directly
Document details
- Brand
- American
- Model / document
- American Sewing Machine
- Document type
- User manual
- Language
- English
- Pages
- 14
- File size
- 14.1 MB
- Category
- Sewing machines
- Document date
- Not specified in catalog
Search available document text
Find a term, then jump to its page in the original PDF. Image-only pages may not be searchable; check the PDF for exact wording and diagrams.
Page 1 · Read text
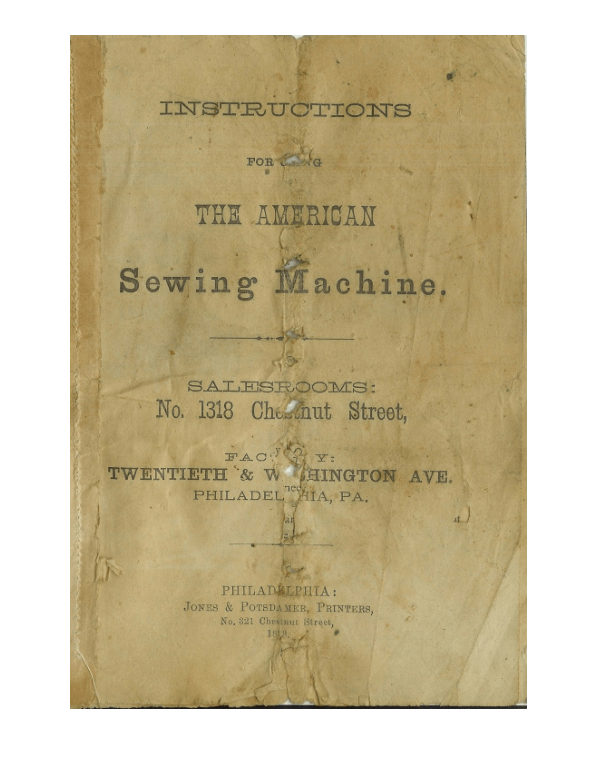
INSIRUOTIONS


                         NG              FOR C

      THE AMERICAN

SewingMachine.


    SATHSROOMS:
    No. 1318 Chenut Street,

          FAO:!
TWENTIETH '& W                SHINGTON AVE.
        PHILADELI
                     HIA, PA.


            PHILADALPHIA:
           JONES & POTSDAMER, PRINTERS,
                        No. 321 Chestnut Street,

                         18|8
View original page 1Page 2 · Read text
TEER

  AMERICAN

SEWING MACHINE


    COMPANY,


     No. 1318 Chestnut Street,

    PHILADELPELIA.
View original page 2Page 3 · Read text
se You should follow the Instruction Book care-

 fully in learning the machine.


  Directions for using the American

         Sewihg Machine.


   Plain Sewing.—Learn first the treadle motion; startingit

 always by turning the wheel from you; continue the motion until

 a slow or rapid movement may be produced at pleasure and with

 ease.


    To set the needle. -Raise the needle bar to the highest point,

 and insert the needle in it as far up as it will go with the long

 groove in the needle to the left and secure it firmly by means of

 the set screwS on the side of the bar; using for this purpose the

 Shuttle Screw Driver. The needle must be set perfectly straight

and true so that it will go down exactly in the centre of the hole

in the throat plate, and the thread pass through the eye in a direct
line with the machine from left to right.

  To thread the Needle.—Put the spool on pin M, (see figure 1,)
and place the weight on top, pass the thread through the hole in
the tension wheel N, through the thread guide O, in the direction
View original page 3Page 5 · Read text
5


from you through the hole in the end of take up P, and again
through the guide O, in the direction towards you and then through
the eve of the needle from letsso right.
  To remove the Shuttle from the Carrier.—Take out the throat
plate by moving the lever L towards you, place the forefinger
behind the Shuttle-Carrier,and press the latch from over the
Shuttle with the thumb, then lift it carefully out.
   To wind the thread on the Shuttle Bobbin.—Turn up the Machine,
secure the winder to the table, over the belt wheel, in the oval
opening to the right, by inserting the pin of the winder in the
small hole made to receive it, so that the belt will run on the
wheel of the winder. Place the Bobbin on the spindle, and the
 spool on the pin in the oil box, and run with the treadle, winding
the thread evenly by guiding it with the hand.
   To thread the Shuttle, and to place it in the Carrier.— Hold the
 point of the Shuttle towards your right hand, then raise the spring
 or latch carefully up and place the bobbin in the shuttle, with the
 thread reeling from the lower fart of the shuttle, pass it through
 the slot in the post, and then through the hole in the top of the
 shuttle.Place the shuttle in the carrier with the point towards
 you and secure it by bringing the latch forward over it. Take
 the throat plate A, and pass the thread from the bobbin up through
 the needle hole, and then place the plate in its position.
                 Tensions. —The tensions are obtained and regulated by means
 of the tension wheel N, above, and the post in the shuttle below.
 The wheel N, is turned to the right to make and increase the
 upper tension, and the post in the shuttle must be turned to the
 left for the lower tension, (using the small screw driver for the
 purpose) and the two should be so regulated and adjusted to each
 other that the stitch will lock in the centre of the cloth, presen-
  ting the same appearance on both sides. Hence it may sometimes
 be necessary to increase the one as you lessen the other, or vice
 versa to make them accord.
View original page 5Page 6 · Read text
If the stitch on the under-side of the work is too loose, or not

 drawn into the fabric sufficiently, increase the upper tension by

turning the tension wheel N slightly to the right. And if this is


 the case on the upper side of the work, increase the lower or shuttle
 tension by turning the post in the shuttle with the small screw

 driver to the left, until the proper tension is obtained. As a

 general rule, the post in the shuttle should be turned half way
 round or more to suit the material, and nearly once round the

 wheel N for the upper tension.


                To Sew.-Place the fabric beneath the needle, always entering

 the needle as far as possible in the goods before lowering the
 presserfoot, then put the machine in motion by turning the wheel

 from you; guide the work gently, but donot pull it, for by so
 doing the needle is likely to be broken, and. the stitch made

irregular; irregularity in the stitch is often caused by its being too

short; the thread may be the same number above and below.-

 Remember the machine feeds itself, the operator only guides the
 cloth.  Before taking out the work sufficient slack thread should
be drawn from the upper spool to prevent bending or springing
 the needle.

   Regulate the Stitch. — To lengthen the stitch, move the lever V
 (figure 2) from you; to shorten it, pull the lever towards you,

 moving it with care.

                 HEMMING.


   Loosen the screw at the lower end of the presserfoot bar,

draw out the presserfoot and replace with the hemmer. Then

raise the needle to the highest point, thus leaving the hemmer a

little elevated above the throat plate, so as to admit the fabric

easily, turn the edge of the fabric over about a quarter of an inch

and insert it in the hemmer, being particular to see that the edge

is under the spring of the hemmer; push it through until the
View original page 6Page 7 · Read text
If the stitch on the under-side of the work is too loose, or not

 drawn into the fabric sufficiently, increase the upper tension by

turning the tension wheel N slightly to the right. And if this is

 the case on the upper side of the work, increase the lower or shuttle

 tension by turning the post in the shuttle with the small screw

 driver to the left, until the proper tension is obtained. As a

 general rule, the post in the shuttle should be turned half way
 round or more to suit the material, and nearly once round the

 wheel N for the upper tension.


    To Sew.-Place the fabric beneath the needle, always entering
 the needle as far as possible in the goods before lowering the
  presserfoot, then put the machine in motion by turning the wheel
 from you; guide the work gently, but donot pull it, for by so
 doing the needle is likely to be broken, and the stitch made
irregular; irregularity in the stitch is often caused by its being too
 short; the thread may be the same number above and below.-
 Remember the machine feeds itself, the operator only guides the
 cloth.  Before taking out the work suficient slack thread should
 be drawn from the upper spool to prevent bending or springing
 the needle.


 (figureRegulate2) fromthe Stitch.you; to—shortenTo lengthenit, pullthe thestitch,levermovetowardsthe leveryou,V

 moving it with care.

                 HEMMING.


   Loosen the screw at the lower end of the presserfoot bar,

draw out the presserfoot and replace with the hemmer. Then

raise the needle to the highest point, thus leaving the hemmer a

little elevated above the throat plate, so as to admit the fabric

easily, turn the edge of the fabric over about a quarter of an inch

and insert it in the hemmer, being particular to see that the edge

is under the spring of the hemmer; push it through until the
View original page 7Page 8 · Read text
8

 needle enters the hem, keeping the edge of the hem square with
the side of the hemmer, and turning the edge of the fabric
 slightly as it feeds.

   To use the Guage.— Attach it to the bed plate with the guage
screw by means of a small hole a little to the the right of the
 throat plate.


                   TELLING.
   Adjust the Hemmer the same as in hemming.Sew a straight
seam and trim off one edge close to the stitching insert the fabric
in the hemmer the same as in hemming with guage under the cloth
arranged so as to allow the fabric to pass through easily.


                  BRAIDING.

   Adjust the braid presserfoot the same as hemmer; insert the

braid in the eye of the little brass plate of the braider foot, then

let it down on the fabric, with the braid in the groove under the

presserfoot, then proceed the same as in plain sewing, and the

braider will guide the braid. There are three brass eyes with each

braider adapted to different size braid, adjusted by means of the

small screw, which must not be taken out all the way.


           GATHERING AND SEWING ON.


   Place the cloth under the needle the same as in plain sewing,

increase the length of stitch according to the thickness of the

 fabric and the size of gather desired, then proceed by holding

back the upper fabric, and allowing the under to feed more or

less rapidly in proportion as a close or scant gather is required.-

 For this purpose use the presserfoot having the greatest curve in

 the foot.
View original page 8Page 9 · Read text
CORDING WITH THE PRESSERFOOT.

 Adjust the presserfoot—-place the cord in the fabric and put it

under the presserfoot so as to run in the groove of the presserfoot

and proceed as in plain sewing.


        DIRECTIONS FOR USING THE CORDER.

   . This attachment is applied to the Sewing Machine, in place of

the presserfoot.Thread the cord through the eyelet at left end,'

thence to the right through the cord guide or tube, and carry the

end from you four or five inches—fold the cloth and place

one side under the tube, and the other over it, draw to left until

folded edge touches the cord guide, let down the presserfoot and

proceed to sew. Care should be used in keeping folded part of cloth

close against the end of cord guide, but if held hard against it, too

much friction will be produced and the feed will refuse to act upon
the cloth.
    If the needle stitches too far from the cord, or on the other
hand, should it pass through the cord, simply loosen the set screw
and swing the corder foot slightly to the right or left as the case
may require.

          BINDING WITH SECOR'S BINDING.
  Remove the presserfoot of the machine; attach the binder in
its place, so that the needle goes through the middle of the hole.

Loosen the upper guide by turning the screw A (see figure I4),

 pass the end of the binding into the guides as far as the needle,
with the under edge of the binding against the lower guide. —
 Adjust the upper guide to fit the binding, turn down the screws,
 pass the fabric into the binding, let down the presserfoot and pro-
ceed with the work.


                       QUILTING.
  The quilting guage is secured to the back of the frame of the
machine, near the presserfoot bar, where a small hole will be
View original page 9Page 10 · Read text
10


 found,) by means of the thumb screw. Having made a row of

stitching, place it as far from the needle as will indicate the size

of diamond desired, then adjust the quilting guage, by means of

 the thumb screw, on a line and over the row of stitching, with

 the guage sufficiently elevated to allow the cloth to pass through

 easily, and then guide your work by guage.

     TO ADJUST THE TUCK MARKER.


   Attach the tuck-marker to the cloth plate with the guagescrew,

 place the tucker wire in front of the needle and slip the eyelet of
the hook over the point of the needle and up to the lower end of

the needle bar.

     HOW TO USE THE TUCK-MARKER.

   On the tucker you will see two rows of figures. The short

row shows you any width of tuck wanted. For example, if you
want a tuck three-eighths of an inch wide, set the guage at figure
3 in the short row of figures, and movethe figure "3' of the

long row to guage the also. This makes a tuck with no space

between. But if you want a space between them, move the

MARKER away from the guage two or three eighths, or as much

as you want the space to be, and then fasten the tucker down

firmly with the guage-screw.

  You will notice that when any of the same figures in both rows
are set at the guage line, there will be no space between the tucks
thus made, and that moving the MARKER away from the needle,
or away from the guage, makes a space between. This example
applies to all width of tucks you may want. You can set the
tucker in position before placing it on the Machine or you may
do it after. In either case it will be right. Then connect the
tucker wire to the needle-bar with the eyelet. When you are
spooling bobbins you can slip the eyelet off the needle so as not
to run the tucker
View original page 10Page 11 · Read text
11


                     FIGURE 14.


Showing Secor Binder in operation on the Machine.
View original page 11Page 12 · Read text
12


   Now fold your cloth for the first tuck and place it under the
 Marker and up to the guage and then proceed to sew. After

 sewing this tuck, fold the cloth by the mark just made and proceed

 as before, but place the edge of the tuck last made under the
 little raised projection seen in the bottom plate of the tucker near
the MarKEr. This prevents the cloth from running upon the

 Marker, but you can mark very well even if you do not do this
still by so doing, your cloth will run throughstraight with less

attention.


        RAISING, LOWERING AND ADJUSTING THE FEED.


   In sewing light fabrics, it is always best to have a low feed;

in heavy fabric, let the feed be a little more elevated. To raise

the feed, turn up the machine, loosen the set screw U(see figure 3)

and turn the lower screw W towards vou; to lower it, turn from

you.

                  CLEANING AND OILING.

   The importan e of keeping the movements of the machine

thoroughly clean and properly oiled, must be apparent to all,

 since no piece of fine mechanism can perform its work well if

allowed to become clogged with dirt or the gum and refuse of oil

that has been used upon it. All parts of the machine where theré

is any motion causing friction should be kept perfectly clean and

well oiled. Only a little need be used at a time, but it should be

applied frequently when the machine is much used. The parts

requiring especial attention are the bearings of the shaft, the rollers

                                                     the feed-
in the cams, the connection of the shuttle-carrier and
 movements, the back of the take-up, the needle-bar and its con-

 nection with the arm and the fulcrum or pin on which the arm

 moves. In cleaning the Machine, put in fresh oil to soften and

 work out the dirt and gum, then wipe out carefully. The enclosed
 parts or journals are oiled through the small holes made for the
 purpose.
View original page 12Page 13 · Read text
13


                          W


                      FIGURE 9.

       Showing end view of Feed and Connections.


3
                          FIGURE 9.

     Showing Front View when the Machine is turned up.
View original page 13Page 14 · Read text
14

  The quality of oil best adapted to the purpose is prepared and
sold by THIs COMPANY and its Agents.  None but the best
quality should be used on the michine. The quality of Cotton
and Silk best adapted for machine work are also supplied to Agents

and consumers, by the Company, at the lowest prices,


        THE OUTFIT OF A MACHINE INCLUDES:

   1 doz. Needles, (ass'd sizes.)           1 Instruction Book.
  4 Bobbins                        1 Oil Can.
  1 Weight.                          1 Braider Foot.
  1 Guage and Screw.              1 Wrench.
   1 Presserfoot, also used in Cording.   1 Hemmer.

  1 Presserfoot for Gathering and Sewing on

         (This is the one with the greater curve in the foot.)

   1 Shuttle Screw Driver. (also used to set the needle.)


     DIRECTIONS FOR USING NEÉDLES AND COTTON.

        For Needle No. 3, use from 18 to 30 Cotton.
                  No. 2,          30 to 50
                   "
           " No. 1,       50 to 70
            " No. 7,         70 to 100 "
           " No. 0. 66      100 upwards.
View original page 14Related documents and language editions
From the ISMACS International. Original publisher and archive notices are retained.
Check the model and edition against your equipment.
PDF verified 2026-10-11.