Sewing machines
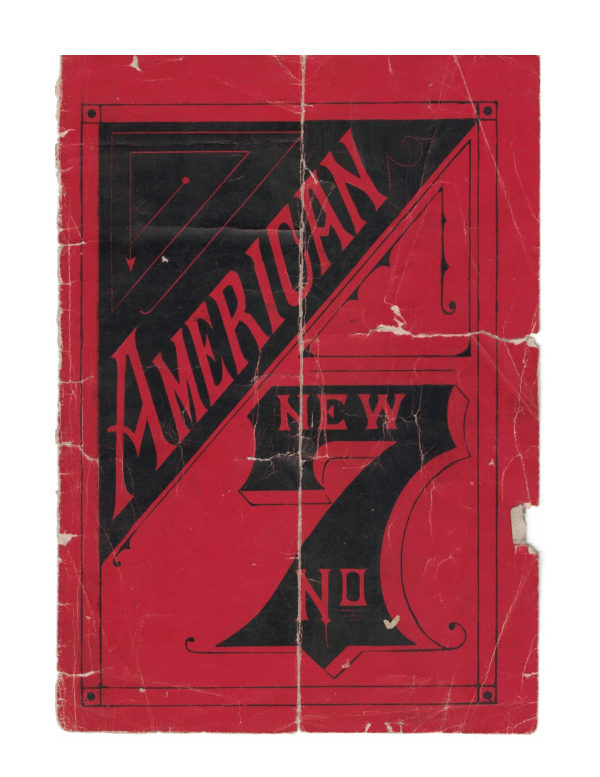
New American Number 7 — User manual
User manual for New American Number 7. 17 pages in English. Read the original PDF, download or print a copy without registration.
17 pagesEnglish16.5 MB PDF
Loading your manual…Open PDF directly
Document details
- Brand
- American
- Model / document
- New American Number 7
- Document type
- User manual
- Language
- English
- Pages
- 17
- File size
- 16.5 MB
- Category
- Sewing machines
- Document date
- Not specified in catalog
Search available document text
Find a term, then jump to its page in the original PDF. Image-only pages may not be searchable; check the PDF for exact wording and diagrams.
Page 2 · Read text
INSTRUCTIONS


                   -FOR THE-

NEW AMERICAN


    SEWING MACHINE,

       No. 7•


                      1884.

          PHILADELPHIA:
      No. 1318 Chestnut Street.
View original page 2Page 3 · Read text
INDAX.


 Treadle Motion .
Oiling the Machine                                               4
Winding the Bobbin.
To Thread the Shuttle
To Place the Shuttle.
To Set the Needle.
Sizes of Needle and Thread
To Thread the Machine.

 To Regulate the Tensions

To Regulate the Length of Stitch
To Sew
To Raise or Lower the Feed
General Remarks


      INSTRUCTIONS FOR USING THE ATTACHMENTS.
Hemming                                           12
Felling                                             12
Tucking .                                               3
Gathering                                       4
Quilting •Binding                                                                    56
Trimming                                           16

   Each machine is furnished with the regular

outfit.
View original page 3Page 4 · Read text
Figure 1.

           MACHINE AND STAND.

               To Adjust the Fly Wheel.

  On the end of the Fly Wheel Stud, there is a hardened Steel Cone,which is
movable, being held in its place by means of a Conical Screw, acting on the Split end
of the Stud

  To adjust the Stud, Turn this Screw about a Half Turn to the left, then force or
drive the Cone, until it Fits snugly into its Cavity in the Wheel, and re-fasten the
Screw.Be careful to fasten the Screw Tightly.
View original page 4Page 5 · Read text
Treadle Motion.

  Unthread the Needle, raise the Presserfoot on the first stop,

take the belt from Fly-wheel groove, and then practice the

treadle motion until you can produce a steady, regular motion.

Be careful to start in the right direction, as indicated by arrow in

Figure I.


                     Oiling the Machine.


  To insure an easy running machine, keep the running or wear-

  ing parts well oiled. The oiling places are shown in Figure 4,

and are indicated on the machine by appropriate marks. All

places marked "Oil" (in Figure 4) require oil once per day,

and those marked "Oil 2" at least twice per day, when in constant

use. „Commence at the hole in needle-bar box, marked " Oil 2

H" ; turn the Balance-wheel until the needle-bar is at its highest

point, and insert the oil-can spout at least three-eighths of an inch
in the hole, so that the Heart (shown in cut) may be thoroughly
oiled, this being a particular point. Then proceed with the other
places as shown in Figure 4. See that the oil is well distributed

(not too much in one place), also that it is applied to all the
proper points. If the machine runs heavy, oil up with coal oil or
benzine, which will cut out all the gum; then cleanse thoroughly;
and oil with pure American Sewing Machine Sperm Oil, which
can always be procured from our Agents.
  The hole marked "Oil I A." is an exception to above rule, as
 it requires only a drop of oil about two or three times per week;

 a more frequent application might soil the goods.
   Occasionally put a drop of oil on each of the five places indi-
 cated by the word "Oil" in Figure 1.
View original page 5Page 6 · Read text
Figure 2.
          WINDING THE BOBBIN.

                To Wind the Bobbin.

   Loosen the balance-wheel, so as to run free on the shaft with-
out running the machine, by pulling out the Plunger (No. I,
Fig. 2), and turning it into the bayonet-slot on Balance-wheel
Sleeve.  Furn the Bobbin-winder up until the gum ring comes in
 contact with the Balance-wheel, and place the Bobbin on the enc
of spindle (see No. 2, Fig. 2); place the cotton on Spool-post and
proceed to wind by treading the machine as when sewing, hold-
ing the thread about four inches from the Bobbin. Wind evenly
and not too full.
   After removing the bobbin from spindle, return the Winder to
its former position, and attach the Balance-wheel by replacing
the Plunger.
View original page 6Page 7 · Read text
No. 1.


                           Figure 3.
        THREADING THE SHUTTLE.

                 To Thread the Shuttle.

  Take the Shuttle in your left-hand, with the point towards
your right (Fig, 3, No. 1).
   Place the Bobbin on post A, the thread to run as indicated by
the arrow (see Fig. 3, No. I); draw the thread with the right
View original page 7Page 8 · Read text
nand towards you and in the centre of Shuttle; pass it into
 opening of Partition C
  Thence from you into Slot D (Fig. 3, No. 2).
   Press the thumb lightly on Bobbin, and pull the thread gently

a te inches bet were extend a outside one sing , avingThen
 close the lid G on Bobbin.

              To Place the Shuttle.
  The Shuttle-carrier being at its extreme forward point, insert
the shuttle with the point down and towards you in Race (see
 Fig. 4). In removing the Shuttle care must be taken not to jam
 it between Carrier and Needle-plate.

               Sizes of Thread and Needles.

   In general sewing, use thread the same size above as below.
Should you desire the stitch to show finer on one side than the
other, place the fine thread on the desired side. In all cases
select a needle to use with the upper thread, as the following
will direct:—
           120 Cotton and upwards, or 0000 Silk, use No. o Needle.

      30 to 50

        Coarse Cotton, DorD orE ESilk, or" 40Go toto 6080 Linen Thread, 3

   For Leather, use a flat-pointed heedle.
   All the above needles are made specially for our machines,
and can be purchased from the Company or their agents only.
   Sharpen blunt needles with an oil stone.
   Do not sew with crooked needles.


                    To Set the Needle.

   Select needles suitable for the work (see above). Place the
needle in the lower end of Needle Bar (No. 4, Fig. 4), as far up
as it will go, with the long groove towards your left and the eye
running in direct line of the machine. Secure it by the Thumb-

screw (No. 9, Fig. 4).
  The needle, when descending, should occupy the exact centre
of the hole in the Needle-plate. Should it strike either side, it
must be adjusted by springing or bending in the required direc-

tion until it retains its proper position.
View original page 8Page 9 · Read text
8

                                        GIL
                    0112H         2
           38


             S-AMERICAN


                                      OIL?

             -9 RACE OIL


                       Figure 4.
         THE MACHINE THREADED UP.

         To Thread the Machine, (see Fig. 4).


 Tensionpion Screw,Screw.No.No.2,2,andandoveroverthetheTension Spring, draw it into
the Thread Hook, No. 3; then pass it between the Tension
Plates (on the side towards you), and into the Eyelet X, on top
of arm; then bring the thread down towards the Needle, passing
it between the Thread-Guide and Needle-Bar Box; draw from
you the portion of thread lying in this Guide, thereby forming
loop, which hang into the lake-up projecting from rear of Needle
Bar Box; then nread the Needle-eye from left to right, passing
the thread into slot in the le ver end of Needle-Bar, and leave
three or four inches of thread extending from the Needle.
  The threading being complete, and the Shuttle in place, close
the slides. Keep the needle thread loosely in left hand, and
turn the Balance-wheel, as indicated by the arrow, until one
revolution is accomplished; this will bring up the lower thread
Place the ends of both threads from you, and to the rear of
needle, passing the end of upper thread through the slot on
Presserfoot.
   Care must be taken to close the slides before commencing to sew, to
avoid breaking the Shuttle.
View original page 9Page 10 · Read text
To Regulate the Shuttle Tension.
  Without removing the shuttle, insert shuttle screwdriver in
 the Tension-screwE, (Fig. 3); turn to right to increase, and to
 the left to decrease the tension.


             To Regulate the Upper Tension.

   The numbers on Tension Thumb-screw are a guide for the
 distance and direction in turning same. To increase the upper
 tension turn the screw so as to bring forward successive higher
numbers in regular rotation from i to 4, and to decrease the
tension turn in the opposite direction, bringing the lower numbers
 to the front in decreasing order from 4 to 1.


               To Regulate Length of Stitch.

   Turn the Stitch Regulator until it is opposite the number on
 dial plate correspondingto number of stitches required in an
inch space, then fasten it in its place by pushing the Plunger in
 the hole representing that number.

                  To Sew.
  Be sure that the slides are closed; see that the Feed Regulator
 is correctly set for the number of stitches desired; also, that the
upper thread is correct according to instructions on page 7, and
that the needle is up. Lay the ends of both threads back of
needle, (the upper thread in slot of Presserfoot), and place the
fabric under the Presserfoot, lower the Presserfoot and start the
machine, turning the Balance-wheel in the direction indicated by
 the arrow (see Fig. 4), slowly at first until the machine is fully
 under control. Allow the feed to move the fabric without assist-
ance; guide the material, but never pull it, or you may break the
 needle. In running over heavy seams, however, it is well to help
the feed slightly.  Always stop the machine with the needle out
of the fabric, which can be removed as follows: Draw off a few
inches of thread near the top of Needle Bar, No. 4, raise the
 Presserfoot, take the work out from back of the arm; break the
 thread close to the goods, leaving about four inches extending
 from the needle and shuttle.  A correct tension will produce an
 even, round stitch on both sides of the fabric; if this result is not

 obtained, adjust the tension as directed above.
View original page 10Page 11 · Read text
12        44                                     17                                         16


                         Figure 5
         UNDERWORK OF MACHINE.
             To Raise and Lower the Feed.
  When the machine is sent out the feed is always set for ordinary
sewing.  Very heavy and soft goods require a higher feed.

   To raise or lower the feed, turn the machine over (see Fig. 5),

loosen the Set-screw, No. 17, move the Feed Lever Connection,
No. I1, up or down slightly unfil the desired height is obtained ;
then fasten the Set-screw very tight again. The machine should

be fastened to the table by the thumb-screw.

                    The Take-Up

is adjustable by means of a chased screw on the front of the

needle-bar box; if it is not in the right position, unscrew it only

half a turn, and move towards you for light, and from you for

heavy fabric. Be careful to fasten the screw again; if this is
omitted, the Take-up will be noisy.
                    General Remarks.

   In order to become thoroughly acquainted with the machine,

it is necessary that the learner follow the instructions precisely

as they are given. Should difficulties arise, the following instruc-

tions will be found useful:
View original page 11Page 12 · Read text
11

    BREAKING OF THe UPPER THREAD is caused by the  I.
needle not being set as instructed; or the machine not being
properly threaded; or the upper tension tootight; or the
thread uneven or too coarse for the needle; or the needle eye
being too sharp; or the Shuttle Carrier Lining being tampered
with; or the same becoming detached from the Carrier; to

remedy this, take the Shuttle Carrier off, bend the Lining until it
lies close to the Carrier; then replace the Carrier on the lever,
allowing a inch of space for the shuttle to move in.
    BREAKING OF THE UNDER THREAD is caused by the  2.
shuttle not being properly threaded; or the bobbin too full;

or the tension too tight; or the Cloth Washer not being at the

bottom of the Shuttle-post.
   3. BREAKING OF THE NEEDLE is caused by pullingthe
goods when sewing; or by thick goods or heavy seams, when
the Pressure-nut on Presserfoot is too tight. To remed, this,

turn the nut (No. 5, Fig. 4) towards you for increasing, and

from you for decreasing the pressure.
   4. LOOPING OF THE THREAD is caused by the tension not

being properly adjusted; or Take-up, No. 6, not acting properly ;
or the thread being caught around the Thread-guide; or the

machine not being properly threaded.
     MISSING OF STITcHEs is catised by the needle being bent
or not set properly; or the thread too coarse for the needle; or
oil in Needle Groove; or bad needles.
   6. MAcHINe RUNNINg HEAVY is caused by the joints being
too tight; or by not being properly oiled; or by becoming
gummed by the use of impure oil. To overcome this latter
defect, apply a little coal oil in the running parts of the machine;
run it a few minutes, then cleanse thoroughly, and apply the
American Sewing Machine Oil.
  7. THE MACHINE RUNNING IRREGULAR is caused by the belt

not being tight enough; to remedy this, cut off about ¼ inch

from the end of belt, punch a new hole in the same direction as

the old one, and in the centre of the belt, so as not to split it.
View original page 12Page 13 · Read text
Figure S.

               HEMMING.
   Raise the Needle to its highest point and raise the Presserfoot
to its first point. Loosen the nut that holds the Presserfoot with
the wrench, take off the Presserfoot, and replace with the Hemmer.
 Then set the same to its right place, and fasten the nut; run the
edge of goods into Hemmer and proceed to sew, care being taken
to keep sufficient amount of goods always turned into the Hem-
mer. (See Fig. 6.)
                FELLING.

  Adjust the Hemmer the same as in hemming. Sew a straight
seam and trim the edges to the exact widths, as shown in the
cut—one being one-sixteenth and the other three-sixteenths of
an inch wide. The dotted line No. I represents the seam, No. 2
the one-sixteenth edge, and No. 3 the three-sixteenths edge.
  Be careful to introduce both edges into the Hemmer.
            No. 3
            No. 2
            No. 1.
View original page 13Page 14 · Read text
12


                          Figure 7


                  TUCKING. -

  Attach the Tucker to the machine by means of the Gauge-
screw. Set the Gauge as far from the needle as you want the

tuck in width, and then fasten it firmly. Now loosen the little

screw of the Tucker so that you can set the Creaser just twice as

far from the needle as the Gauge is, and then fasten the screw

again, and this will make tucks without any space between them.

You have only to set the Creaser as much farther away from the

needle as you want the space to be. Now connect the Tucker-

wire to the needle by means of the eyelet, and proceed to work
the machine.
View original page 14Page 15 · Read text
14


                            Figure 8.


         GATHERING OR RUFFLING.

  Attach the Gatherer to the machine by means of the Guage-

screw.

   Adjust so that the Needle enters in the centre of Clamp-feeds.

Slide the link of the upper lever over the Needle Set-screw.

  Then place the goods to be sewed on, under the Clamp-feeds,

and the part to be gathered, between the Clamp-feeds; proceed

then to operate the machine, and guide the goods as shown in

Figure 8. To make the gather fuller, move the Ratchet-lever to

your right. To make the gather slacker, move the Ratchet-lever

to your left.
View original page 15Page 16 · Read text
15


                           Figure 9.


                 QUILTING.


  The Quilting Gauge is secured to the front of the arm of the

machine by means of the Gauge-screw. Having made a row of

stitching, place it as far from the needle as will indicate the size

of diamond desired; then adjust the Quilting Gauge by means

of Gauge-screw on a line and over the row of stitching just

made, with the Gauge sufficiently elevated to allow the fabric to

pass under easily; then guide your work by Gauge.
View original page 16Page 17 · Read text
000


                         Figure 10.

                 BINDING.

   Attach the Binder by means of the Gauge-screw (Fig. 10)

   Draw the binding into the scrolls of the Binder, and place

grods between the scrolls.

   Lower the Presserfoot and adjast the Binder according to the

width of binding.

               The Binder as a Trimmer.

   The Binder can also be used as a Trimmer. Simply cut strips

 the exact width of the Binder. • Should it be too wide, it will

 pucker; and if too narrow, it will not turn the edge down.
View original page 17Related documents and language editions
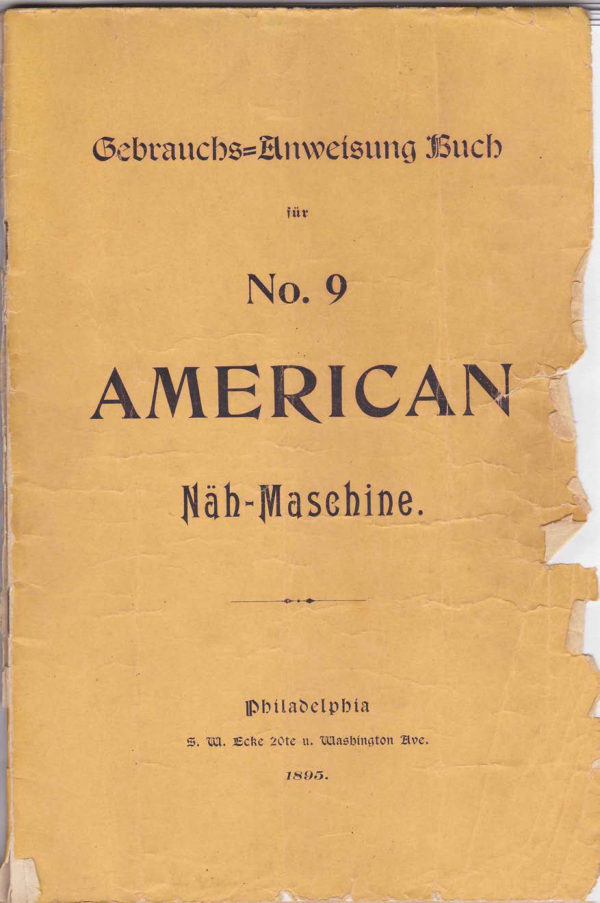
From the ISMACS International. Original publisher and archive notices are retained.
Check the model and edition against your equipment.
PDF verified 2026-10-11.