Film cameras
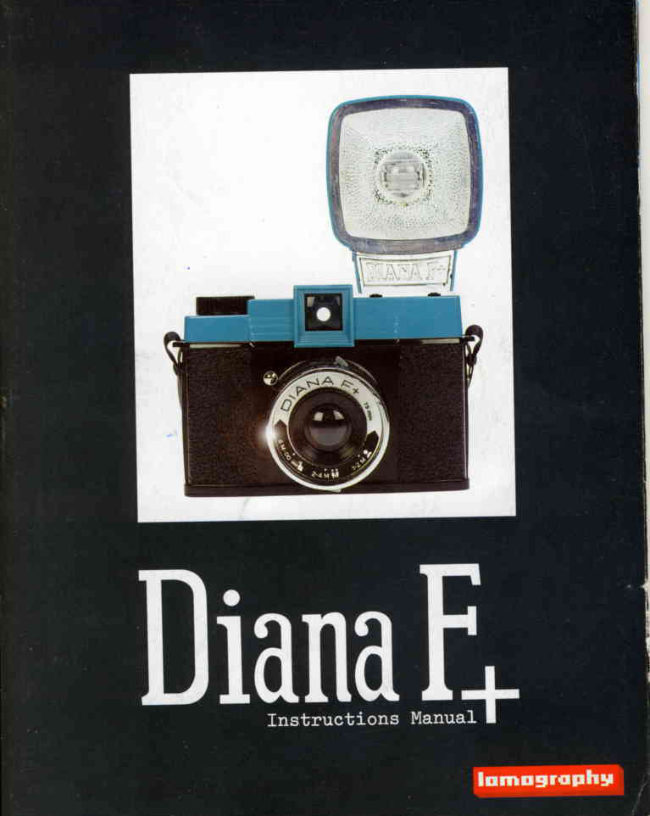
Diana F+ "How To" Pt. 1 Reference guide
Reference guide for Diana F+ "How To" Pt. 1. 12 pages in German, French, Spanish, Italian. Read the original PDF, download or print a copy without registration.
12 pagesGerman, French, Spanish, Italian1.2 MB PDF
Loading your manual…Open PDF directly
Document details
- Brand
- Diana
- Model / document
- Diana F+ "How To" Pt. 1
- Document type
- Reference guide
- Language
- German, French, Spanish, Italian
- Pages
- 12
- File size
- 1.2 MB
- Category
- Film cameras
- Document date
- Not specified in catalog
Search available document text
Find a term, then jump to its page in the original PDF. Image-only pages may not be searchable; check the PDF for exact wording and diagrams.
Page 5 · Read text
I\
you're firing on the "8" settingl The best method is to screw a tripod into the DianaF+'shandy
fripoO Moint [15t. Otherwise,try to press it against something flat and hold it steady while
you shoot. ns lne format is square, it doesn't matter whether the camera is held horizontally
br vertically.On the bottom of the Lens [11] is the Aperture Setting [9]. This controls how wide
the shuttei opens. There are four settings available.Three of them match the outdoor weather
conditions:sun, partial clouds, and full clouds. The forth one, designatedas "P," is for pinhole
shots - which we'll discuss a little later'

With ISO 400 SPeed Film
 . In daylight,choose "N" for the shutterspeed and match the aperturesettingto the actual light
  conditionoutside (ex. choose sun if it is sunny.)
 . For a lit indoor setting,set the shutter to "8" and the apertureto cloudy. Shoot for about one
  second or a littlg less.
 . For night shooting,set the shutter to "8" and the apertureto cloudy. A brightly lit city street
  needJabout 20 seconds, and a reallydark moonlightscene might need around a minute.

With ISO 100 Speed Film
 . In daylight,choose "N" for the shutter speed and choose an aperturethat's one step darker.
  (ex.choose partial clouds on a sunny day.)
 . Doublethe shootingtime of 400 speed film (ex.shoot indoor scenesfor about 2 seconds)'

 FOCUS & SHOOTING
 Okay,your film is advancedto number 1, and your shutter & aperturesettingsare in place' Take
 a toot<-atyour subject and estimatethe distance between you and them' The Focus Ring [101                                                                              4                                                                    and                                                                               (6.5-13ft),                                                             (3-6.5ft),                                                           2-4 meters                                          1-2                                          meters                                     settings:                             three                  and has           Lens          the is  around                   [11]                                                                                                                              - the                                                                       a tip                                                     And here's                                                          distance.                                                the proper                                                    to                           Focus                            the                    Rotate         (13ft)                                  Ring [10]              to                  infinity. meters
 Focus iing [10] rotatesout and moves closer to your subject as the focus setting gets closer.
 you can handilycompose your shot through the DianaF+'ssquare Viewfinder[13]' As you can
 imagine,the Viewfinderis not super-precise.lt's a little more correct for the 16-shot format.
 WhJn shooting 12 shots per roll, the actual image area is a bit largerthan what the Viewfinder
 shows. But don't give it too much thought - the squnityViewfinderand composition"surprises"
 are all a part of Dianashooting.Fireyour very first DianaF+photo by pressingdown the Shutter
 Release[7]. press it once for daytime "N" shots, and hold it down for long-exposure"8" shots'
 After you shoot, turn the AdvanceWheel [6] to get to the next frame.When using the "8" setting
 for really long exposures- like nighttime or pinhole shots - you can use the included Shutter
 Releaset-octi [t+l to keep the shutter open. Press down on the Shutter Release[7] and then
 place the Shutier ReleaseLock [14] right into the gap above the Release(a hole will open up
 when you push the Releasedown.)When your exposureis done, just removethe Lock [14] and
  let the Shutter Release[7] close. Rememberto use a tripod and the Tripod Thread [15] for the
 sharpestpossibleimages!

 lmportant
   . to avoid shakingor blurringyour long-exposureimage while using the Shutter ReleaseLock
   [14],be sure to place and removeit very carefully.Keep the camera as steady as possibleand
  move the Shutter Release[7] slowly and smoothly'

 Even More lmPortant
   . neverchange the ShutterSpeed Switch [7] while the Shutter Release[6] is being held down.
   This could damage the mechanism.only change the shutter speed switch [7] when the

                         www.orphancameras.com
View original page 5Page 7 · Read text
depending on your format), you'll need to keep winding until you feel the tension drop off
completely.You also won't see anythingbehind the Film FormatSwitch's [4] red window. Your
film is now totaly wound onto the iaXe-Up Spool [3] and it's safe to removethe Rear Door [21.
Takeout the finishedfilm roll and seal it with the small paper tab on the end. Some brands have
a self-adhesivetab, and some requireyou to lick the tab. Eitherway, it's a great time! The left
side of the camera now has an empty plastic spool there. Transferthat to the right side - as it
will become the Take-Up Spool for your next film roll. Developmentshould be done at a
professionalphoto lab. lf there isn't one in your neighborhood,then nose around on the Internet
* there's most likelya mailorderlab near you.

PINHOLE
Pinholesare a throwbackto the earliestdays of photography.Insteadof a lens,you admit light
through a tiny hole.The resultingimage has a few special characteristics:

1. A soft-focus,dreamy look
2. An extremelywide.angleperspectivewith straight lines (no fisheyedistortion)
3. Strangelong-exposuredaytime effects
As Pinholesare so small, they require a relativelylong shutter time to admit enough light.
With ISO 400 film, you'll need about 2 seconds in bright sunlight,30 seconds in the shade,
6-'15minutesin a lit indoor scene, and about 1-2 hours ai night.Given these long exposure
times, anything-peoftemoving in front of the lens will be blurred.This can be very cool for daytime
shots of        walking, cars speeding by, dogs barking, etc. You'll notice that shots
taken indoors or at night have stronger vignetting (darkening& blurring at the edges) then
images shot in tfre suhlight. lt's all part of the unpredictablefun of pinhole photographyl
Your DianaF+has two differentPinholesettings:
                           -
 1. True Pinhole:
 Set the Apertureto "P" and the Shutter to "8". Grab a hold of the Forward Lens Mount [12],
which is the part of the lens barrel that's in front of the Shutter Speed Switch [8] and Shutter
 Release[7]. Slowlyand gentlytwist it counter-clockwiseand removethe lens.You'renow ready
 to shoot a traditionalwide-angle pinhole shot. You can replace the lens by matching up the
 ForwardLens Mount [12] with the four plasticposts behind it, and then rotatingit clockwise.The
 word "Diana"on the front of the lens will be at the 10 o'clock positionwhen you match them up,
 and then rotateto its correct 12 o'clock positionwhen the lens is reattached.
 2. Magnum Pinhole:
 Like before, set the Aperture to "P" and the Shutter to "8." But this time, leave the lens on'
 The result is a slightlysharper pinhole image with the usual focal distance of a DianaF+shot.
 This is great for capturingthose super-long-exposureeffects without the extreme wide-angle
 perspective.
  lf you want to use a flash with the Pinholesetting,then you'll have to fire it A LOT'The Pinhole
 is extremelysmall, and you'll need about 10 or 12 individualbursts at a very close subject
 (about1m or 3 feet away)in order to get a decent exposure.But play around a bit - it's all about
 experimenting.

 ENDLESS PANORAMA
 Stitching together a panoramic image is one of the most awesome techniques in analog
 photography.Often, the panoramic ends up a little bit "off" - giving it a really unique and
                        www.orphancameras.com           W
View original page 7Page 8 · Read text
interestinglook' with the DianaF+,you can easilycreate panoramicshots that are as long and  as all-encompassingas you like.
 As you learnedin the first section,you'll need to insert the panoramicframe mask and set the  Film Format             switch                          to "16."                               with                                these                        [a]                                           settings,there                                                                     will be                                                        almost no gap between each 'image,        thereby                giving                   you                       a (more                                   or                                    ress)seamress                                           panoramic                                                      image.
 And here'sfour tips for your panoramicsuccess:
  1'   lf you want to ensure no overlappingbetween frames, then advance a litfle more than the
     next exposure number each time. For example,Fuji films have a series of dots in-berween
     the exposurenumbers.These countdown your advancinguntil the next number comes up.     After         you             shoot                       "1,"                    advance                                    to the                                                    first dot after the riumber ',2.,'Then advance to the                             ,,3.,,And    second            dot                 after                number                                so on.
  2'   lf you're shooting a panoramic landscapeand you want to get as litile repetitionbetween    frames          as possible,                     then                            turn                             your camera about 45 degreeJafter                                                       each shot. or turn it a lot     less - and             savor that                     sweet                          murtipre-exposure-panorama                                                                  effecil
  3'    Use a           tripod on levelground to keep your individualpanoramicframes on [more or less]the          plane.   same
 4'  of  course you can throw caution to the wind. Shoot panoramas on the 12 shot
    format' Advance a full frame once, then a half frame, then a whatever-the-hellframe.
    Shoot multiple times on a single frame, and only once on another.Throw in a flash shot.
   Make your panoramic image totally random and unpredictable.Theresults could be   awesomel

 TROUBLESHOOTING
 1. My daytime shots are really washed out and blurry!
    Ah, you are most likelyshootingwith the "8" shutter      by accident"Be sure to use ,,N,,     for daylight.                                          ""tting
 2. My nighttime shots are really blurry and insane!
    For sharp long exposures, you need to keep the camera as steady as possible.   Use a tripod                           if you                 have                        one.                            Otherwise,                                     prop it up on somethingflat or hold your breathand    press                 it against                 your                      face                          before                           Vou shoot.
 3. My daytime images are really dark
   You probably set the aperture to pinhole rather than sunny. or, if they're just kind of dark,
   then get faster film. You'll need full sunlightto shoot ISO 100 or slower on the ,,N,,setting. 4. My images are overlapping each other
         your   Check                 film formatting.You most likely have the camera set to .16but have no mask   placed           inside.
5. My images are totally black
   Oops, that sounds a lot like you left the lens cap on!
6' A lot of DianaF+ images are dark in the corners {an effect called ,,vignetting,,).  Why aren't mine?
         probably   You're                 using                       the                         16-shot                                 small                                   square                                              format.                                                   Try                                                       "corners.using the i2-shot format - you,ll   get       bigger           images                 and                    more                              vignetting                              &                                            distortion                                                            in the
7. My DianaF+ images are smail and surrounded by a big brack frame
   Again,try shooting on the 12-shotlargerformat. -
8. When using the Flash, my images are realty dark and grainy
   with  lso  400 film, the Flash is most effective witnin t-i.s  meters (3-5ft) of your
   subject'Chancesare, you're standing too far away. And ensure that your Aperture is
View original page 8Page 9 · Read text
set to Cloudy.Otherwise,your battery might be weak, and the flash is not firing at full power.
   Try putting in a fresh one.

CARE & MAINTENANCE
A little care will go a long way towards keepingyour DianaF+in top shape:

1. Keep the lens cap on the lens when the camera is not in use'
2. Do not clean the lens with any harsh chemicalsor solvents.Proper lens cleaning solution
   and a soft lens cloth is your best bet.
3.   lf the film is really hard to advance then do not force it. You could break the advance
   mechanism.lf you just started advancingthe film, then calmly reload it. lf you'rewell into the
     roll,then unload it in a totally dark room or light-sealedbag'
4. Be carefulwhen transportingthe DianaF+.lt's pretty tough, but is still made of lightweight
    plastic.lf you place it in a bag with heavy things, then it could be broken.Just keep an eye
   out for its well-being.
5. Always remove the Flash from your DianaF+ before placing it in a bag. Leaving it
   attachedcan cause the Flashto be forcibly ripped out of your camera- and that ain't good!

CONTACT & WARRANTY
Your DianaF+includes a 2-yearwarranty from any manufacturingdefects or product failure.
In the eventof a defect,the LomographicSocietywill repairor replacethe unit at our discretion.
For warranty service or for any questions, please contact the closest regional Lomographic
Societyoffice as listed below.

@
EINEN MOMENT GEDULD BITTE...
Wir k6nnen uns deine Aufgeregtheitund Ungeduld nur anndhernd vorstellen.Wer will sich
schon mit einer Bedienungsanleitungherumschlagenwenn die verfUhrerischenPlastikkurven
der Diana+ bereits nach einem rufen?Aber bitte - widersteheder Versuchungund gib dieser
 Bedienungsanleitungeine Chance bevor du loslegst. Es gibt jede Menge duBerst wichtige
 Informationen,die dein erstes Diana+Foto zum AllerbestenseinerArt machen kdnnen.

VORBEREITUNGUN D FORMAT.AUSWAHL                          'l20er                              Film. Bevor du aber irgendetwasmachst, musst du dich zuerst Deine Diana+verwendet
 entscheiden in welchem Format du deine Fotos schieBen willst.Du kannst zwischen drei
 FotogroBenwdhlen, jede davon verlangt eine speziellePlastik-Maske(oder eben keine) und
 eine eigene Einstellungdes Filmformates.

 Die Vorgabensind folgende:
 12 groBequadratischeBilder:(5.2x5.2cm)/ keine RahmenMaske/ 12-FotoEinstellung
 16 kleinerechteckigeBilder:(4.2x4.2cm)I kleineRahmenMaske/ 16-FotoEinstellung
 Endlos Panorama:(4.6x4.6cm)/ kleine RahmenMaske/ 16-FotoEinstellung
 Die "Rahmen Masken" sind die beiden kleinen schwarzen Plastik Rahmen, die deiner
 Kamera beigelegt sind. Stelle den Hebel an der Ruckseite [1] auf "AUF" und schiebe den
 Rr.ickendeckel[2] von der Kamera. In der Mitte siehst du die Masken Halterung [5], sie
                        www.orphancameras.com           W
View original page 9Related documents and language editions
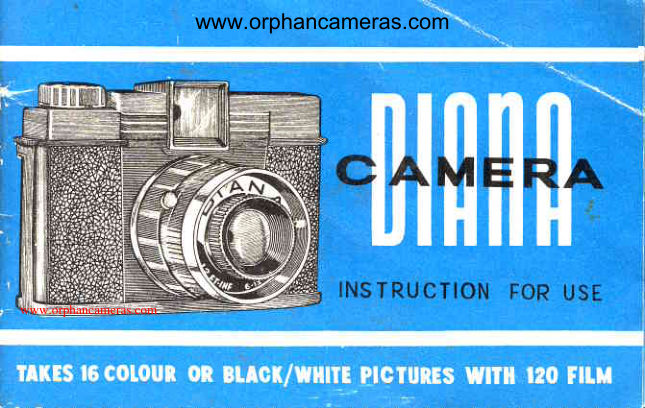
From the M. Butkus archive. Original publisher and archive notices are retained.
Check the model and edition against your equipment.
PDF verified 2026-10-10.