Film cameras
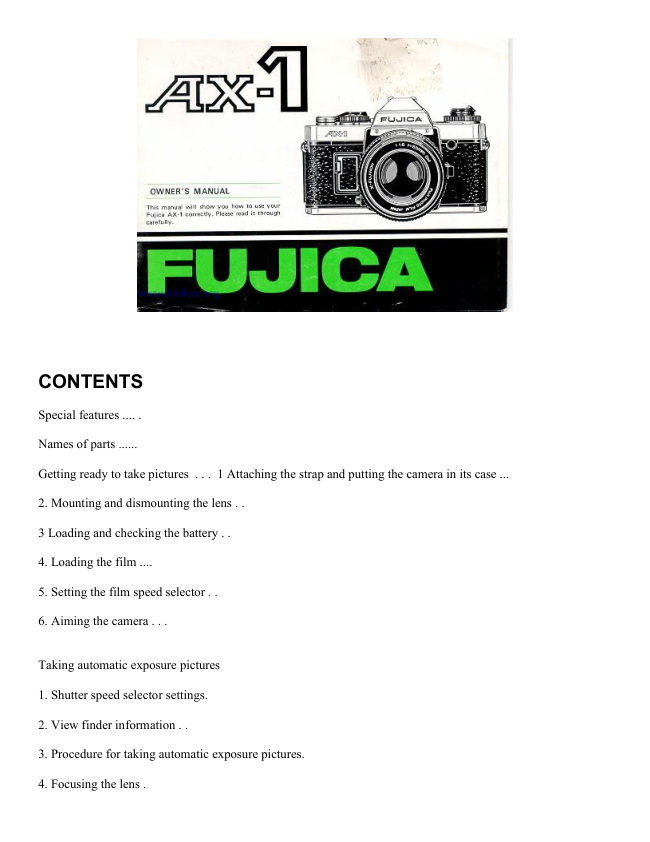
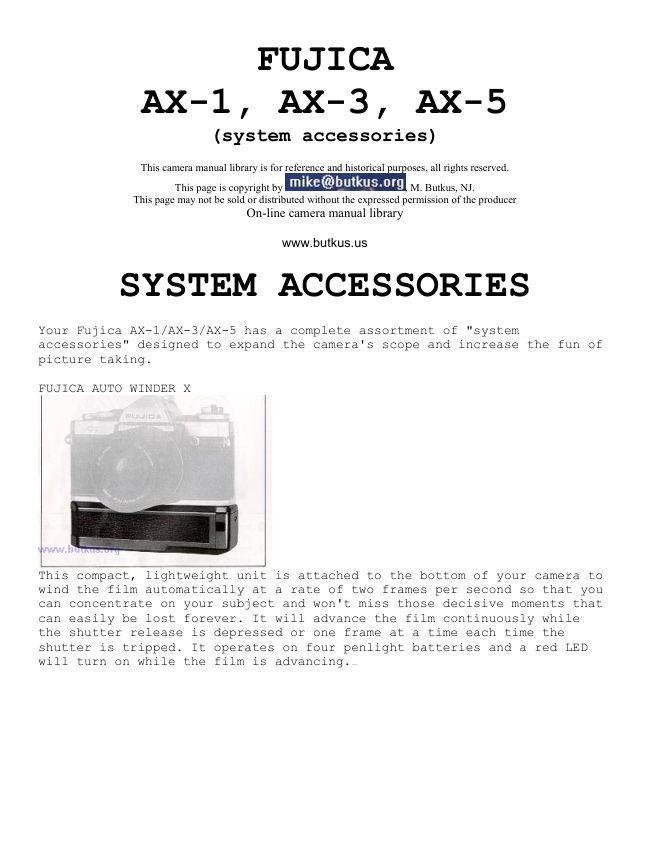
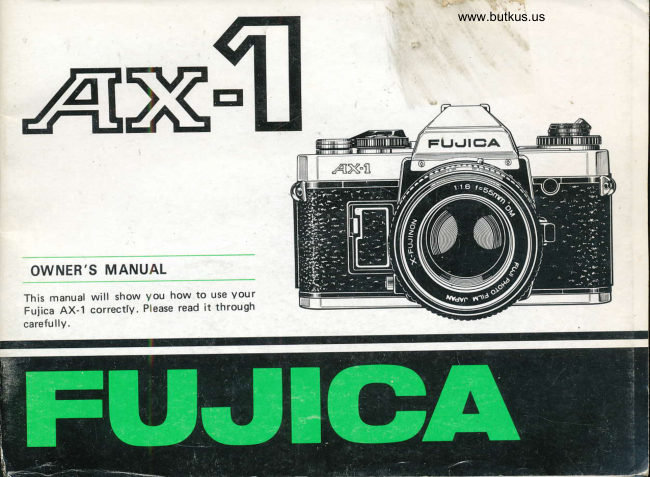
Fujica AX-1 User manual
User manual for Fujica AX-1. 45 pages in English. Read the original PDF, download or print a copy without registration.
45 pagesEnglish2.7 MB PDF
Loading your manual…Open PDF directly
Document details
- Brand
- Fujica
- Model / document
- Fujica AX-1
- Document type
- User manual
- Language
- English
- Pages
- 45
- File size
- 2.7 MB
- Category
- Film cameras
- Document date
- Not specified in catalog
Search available document text
Find a term, then jump to its page in the original PDF. Image-only pages may not be searchable; check the PDF for exact wording and diagrams.
Page 2 · Read text
CONTENTS

Special features .... .

Names of parts ......

Getting ready to take pictures  . . . 1 Attaching the strap and putting the camera in its case ...

2. Mounting and dismounting the lens . .

3 Loading and checking the battery . .

4. Loading the film ....

5. Setting the film speed selector . .

6. Aiming the camera . . .


Taking automatic exposure pictures

1. Shutter speed selector settings.

2. View finder information . .

3. Procedure for taking automatic exposure pictures.

4. Focusing the lens .
View original page 2
Page 3 · Read text
www.butkus.us

5. Rewinding the film .


Camera functions.............
                1. Light metering range .. .........27

                2. AE lock (exposure memory} .......27

                3. Stopped-down automatic exposure . . .28

                4. Exposure compensation ......32

                5. Multiple exposure .........34


Camera care . . . . 57

Specifications

This compact, lightweight, aperture-preferred AE camera has a built-in
microcomputer, product of the latest in electronic engineering, to insure
high-precision automatic exposure in candlelight to sunlight.
View original page 3Page 4 · Read text
Digitally signed by Mike Butkus
                                                                                                                                                                                     DN: cn=Mike Butkus, o=Butkus camera manuals,
                                                                                                                                                                                                         ou=butkus.org, email=mike@butkus.org, c=US                                  Mike Butkus Date: 2023.05.16 21:29:07 -04'00'


Five LED shutter-speed indicators in the viewfinder let you set exposure
in an instant so that you won't miss those once-in-a-lifetime shots. Three-
way (split-image, microprism, ground-glass screen) focusing lets you
focus any type of subject quickly and sharply.

Soft-touch electromagnetic shutter release permits even the first-time user
to shoot without camera shake; Auto Winder X (optional accessory) lets
you shoot continuously at 2 fps; unique, high-precision electronically
controlled self-timer emits a penetrating beep beep to keep you alert until
the shutter trips.
View original page 4Page 5 · Read text
www.butkus.us


A wide assortment of "system accessories" including the unique Fujica
Auto Strobe 300X (G. No. 30), Fujica Auto Strobe AZ (G. No. 17) and
Fujica Photo Recorder for printing data on the film, expands you; picture-
taking scope well beyond present horizons.
View original page 5
Page 6 · Read text
Fujica X "short turn" (65° ) lens mount permits quick lens changing and
accepts the entire line of new X-Fujinon interchangeable lenses from
wide-angle to telephoto as well as other lenses to take full advantage of
the SLR system.


1. Attaching the strap


* Slide back the strap end hoop as shown.

* Hold the clamp between your fingers as shown and pull out the metal
clip.

* The clamp may be tight when it's new. If you find it difficult to pull out
the clip, open the clamp with your fingers and pull it outs

* Hook the clip to the camera's Strap Eyelet and push the clamp forward
to lock the clip.

* slide back the strap-end hoop tightly against the clamp.
View original page 6
Page 7 · Read text
www.butkus.us

Putting the camera in its case

Put the camera in its case and secure the cam to the strap with the flaps
provided on both sides of the case by closing the snaps. Next, put on the
case cover,

To take the camera out of its case, repeat (5) in reverse.

2. MOUNTING AND DISMOUNTING THE LENS


Position the red dot on the lens rear opposite the red dot on the Lens Mount, then push
the Lens in and turn it 65° to the right (clockwise). It will lock into position with a click.

While pressing in the Lens Lock toward the camera body, turn the Lens to the left
(counter-clockwise} as far as it will go, then pull it out toward the front.

Using the Rubber Lens Hood


3. LOADING AND CHECKING THE BATTERY
When shooting against the light, fit the accessory Rubber Lens Hood on to the lens to
prevent flare and ghost caused by the light falling directly on the lens surface.

Choosing the Right Battery You can use any one of the following batteries b' be sure to
use a new battery. 6-volt silver oxide battery: (JIS4G13, Eveready (UCAR) No. 544,
Mallory PX28). 6-volt alkaline manganese battery: (Eveready No. 537).


1) Remove the Battery Compartment Cover by pushing the Cover Lock in toward the Lens
with your fingernail and lifting it up.
View original page 7
Page 8 · Read text
2) Insert the battery, plus (+) and minus ( - ) ends correctly, as shown in the Battery
Compartment.

3) The battery will load easier if you insert the minus ( - ) end first.

4) To unload, press down and pull out the plus (+) end of the battery with your fingernail.

5) Replace the Battery Compartment Cover by sliding in the inner edge and pressing the
cover down. Note:
1. One new battery will normally last about 6 months.

2. Before loading, wipe both ends of the battery clean with a dry piece of cloth.

3. If you are not taking pictures for a long while, remove the battery before putting the
camera away.


Make it a habit to check the battery before you start taking pictures. You won't get -
properly exposed pictures if the battery is worn out because your Fujica AX-1's shutter is
electronically operated regardless of the exposure mode employed.

1) Set the Shutter Speed Selector to AE.

2) While looking through the Viewfinder, press the Shutter Release halfway down.
View original page 8
Page 9 · Read text
www.butkus.us


1) If any one of the shutter-speed-indicator LEDs in the Viewfinder left side blinks (about 4
times a second), it's time to change the battery. (The LEDs will not turn on if the battery is
completely exhausted.)

2) Be careful, however, because if the top or bottom shutter-speed-indicator LED blinks at
the rate of about 8 times a second, it means the shutter speed needs changing because
the light is either too bright or too dim for correct exposure. Notes:
1. If you are taking your camera on a vacation trip, be sure to bring a spare battery along.

2. When shooting in cold weather, check the battery frequently because low temperature
will dampen battery performance.

 4. LOAD THE FILM

Use cartridge-packed 35mm roll film (135 type) Always load and unload film in subdued
light.


1) Open the Camera Back by pulling the Film Rewind Knob all the way out. (It will not
open unless the knob is fully pulled out.
View original page 9
Page 10 · Read text
2) Drop the film cartridge into the Film Chamber with the spool head (protruding portion of
the cartridge pointing to the camera bottom, then push the Film Rewind Knob down to its
original position.


3) Pull out the film tip and insert it deeply into the slot of the Take-up Spool, but make sure
it doesn't go through the spool hub.


4) Wind the film with a stroke or two of the Film Advance Lever and make sure the
Sprocket Teeth catch the film perforations.
View original page 10
Page 11 · Read text
www.butkus.us


5) Erect the Film Rewind Crank and turn it in the direction of the arrow to take up any
slack in the film, make sure the film is properly positioned between the guide rails, then
close the Camera Back.


6) While watching the Exposure Counter, wind the film with the Film Advance Lever and
press down the Shutter Release. Repeat until the second white dot from the letter "S" (first
white dot from the red "O") appears in the center of the Exposure Counter. The film has
now been positioned for the first shot.

* The film is advancing properly if the Film Rewind Knob turns while the Film Advance
Lever is winding.

* The white dots between the numbers in the Exposure Counter represent odd numbers.

7) Film identification The Film Confirmation Window in the camera back will tell you at a
glance whether there is film in the camera or not. If you have Fuji film in your camera, it
will also tell you the film type and the number of exposures it will yield.
View original page 11
Page 12 · Read text
The procedure is the same as that described in (I) to 3) . To wind the film, close the
Camera Back, switch the auto winder switch to SINGLE or CONT. and press down the
Shutter Release.

* If the film does not advance, turn off the auto winder and switch it once again to SINGLE
or CONT.

* For further information read the Auto Winder instruction manual.


After loading the film, be sure to set the Film Speed Selector beaches your pictures will
not be properly exposed if it is not set for the speed of the film loaded in the camera. The
speed of the film you are using is printed on the film box.

1) While pressing in the Film Speed Selector Lock (a white button at the side of the Film
Speed Selector, turn the selector dial and set it for the speed of the film you are using, that
is, if you are using an ASA 100 film, set the number 100 opposite the Film Speed Setting
Mark.
View original page 12
Page 13 · Read text
www.butkus.us

* The marks labeled +1 and -1 on each side of the Film Speed Setting mark are used for
making exposure compensation. Be sure to use the center mark for setting the Film
Speed Selector.

2) The lines etched between the numbers on the Film Speed Selector represent the ASA
speeds shown in the illustration above.

3) The corresponding ASA and DIN film speeds are as follows:


     ASA     25   32   40   50   64   80    100    200    250    320    400    800
      DIN     16   16   17   18   19   20    21     24     25     26     27     30

6. AIMING THE CAMERA


1) Hold the camera with your left hand as shown, press the left elbow against the side of
your chest, relax your right hand and press the Shutter Release gently down.

2) When shooting with the camera held vertically, try to keep it extra steady because it
will be less stable in that position,

3) The film is advanced with the right thumb and the Shutter Release is depressed with
the right for finger.

Taking automatic exposure pictures

1. SHUTTER SPEED SELECTOR SETTINGS
Your Fujica AX-1 is an aperture-preferred automatic exposure camera. You just set the aperture
and the camera will take care of the shutter speed. Even the first-time beginner can take perfectly
exposed pictures with it every
View original page 13Page 14 · Read text
Notes:
1. To switch from AE to 60X or B. turn the Shutter Speed Selector while pressing in the
Shutter Speed Selector Lock. (You cannot turn it unless the Lock is in depressed
position).

2. Remember, your Fujica AX-1 has a built in "exposure memory" (AE lock), that is, the
shutter speed obtained by depressing the Shutter Release halfway down will remain
locked and the LED indicator in the Viewfinder will not change position unless you take
your finger off the Shutter Release even if there are changes in subject brightness and
aperture value (#e paragraph entitled "AK lock" on page 28.

Using the B (Bulb) setting
To take pictures requiring long exposures of 1-second or more, set the Shutter Speed
Selector to "B". The shutter will remain open for as long as the Shutter Release is held
depressed so that you can trip the shutter when you want to.

2. VIEWFINDER INFORMATION
View original page 14
Page 15 · Read text
www.butkus.us

Note: Your Fujica AX-1 USES a fully automatic electronic shutter. The shutter speed
indicated in the viewfinder represents an approximate value.


1) Set the Shutter Speed Selector to AE.
2) Use any aperture you want; that is, if your camera lens is an X-Fujinon 1:2.2 55 mm, set the
Aperture Ring to any one of the f-numbers from F2.2 to 16.


3) Look through the Viewfinder and press the Shutter Release halfway down. An LED will turn on
to show you the meter-selected shutter speed that will combine with the aperture you selected to
provide correct exposure. For example, if the aperture you selected is F5.6 and the camera-selected
shutter speed is 1/125 sec., the LED opposite the paired numbers 250 and 125 will turn on.

Note: The shutter speed numbers are paired. In the cam shown here, the coupled shutter
speed can be either 1/250 or 1/125 second.

4) Over and underexposure warning
If the aperture you selected is not compatible with the camera's shutter speed range, that
is, if it is too large and needs a shutter speed that is faster than 1/1000 sec., the red LED
opposite the paired numbers 1000/500 will turn on and blink (8 times a second to warn
you that your picture will be overexposed; and if it is too small and needs a shutter speed
View original page 15
Page 16 · Read text
that is slower than 1 /2-sec., the red LED opposite the paired numbers 2/4 will
turn on and blink (also 8 times a second to warn you that your picture will be
underexposed.

5. Guarding against camera shake
If you are taking a dimly-lit subject, the camera may provide a shutter speed that is slower
than 1/30 sec. for the aperture you selected, in which Cam you win have to guard against
camera shake by mounting the camera on a tripod or using something firm to support it
such as a table or the top of a chair.

4) FOCUSING THE LENS


* Eyesight adjustment lens The far- or near-sighted can use an eyesight adjustment lens
  (+2, +0.5, -2.5, -4 diop., optional accessory). It will let you focus the lens without
glasses.


In the center of the viewfinder of your Fujica AX-1, you will see a split-image spot, a
microprism collar around it which, in turn, is surrounded by a ground glass screen. Any
one of them can be used for focusing the lens.

FOCUSING WITH THE SPLIT IMAGE CENTER
1) Look through the Viewfinder, center the part of the subject on which you want to focus
the lens in the split-image center and turn the Distance Ring.

2) Your subject is in sharp focus when the upper and lower segments of the image in the
split image center fall in line. This method of focusing is best for taking pictures of subjects
that are formed mainly of straight lines such as buildings, tower.
View original page 16
Page 17 · Read text
www.butkus.us


FOCUSING WITH THE MICROPRISM COLLAR
1) Look at your subject through the microprism collar and turn the Distance Ring.

2) Your subject is in sharp focus when it appears smooth and clear. This method of
focusing is recommended for portrait work.

Focusing with the Ground-glass Screen
Look at your subject through the ground-glass screen and turn the Distance Ring. Your
subject is in sharp focus when it appears sharp and clear. This method is recommended
for focusing the lens quickly and for copying work.

Estimate the distance from camera to subject with your eye and set the Distance Ring to
that distance (white numbers = meters, green numbers = feet).

This method is best for taking quick snapshots. However, if you are using a large aperture
or are taking close-ups, or if you are shooting with a telephoto lens, be sure to focus the
lens precisely,

5. REWINDING THE FILM
After exposing a roll of film, wind it back into its cartridge and take it to your photo finisher
as soon as possible.


*  If you are at the end of a roll and the Film Advance Lever feels tight as you are winding it, do
not force it. Just return it to its normal position and rewind the film into its cartridge.
View original page 17
Page 18 · Read text
1) Press in the Rewind Button (provided on the camera top.


Note: Before pressing in the Rewind Button, pull out the Film Advance Lever by a stand-
off angle of the lever, or the Rewind Button may disengage and the film may not be
rewound.


Erect the Rewind Crank and turn it in the direction of the arrow. You will feel a sudden
release of tension when the film has been rewound into its cartridge.

2) Open the Camera Back by pulling the Rewind Knob all the way out and unload the film.
(The Camera Back will not open unless the Rewind Knob is fully pulled out.

* Be sure to open the Camera Back only after' you have rewound the film back into it!
cartridge.

CAMERA FUNCTIONS

1. LIGHT METER RANGE

Click here for the image of the Light Meter Ranges
View original page 18
Page 19 · Read text
www.butkus.us

The table shows your camera's light metering range with films of various speeds. Since
the range at ASA 100 is from EV 2—EV 18, the range with an F2.2 lens is from EV3 1/3
(at F2.2, 2 sec.\ to EV 18 let F16, 1/1000-sec. It applies to the camera's built-in exposure
meter's measurements for aperture-preferred and stopped-down automatic exposure.

2. AE LOCK (EXPOSURE MEMORY)
The exposure settings of your Fujica AX-1 can be locked with the AE lock.

1) When the Shutter Release is pressed halfway down, the shutter speed (indicated by a
red LED) coupled to the preset aperture to accommodate the brightness of the subject will
remain locked until you take your finger off the Shutter Release. This is referred to as AE
Lock (locking the AE or automatic exposure..

2) The AE lock is useful for making automatic exposure compensation in back lighted
situations. To compensate for back lighted portraits, you just bring the camera up close to
your subject, press the Shutter Release halfway down and hold it there, then step back
and shoot. (don't take your finger off the Shutter Release until you trip the shutter).

Note: As long as the Shutter Release is pressed halfway down, the shutter speed
indicating LED will not change position even if the Aperture Ring is turned. If you want to
Us a different aperture, take your finger off the Shutter Release, reset the Aperture Ring
and check the shutter speed again through the Viewfinder.

3. STOPPED DOWN AUTOMATIC EXPOSURE

You will have to use stopped-down automatic exposure when shooting with a Praktica
screw-mount Fujinon lens (mounted with Mount Adapter X-S), an ultra-telephoto lens,
through an automatic extension bellows, a microscope (with Microscope Adapter X) or a
Macrocinecopy, or with the lens mounted in reverse (with Reverse Adapter X). And to
prevent light from entering through the finder and fouling up your exposure setting, you will
have to use the accessory eyecup or eyepiece cap.


1) Set the Shutter Speed Selector to AE.
2) Set the Aperture Ring to the desired value.
View original page 19
Page 20 · Read text
3) Press in the Preview Button and, while holding it there, look through the Viewfinder and press
the Shutter Release halfway down to make sure that neither the overexposure nor the
underexposure warning signal is blinking.


4) Take your picture by pressing the Shutter Release gently down, Note: Be sure to press
in the Preview Button before you press the Shutter Release halfway down because your
picture will not turn out properly exposed if you do it the other way around.


Shooting through a microscope or macrocinecopy


1) Set the Shutter Speed Selector to AE
2) Look through the Viewfinder and press the Shutter Release halfway down to make
sure that neither the overexposure nor the underexposure warning signal is blinking.
3) Take your picture by pressing the Shutter Release gently down.

Stopped-down automatic exposure
Shooting whit a Ultra-telephoto lens, with a lens mounted in reverse,
and through an auto Extension Bellows
View original page 20
Page 21 · Read text
www.butkus.us


1) Set the Shutter Speed Selector to AE
2) Set the Aperture Ring to the desired value.
3) Look through the Viewfinder and press the Shutter Release halfway down to make sure that
neither the overexposure nor the underexposure warning signal is blinking.
4) Take your picture by pressing the Shutter Release gently down.


4. Exposure compensation
Under normal conditions your pictures will be properly exposed without exposure compensation,
but if you are shooting under special lighting conditions (against the light, etc.}, or if you are taking
intentional high key pictures (overexposed pictures) or intentional low key pictures (underexposed
pictures), or if you are taking pictures under the conditions shown in the accompanying chart,
exposure compensation is mandatory.

The procedures for making exposure compensation are as follows:


Just press in the Film Speed Selector Lock, move the film speed setting to the mark labeled +1 or -1 and take
your picture. (Be sure to move it back to its original position after making your exposure.)
View original page 21
Related documents and language editions

From the M. Butkus archive. Original publisher and archive notices are retained.
Check the model and edition against your equipment.
PDF verified 2026-10-10.