Film cameras
GRAFLEX "22" User manual
User manual for GRAFLEX "22". 25 pages in English. Read the original PDF, download or print a copy without registration.
25 pagesEnglish2.3 MB PDF

Loading your manual…Open PDF directly
Document details
- Brand
- Graflex
- Model / document
- GRAFLEX "22"
- Document type
- User manual
- Language
- English
- Pages
- 25
- File size
- 2.3 MB
- Category
- Film cameras
- Document date
- Not specified in catalog
Search available document text
Find a term, then jump to its page in the original PDF. Image-only pages may not be searchable; check the PDF for exact wording and diagrams.
Page 3 · Read text
GENERAT PROCEDURE

PICTURETAKING
  1. Checkexposurefollowingeitherthe film manufac-
     turer recommendations or the reading taken from
 .    an exposure meter.
  2. Set the diaphragm.
  3. Set the shutter speed (cock Graphex Shutter).
  4. Focus camera carefully.
  5. Compose picture in finder.
  6. Trip  shutter.
  7. Advance film to next exposure.

FTASH SYNCHRONIZATION
   1. Fit flash to camera, attach connectingcord if neces-
     sary.
   2.. Check exposure following lamp or  film manufac-
     turers recommendations.
  3. Set the diaphragm.
  4. Set shutter speed (cock Graphex Shuttcr).
  5. Insert bulb.
  6. Focus camera carefully.
  7. Compose picture in finder.
  B. Trip shutter.
  9. Advance film  to next exposure.
                                                 I

                                             ,k&'
View original page 3Page 4 · Read text
II22I'   YOUR GRAFLEX
  You have purchaseda fine camera, capable of helping
you to produce excellent pictures whether your interest
lies in salon photography or simply informal, personal
photography. A complete knowledge of your Graflex
"22r" of  its controls and special features will make  it
easier for you to produce these pictures, whether they
be black and white or color. The information presenteC
here will give you this knowledge and we hope that you
will read it thoroughly. Have your Grafl ex "22" along
side you as you go through the manual, identifying the
various parts as they are named and operating them as
explained. In this way, you will learn to understand the
function and purpose as related to picture-taking.
   Practice holding the camera as suggestedand remem-
ber the location of its controls. To free your mind for
seeing fine pictures as you would  like  to have them
made, go through the operations of taking a picture
rvith the camera until you are able to perform them
without having to give special attention to each opera-
tion. In  this way you will be able to use the camera
easily and quickly and you can then concentrate fully
upon the picture to be recorded.
  This booklet  is intended to  furnish you with  the
cssentialand correct instructions on how to operate the
camera. Should you wish to broaden and deepen your
knowledge of photography, your Graflex Dealer will be
glad to recommend hclpful books of an elementary or
advanced nature. Among the latter is "Graphic Graflex
Photography,"containing manv chaptersof value wheth-
er your interest is personal, scientific or professional.
View original page 4
Page 5 · Read text
www.orphancameras.com     eIAPHRAGT\n
                           PSINTTR
SI{UTTERRELEASf;
    LTVER


            F i g .  l
        +
View original page 5Page 6 · Read text
FOCUSINGHOOD-This  is at the top of the camera and  is
released by pressure on  the hood  release located  at  the
right  rear corner.  It permits you to see on the ground  glass
the image exactly as it  will be recorded on the film.
VIEWING tENS-The  upper or picture viewing lens projects
a  brilliant  image on the ground  glass at  the  top  of  the
camera.  It  allows focusing  and composing  of  the image
right  side up before, during  and  after  the exposure.

TAKING LENS-This  is the  lower  or  picture  taking  lens
which  projects on  the  film  the same image seen on  the
ground  glass. Like  the  viewing  lens   it  is hard  surface
coated to reduce internal  reflections.

FOCUSINGl(NOB-This   is conveniently located in the cen-
ter of the right  side of the camera  to permit  you to move
the frame with  both the viewing and taking lenses so that
you may see a clear sharp image  of whatever  subject you
may wish to photograph.  Turn  the knob forward  to focus
the lenses upon close-up subjects.
SHUTTERSPEEDINDICATOR-Set the  indicator  line on the
outer  rim  of the  shutter,  next  to the figures representing
shutter speeds in fractions of a second.

DIAPHRAGMPOTNTER-Move this to control the amount  of
light  reaching  the  film.   It  should be adjusted  in  accord-
ance with  exposure tables supplied  by the  film  manufac-
turer  or by reading a good exposure meter.
SHUITERRELEASETEVER-By moving  this smoothly  in  the
appropriate   direction   sharp  clear  photographs   will  be
recorded.   It  is necessary with  the Model  400  to  cock
the shutter  before making  the exposure.
FltM WINDING KNOB-This   is located at the top rear cor-
ner of the camera.  It  allows advancing  the  film  from one
picture  position  to another
View original page 6
Page 7 · Read text
Fis. 2                          Fis.3


  HOLDING THE CAMERA

  open the focusing hood by pressingdorvn on the hood
release lever at the right rear corner of the top of the
camera.
  Holding  your  Graflex  "22"  Camera  correctly  is
essential.It  will result in the greatest ease of operation
and will  let you get good pictures more often. While
there is no substitute for a good solid tripod  to hold
the camera steady, the Graflex "22" camera has been so
designed that  it can be nested firmly  in the palm of
your left hand for easy operation. You will find that the
operation of the shutter releasewill be smooth and free
from jarring the camera if your hands are pressedfirmly
View original page 7
Page 8 · Read text
against the sides of the camera. Learn to hold the carn-
          era easily, but firmly, so that you can trip the shutter
          without jarring the camera and blurring your pictures.
          Steady the camera by holding your elbows firmly against
          your side and learn to "squeeze" or "push" the shutter
          releaselever slowly, rather than to "jab"  at  it.
          The designof the Century shuttersrequires moving the
          Shutter Release Lever downward some distance before
          the shutter actually trips or operates. Hold the camera
         as just suggestedand move this lever downward slowly
            until a faint "click"  is heard. The operating mechanism
         has now been cocked or pre-set and further slight pres-
          sure will  trip the shutter. Caution: you must trip the
           shutter when the lever reachesthis critical position since
           the blades will open and expose the film even  if you
{         take your finger off the release lever. Practice holding
          the camera and "pre-setting" the shutter with  your
           finger so that only a very slight additional movement
             will  trip the shutter and make the exposure.This prac-IlI            tice will be a big help to you in making better pictures
            at exactly the correct moment without danger of moving
          the camera.
View original page 8Page 9 · Read text
F i g . 4

                                                  A. Focusing Hood
                                             Releose

                                                 B. Bqck Releqse
                                             Cotch

                                              C. Ruby Window

                                              D. Focusing Knob

                                        E . F i l m W i n d i n g
                                         Knob


RUBY WINDOW-Slide  the button above the ruby window
upward  to uncover the window. The numbers on the film
backing can then be seen to permit  you  to advance the
film to the proper position  for the next exposure.
BACK RETEASECATCH-Pull  this downward  to loosen the
latch which holds the back of the camera firmly  in place.
This  allows opening the back  for  loading and unloading
the film. Be sure that  the catch button engages when  the
back is closed so that   it  will  not  accidentally open and
fog the  film.
View original page 9Page 10 · Read text
TOADING THE GRAFLEX "22''
     If you have practiced going through  the actual opera-
tions of taking a few pictures you are ready to load io-.
film and make  pictures.
  open  the back  of  the camera  by  pulling  the back
release button  downrvard  allowing  the back  to  loosen
and be opened.


              Fis. S                           Fis. 6
  Take  the camera out  of bright  sunlight.
  Camera  accepts standard  # 120 roll  film,  either black
and white  or color.
  The  film supply chamber  is located  at the bottom  of
the camera.
   Inserting the takeup spool in the uplter fitrn chamber.
With  the spool center pushed outward  to the  left,  slip
the right end of the empty supply spool over the key or
web  of  the  film  transport  knob. Swing  the  left  end  of
the spool into  the  film  chamber and lock by snappine
the spool center in.
   IJreak the paper seal and unroll  the paper bringing   it
up over the back of the camera and  insert the pointed
leader  into  the wider  of  the two  slots of  the takeup
spool  in  the upper  chamber.  Turn  this spool with  the
film  winding  knob  a  few  turns.  Make  sure  that  the
paper has been centered on the spool.
View original page 10Page 11 · Read text
F i s . 7                          Fis. 8
  Close the back  of  the camera making  sure that  the
catch  button   latches.  Slide  the  ruby  window   cover
button  uprvard  and  turn  the  film  winding  knob  until
the figure 1 appears in the ruby window.  The  film  is now
ready  for  the  first exposure.
   Af ter you have made  the  exposure,  slide  the  ruby
H,indow cover button upward  and turn  the film  winding
knob  until  the  figure  2 appears  in  the  ruby  window.
By making  a habit  of  this operation  your camera  will
always be  ready  for  the  next  exposure. Repeat  this
operation  after each exposure  until   all  12 have been
made.
 UNLOADING THE CAMERA
  After the last exposure has been made, turn the film
winding knob until  all the paper has been wound onto
the spool at the top of the camera. Watch the ruby
window opening to seewhen the end of the paper passes.
                     1 0
View original page 11Page 12 · Read text
Fis.9
Take the camera out of direct sunlight and open the
back of the camera. Be careful not to allow the film to
unwind.
  Remouing exposed film-Press toward the left on both
ends of the spool of exposed film, so that the spool cen-
ter will be pushed outward. Slide the roll of film back to
the right, then lift the left end outward.
  Tip the roll of film out of the back at the end away
from the film winding knob. Be sure to fold the end of
the paper over and seal it without  letting the film un-
wind. Do not  try to tighten the film;  this may scratch
it and spoil all of your pictures. Be sure to load and
unload the film only in subdued light or at least with
your back to bright sunlight.
  The empty spool at the bottom of the camera should
now be moved to the top chamber, so that you will be
ready to load the next roll of film. To remove the spool,
pressit to the left and lift  it out of the lower chamber.
Insert the spool into the upper chamber with the k.y-
way or slot over the key or bar on the film winding knob
shaft. Swing the spool into place and press inward on
the left film spool center from the outside of the cam-
era. Pressinward on the film spool center at the bottom
of the camera unless you are going to put in another
roll of film at once.
                                                            l l
View original page 12Page 13 · Read text
FOCUSINGYOUR GRAFLEX"22''
  Turn  the  focusing knob  forward   to move  the lenses
out so that you  will  be able  to focus upon  the subjects
lying  close to the camera. Distances from  3'  in  front  of
the camera  to oo -infinity   (far  distance )  are  indicated
on  the  focusing  scale at  the  side  of  the  camera. The
footage markings  are engraved on the focusing knob and
when placed opposite the center  line on the depth  of
field scale attached  to the camera  indicate  the distance
to the subject. These settings are most convenient when
determining  distances for  flash exposures and also when
using  the camera  at eye level  for  sports photography.
Figure  1 I shows the focusing knob  set for focusing upon
the subject at a distance of  15'.
  Be sure to focus the lens very carefully, watching  the
image on  the ground  glass at  the  top  of  the camera
until   it  is clear and sharp. You  will  find  it easier to focus
critically  upon  small  bright  areas such  as reflections


                                                                                                        .li':.l.i',   Fig.   l0

                                                                                              .,.,'.'',.ROiSed  liP
                                                                                                            ,:;tt,::,',;,;,t:toff ers m eq n s
                                                                                                 .'li':,,i.iof  lifting
                                                                                               .,,.,',:,.,:mOgn   ifi gf.
                         r
                                      I
View original page 13Page 14 · Read text
from jewelry, glassesor even the catch lights of the eye.
       Use the magnifier in the top of the focusing hood lifting
               it outward and up with your finger. This will help you
          to focus more critically and sharpnessis always one of
         the most important things in a picture. The Fresnel field
         lens under the ground glass lets you see a  clearer,
         brighter image orrl, the entire ground glass area.
        Many so called "lucky shots" are actually made only
       because the camera operator knew how  to adjust his
       camera quickly and surely. By practicing focusing and
         tripping the shutter quickly and accurately you will be
        prepared to get your share of those interesting and often
         exciting pictures which will  just not wait.
        DEPTH OF FIETD
         The focusing scale is combined with  the depth of
          field scale on the side of the camera. When the lens of
        your camera is sharply focused upon a subject 15' away,
       some areas behind this subject and some in front of  it
           will also appear sharp with the picture. The depth of
           field is the distance between the point nearest to and


r
il                   Fis. | |                          Fis. | 2
                                                  t 3
View original page 14Page 15 · Read text
farthest from your lens which is in focus or is acceptably
sharp in the finished picture. The depth of field scale
figure 11, in addition to providing the index mark line
for the focusing scale, provides this depth of field in-
formation in a most useful form.  It is well to remember
that the depth of field is greater: (1) when the lens
stop is small-that  is, when the diaphragm is set at f.122
insteadof  flll   or f/B instead of f/3.5. (2) when the
subject-to-cameradistance is greater as when the sub-
ject is 25' away instead of only  I5t away.
  Let us take the distance of 10' and assume that we
will be using the lens with the diaphragm pointer set at
f/5.6. Turn the focusing knob so that the 10' mark or
on the focusing knob is opposite the center line of the
depth of field scale.
  You  will now note that the line to the right  of the
arrow leading to  f/5.6  also points to  the  12' figure
the focusing knob, while  the  line  to  the  left  of  the
arrow, again leading to  f.15.6, points to somewhere
between B' and 9'. This means that when we set the
camera to produce a sharp image of the camera 10'
away, not only will that subject be sharp in the picture,
but everything in  front  of  it  to within  approximately
8Vz' and out beyond it to 12' ftom the camera will be
clear and sharp in the picture. Now  if we were to use
a diaphragm opening of  f l11 instead of  f i 5.6, it will be
seen that the depth of field will be extended from ap-
proximately 7Vz'out to about 16/.
  Experiment a  little  with  the focusing knob, reading
the various distances which  will be in sharp focus from
the depth of field scale. Remember that these distances
are determined by the footage markings on the focusing
knob which  are opposite the  lines leading  to  the
diaphragm marking or settings, both to the  left and
right of the center index line. More about the use of
the lens diaphragm markings will be found on page 19.
                      t+
View original page 15Page 16 · Read text
The depth of  field scale and focusing scale r,r'ill be
       found to be particularly useful when using the direct
        viewfinder since you may not be able to focus on the
      ground glass of the camera due to the presenceof sub-
        jects immediately in front of you. This means that you
         will have to estimate the distance to the subject and
       focus the lens accordingly by means of  the footage
       markings on the focusing knob.
          Incidentally you can set the camera as an almost
        fixed focus camera. Let us assumethat the main action
        of interest in the picture takes place about 25' from the
      camera. If you can use a diaphragm opening of f/11,
        turn  the focusing knob  until  the  infinity  mark   ( oo )
        lines up with the  f / 11 line at the right  of. the index
       arrow. You will then see that the line leading to  f / 1 1 at
       the left of the center line points to about 16'on  the
       focusing scale. This means that your subject which  is
        25' away will be sharp and so will  everything from  16'
      on out.
          Likewise, for greatest depth of field at any time, set
       the oo mark next to the diaphragm setting used, making
       sure that the subject distance comes within  the solicl
        bright  (f 13.5) area on the depth of field scale.


;t
  !&s
                           1 5
View original page 16Page 17 · Read text
DIRECT VIEWFINDER
  This  is often  referred  to as a "sportsfinder"  or  ".y"-
level  finder."  The hood cover  is readly  converted  into
this practical and useful type of finder. Make  sure that
the  focusing  magnifier  has  returned   to  the  lowered
position.  Press the  center panel  of  the hood  cover  in
toward  the ground  glass until    it  is caught  by  a  latch
near the base of the rear part  of the focusing hood. Thc
square opening  in the rear part  of the hood now forms
with  the large square front  frame  a convenient  direct
viewfinder.   It  will show the field of view covered by the
lens when your eye can see the edges of the rear opening
superimposed upon the edges of the front  frame.
   This  finder lets you take pictures from  eyelevel, r,vhen
the camera  is held  in  its normal  position.   If  you  turn


             Fis. | 3                         Fis. | 4

                        1 6
View original page 17Page 18 · Read text
Fis. 15                        Fig. 16
the camera upside down, the picture  taking lens will  be
above  eyelevel and  this  position   is very  useful when
taking pictures above the heads of a crowd. Remember
that  thc came ra must be previously  pre -f ocused either
by use of the ground  glass or the focusing scale on the
side of the camera.
   Pull back on the inner side of the rear section of the
viewing  hood  just above the  small  square opening  to
release the  center  panel.  Close  the hood  by  pressing
back on the front  frame.


                                          t 7
View original page 18Page 19 · Read text
SHUTTER SETTING
           MODEr 200
  Selecting speeds      Turn   the  outer  knurled  ring
until  the speed indicator  line  is opposite the figure (see
Fig. 17a)  representing  the  desired shutter  speed. The
Century  X-F-M   shutter  has a range  of  speeds from
1 / 1Oth to   | / 200th second, including "Time"  and "Bulb."
  To  operate      Move  down  on  the  shutter  release
lever as far as  it  rvill go. This  is a self-setting shutter
and  one  operation   first  cocks and  then  releases the
mechanism.  For  "Time"   exposures, with  the  indicator
      c(T"set at     depress once to open the shutter and a second
time  to close  it. For  "Bulb"  exposure set for  "8."  De-
press to open and  release to  close shutter. A  straight
thread cable release with  long plunger  tip may be used
to trip  the shutter.
                c(T"      ((B"  When using     and      as well as the slower speeds
(1 / l0  -   | / 25th)  ,  it  is recommended  that the camera be
placed on a tripod  such as the Graphic  Jr. or Graphic


            FiS. lTo                        Fis. l7b
                   18
View original page 19Page 20 · Read text
all  metal  tripod,  to  avoid camera movement. Slow
        speeds are normally used in photographing inanimate
         subjects. The  faster speeds for  action. A  convenient
         table of suggestedshutter speeds for stopping motion
           will be found on page 21.

                  MODEL 4OO
           Selecting speeds     Turn  the outer knurled ring
           until the desired shutter speed figure is opposite the A
 i*     on the shutter plate, (see Fig. 17b). The Graphex       X-F-M  shutter has a range of speedsfrom 1 second to
          l/400th second, including "Time"  and "Bulb."
         To operate    Move the cocking lever as far as it
            will go in the appropriate direction. Depress the shutter
         releaseand the exposurehas been made. This is a double
         action or cock and releaseshutter and, therefore, should
        be cocked at  all settings including "T"  and B." For
        "Time"  exposures, set on "Tr"  cock the shutter and
        depressonce to open. Depressingthe shutter releaselever
        a second time  closes the blades and completes the
        exposure. For "Bulb"  exposures set on "Br" cock the
         shutter and depress to open. Releasing will then close
         the blades. When using "T"  and "B"  as well as the
        slower speeds (1 sec. - l/25th)   it is recommended that
         the camera be supported by a substantial tripod such asffi the Graphic Jr. or Graphic All Metal Tripods.
         The slower speeds are intended for use in photo-
        graphing inanimate subjects such as still life, buildings,
         flowers, etc. The  faster speeds are for action photog-
        raphy such as people walking, basketball, football, etc.
       A convenient table of suggestedshutter speedsfor stop-
         ping action will be found on page 21.


                                                                      l 9
fi
View original page 20Page 21 · Read text
DIAPHRAGM POINTER
  The Diaphragm  Pointer controls the  iris diaphragm
in the lens which is similar in function and appearance
to the iris of the human eye. On very bright days the
opening should be small and on dull days it should be
large-f/3.5  is the largest opening and the markings of
flIl,   fl16 and fl22  rcpresent the successivelysmaller
openings. Obviously, the smaller the opening the less
light will be allowed to reach the film. Therefore, a vety
fast shutter speed and a very small diaphragm opening
can be used on only when the light  is extremely bright.
       EXPOSURE
  While this is a very important subject it can be treated
quite simply.  It involves setting the speed indicator and
the diaphragm  pointer on the shutter. The  exposure
guide in the nose piece of the camera carrying case will
give you good exposure for average nearby subjects, but
the use of a good exposure meter or close checking of
exposure information packed with each roll of film  will
be the best possible assurance of  obtaining  properly
exposed negatives. Remember that over-exposure will
produce a very dense negative and the corresponding
light  print. IJnder-exposure will produce a print which
 is inclined to be dark and very flat lacking in snap or
contrast. This is sometimeserroneouslycalled sharpness.
Select a given make and type of film and stick with  it
 until you are reasonably sure of the quality of the pic-
ture which can be obtained under given lighting con-
ditions.
  Under depth of field we noted that the smaller the
diaphragm opening used, the more depth of  field or
subject matter will appear sharp in the picture. This
means that you should use as small a diaphragm open-
 ing as possible.
View original page 21Page 23 · Read text
If you want great depth of field use a shutter speed
as slow as permitted by the motion or action of the
subject, so that you can use a small diaphragm opening.
Don't  try  to hold the camera in your hands for  ex-
posuresof 1/ 1Othor even 1 l25th. Find a support for the
camera. Brace it against the table, the side of a build-
ing or tree or some other solid object.
    If shallow depth of field is needed, use a fast shutter
speed and a large diaphragm opening. This combination
is often selectedfor special effectssince an object sharply
defined against an out of focus background has greater
emphasis-very useful when making portraits.
  Great depth of field is useful for general out-of-doors
scenic or travel as well as group pictures indoors or out.
  Shallow depth of field is useful rvhen making portraits
or emphasizing a single subject since a sharply defined
image will generally stand out away from an unsharp
or diffused background.
   SYNCHRONIZATION
  Your Graflex "22" has synchronization built-in and
various flash lamps can be used as indicated below. Be
sure to follow the exposure information provided by
flash lamp  manufacturers for  obtaining  correct ex-
posure with the various lamps. Remember that the dis-
tance to the subject can be found by checking the scale
on the focusing knob of the camera.
      Match the color code of the shutter speeds
     with the color code type of synchronization:
    Block marking-zero delay electronic flash
    Green markings-SM and SF lamps
   Red marking-No. 5 and No. 25, No. 11, No. 2
                   Press40, etc. (type I\4) lamps.
  T'he synchronizerfitting or shoe on the left side of the
camcra can be used to hold a connecting cord  for
Graflite or other similar flash equipment.  It  also di-
View original page 23Related documents and language editions
GraflexPDF
Graflex Anniversary Speed Graphic 3 1/4 x 4 1/4 and 4x5
User manual
37 pages · EnglishRead →
GraflexPDF
Graflex and Speed Graphic
User manual
5 pages · EnglishRead →
GraflexPDF
Graflex and Speed Graphic — part 1
User manual
17 pages · EnglishRead →
GraflexPDF
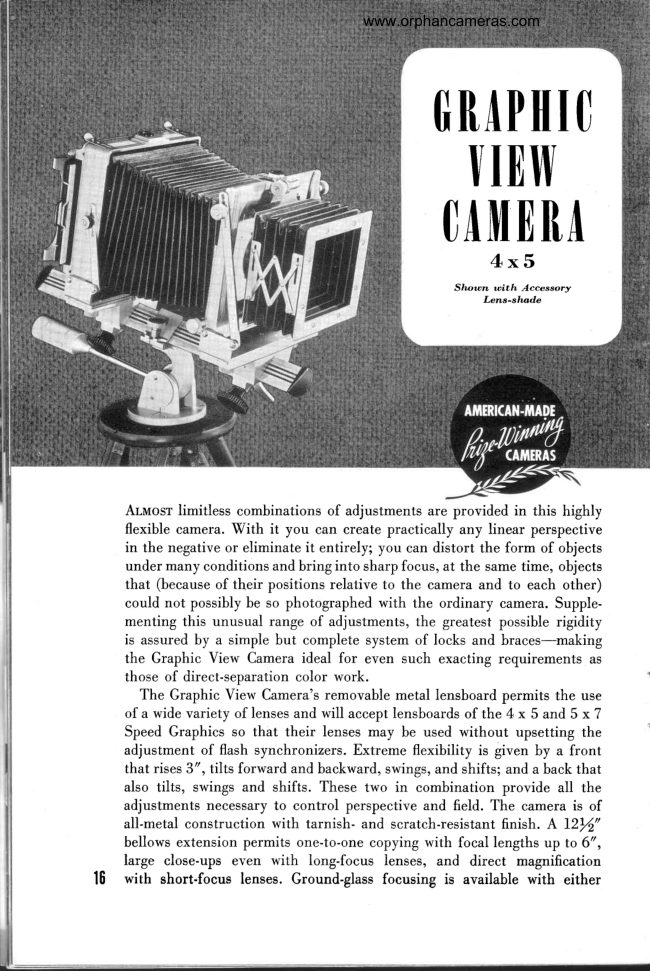
Graflex and Speed Graphic — part 2
User manual
13 pages · EnglishRead →
GraflexPDF
National Graflex Series II w/telephoto lens
User manual
33 pages · EnglishRead →
GraflexPDF
Graflex Cameras
User manual
34 pages · Not specifiedRead →
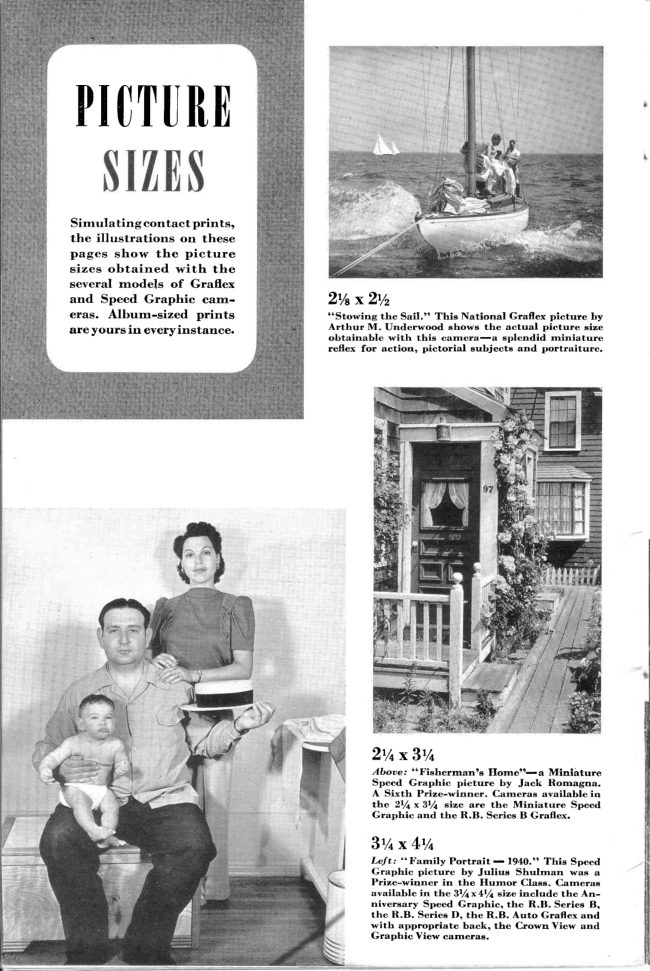
GraflexPDF
Graflex and Speed Graphic — part 3
User manual
19 pages · Not specifiedRead →
From the M. Butkus archive. Original publisher and archive notices are retained.
Check the model and edition against your equipment.
PDF verified 2026-10-10.