Film & darkroom
Kearsarge Model 403enlarger timer Product booklet
Product booklet for Kearsarge Model 403enlarger timer. 4 pages in English. Read the original PDF, download or print a copy without registration.
4 pagesEnglish2.3 MB PDF
Loading your manual…Open PDF directly
Document details
- Brand
- Kearsarge
- Model / document
- Kearsarge Model 403enlarger timer
- Document type
- Product booklet
- Language
- English
- Pages
- 4
- File size
- 2.3 MB
- Category
- Film & darkroom
- Document date
- Not specified in catalog
Contents
Search available document text
Find a term, then jump to its page in the original PDF. Image-only pages may not be searchable; check the PDF for exact wording and diagrams.
Page 1 · Read text
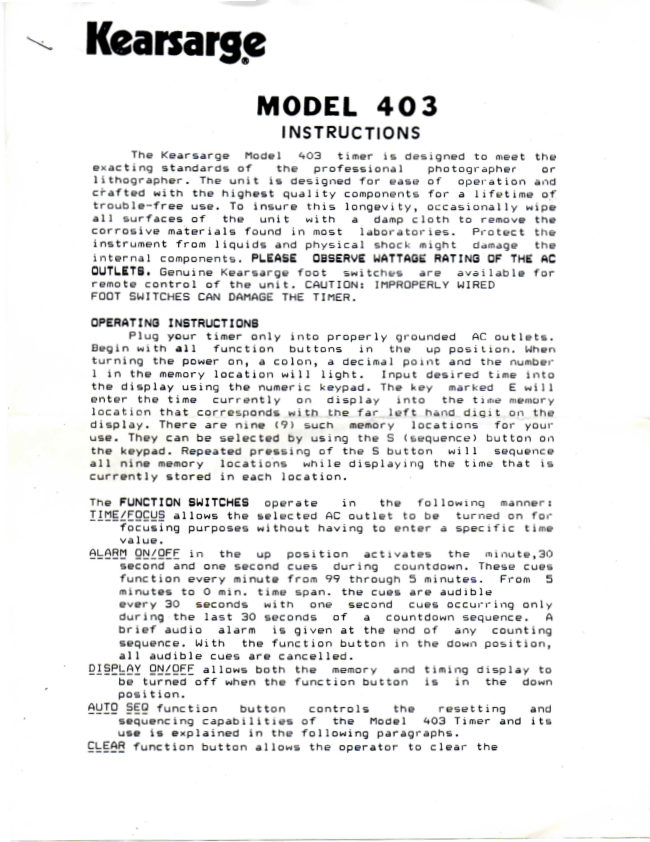
Keanarae

         MODEL 403
                   INSTRUCTIONS

       The   Kearsarge   Model   403    timer    is   designed    to   meet   the
 exacting      standards       of      the      professional      photographer     or
  lithographer.   The    unit     is   designed     for   ease    of    operation   and
 crafted    with    the    highest    quality   components     for   a     lifetime    of
  trouble-free     use.    To     insure      this     longevity,     occasionally    wipe
  all    surfaces    of    the    unit    with   a   damp    cloth    to   remove    the
 corrosive     materials     found      in    most     laboratories.     Protect     the
 instrument    from     liquids   and    physical    shock    might   damage    the
  internal  components.  PLEASE  OBSERVE WATTAGE  RATING OF  THE AC
 OUTLETS.    Genuine    Kearsarge     foot    switches    are     available     for
 remote   control   of   the    unit.  CAUTION:  IMPROPERLY  WIRED
 FOOT SWITCHES CAN DAMAGE THE TIMER.

 OPERATING INSTRUCTIONS
       Plug    your    timer    only    into    properly   grounded   AC    outlets.
 Begin    with      all     function    buttons     in    the    up     position.   When
 turning   the   power   on,  a   colon,  a   decimal   point  and   the  number
 1    in    the   memory    location     will     light.    Input    desired    time    into
 the   display   using   the   numeric   keypad.   The   key   marked  E    will
 enter    the    time     currently    on    display     into    the    time   memory
 location    that   corresponds    with    the    far     left   hand     digit   on    the
 display.   There    are    nine    (9)   such   memory    locations     for    your
 use.  They  can  be   selected   by   using   the  S   (sequence)   button  on
 the   keypad.   Repeated    pressing    of    the   S    button     will   sequence
 all    nine   memory    locations    while    displaying    the    time    that     is
 currently stored in each location.

 The FUNCTION SWITCHES     operate               l n     the following manner:
 I^HE/FOCUS allows the selected AC outlet to be                      turned on for
      focusing   purposes    without    having    to    enter   a    specific    time
      va1ue.
ALARM ON/OFF   in     the    up      position      activates     the     minute,30
     second   and   one   second   cues   during   countdown.   These   cues
       function   every   minute   from   99   through   5   minutes.   From   5
      minutes   to   0   min.   time   span,   the   cues   are   audible
      every   30    seconds    with   one   second    cues    occurring    only
      during    the    last   30   seconds    of   a   countdown   sequence.  A
       brief   audio   alarm     is    given    at    the   end    of   any    counting
      sequence.    With    the    function    button     in    the   down    position,
         all audible cues are cancelled.
5IEEEAY 9!^ZQEE allows both the         memory and timing display to
     be turned off when the function button                           is in the down
       position.
AUTO SEQ function         button       controls the resetting and
      sequencing capabilities of               the Model 403 Timer and its
     use is explained in the following paragraphs.
                                  function button allows the operator to clear the
View original page 1Page 2 · Read text
timing    display       if   an    error     is   made    in    entering   a    time
      through    the   keypad.      It     is    also   used    to   remove   a    time
      which    has   been    stored     in    any  memory     position       by
      sequencing to         that memory position and then pressing the
    CLEAR function button twice              followed by pressing E. This
         will clear the display and the                       corresponding        va 11
       previously stored in              the microprocessor for this memci
       position.
               begins any timing function,           When pressed during
      count down cycle the timer will stop the                     sequence ar,:i
      hold at that value. When this function                         key is again
      pressed the timer will          resume counting down. If instead
      the CLEAR     function button is pressed, the timer will
       reset    to    the    original    value    in    this   memory    position   and
       wait to be activated.

 The   Kearsarge   Model  AOS   Timer    is   designed   to   operate    in   three
 different modes - MANUAL, SEQUENTIAL and AUTOMATIC.
   MANUAL mode allows the timer             to reset to the contents of
             its present memory position after each timing cycle.
                               mode allows the timer to cycle and reset to the
                                 next memory position after completing any timing cycle.
    AUTOMATIC mode   allows    the    timer    to    cycle   through     all    the
       memory     positions    and      their     corresponding     times    and
         stops   and    resets    only    after       it   reaches   memory    position
       number one.
PROGRAMMING and OPERATING IN MANUAL MODE
         1.  PLACE the AUTO SED function button in the up position
        2.  Enter desired time with keypad
        3.  Press E function button to store in memory
       A.   Press   the  S   function   button    to  move    to   next  memory
            position        if     additional    times    are    desired    and    repeat
           steps 2 and 3 for each time desired.
        5. After required timing values have been stored press S
            function button to time desired and press START HOLD
             to begin cycle. Timer will count down and
            reset to the same time. Press S function button to
            bring up        other times           stored              l n    corresponding
            positions   and    follow   same   procedure    to   execute    timing
          sequence.
PROGRAMMING and OPERATING IN SEQUENTIAL MODE
        1.  Follow steps 1,2,3 and A from above.
        2.       After    required    timing    values    have   been    stored,press
            the   S    function    button    to    bring   up    the     first   memory
             position. Place the AUTO SEQ function button in the
         down position,        Press    the   START/HOLD    function    button
             to begin      the    timing    sequence.   The    timer      will   now
           count down      the     time     stored      in     the       first    memory
            position   and    reset    with   the   value   stored    in   the   next
         memory    position   and    stop    at    this    point.   To    continue
           press the START/HHLD function button.
PRQSSAMMINS and SP6RATINU IN AUTSMATIG M0DI
        1.   Place    the   AUTO  SEQ    function    button    in    the   down
             position.
View original page 2Page 3 · Read text
2. Enter the desired times in the various memory
                              positions in the same                      manner as described in steps
                             2,3 and A for the MANUAL MODE                above leaving the AUTO
                   SEQ      function button down at all times.                          Before
>1                            entering    the     last    time    value     in    the     final   memory
                               position    to   be   used    in   the   sequence,   release   the
                   AUTO  SEQ    to    the   up    position   and    enter    the    time
                            desired    followed   by   pressing   the  E    button.  Now    return
                             the  AUTO  SEQ    function    button    to    the   down    position,
                           press   the  S   button    to   place   the    timer   on   the     first
                      memory    position   and   press    the   START/HOLD    button    to
                           begin    the    timing   sequence.   The    timer     will   count   down
                             the   time   to   zero   and   immediately   sequence   to   the   next
                             stored    time    and   commence    counting   down    the    time
                             stored     in     this     location.   The    timer      will    continue     to
                             cycle    through      all    the    stored    times     until        it    reaches
                             the       last      stored     time or memory location nine,
                           whichever    comes       first,      It will stop and reset with
                             the time      from memory location one appearing on the
                               display. Pressing START          /HOLD   again will rerun the
                      same sequence.

                    The Kearsarge Model A03 Timer is equipped with two
                   foot switch outlets marked START and FOCUS. These outlets are
                designed to accept the Model A52 Kearsarge Foot Switch. When
               used in either location they will duplicate the function of
                 the START/HOLD and TLME/FQCUS function buttons.
                   CAUTION!    Although    other    brands     of     foot    switches   may
               sometimes   be   used,   check    carefully   with   an   ohmmeter    to   insure
                   that neither of the horizontal contacts are connected to the
                    vertical contact. Incorrect wiring will cause                                    the power
                 supply to fail and may damage the timer                                    (not covered by
                  warranty). A Kearsarge Foot Switch                                  is recommended since it is
               equipped with special           1 ong          lasting      contac ts.        Other
                manufacturers foot switches may                 not provide            satisfactory
                per f ormance.
                                                 Also located on the top of the Model A03 Timer are two
                   outlets marked 500 WATTS MAX TIMED ON                  and 500 WATTS MAX
             TIMED OFF. During a normal timing cycle,                          the TIMED QN outlet
                       will be connected to 110 VAC and disconnected                                at the end of
                 the cycle. The reverse will follow for the TIMED OFF outlet.
                CAUTION! Do  no t   connec t     the    timer    unit    to   any   device
                  carrying  a   load   of  more   than  500   watts. To do so will reduce
                 the 1ife of         the    interna1      relays     and  may cause     immedia te
                  destruction of the timer.

             NOTE!   The timer     shou1d    always be connec ted directly to the
               main    power    source.    Voltage     stabilizers    should    be   connec ted
               between    the    timer    and    the    enlarger    lamphead,    see    diagram
                below.        If    you    encounter      difficulty,    please      call    our     service
                department for aid A13-625-2322
                   The timer may be wall mounted using the mounting holes
                provided on the bottom of the chassis.
View original page 3Related documents and language editions

From the M. Butkus Camera Manual Library. Original publisher and archive notices are retained.
Check the model and edition against your equipment.
PDF verified 2026-10-10.