Film cameras
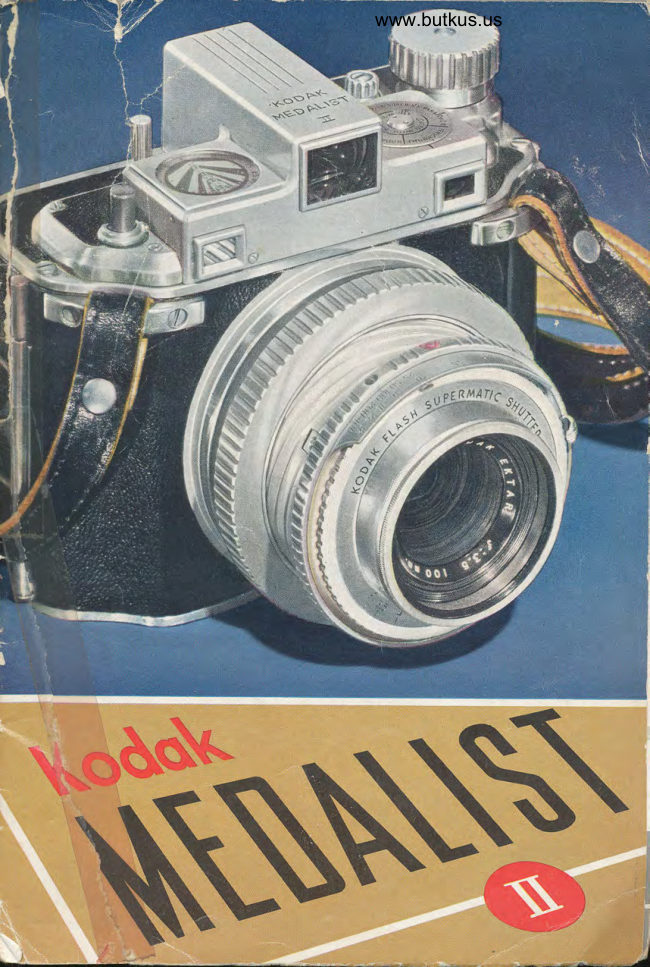
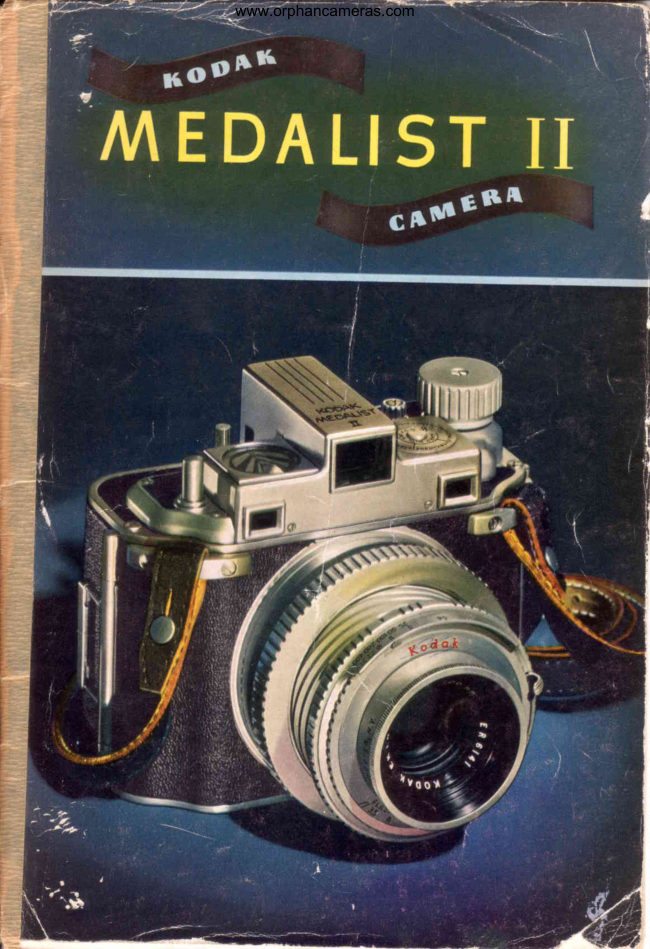
Kodak Medalist & Kodak Medalist II User manual
User manual for Kodak Medalist & Kodak Medalist II. 21 pages in English. Read the original PDF, download or print a copy without registration.
21 pagesEnglish2.4 MB PDF

Loading your manual…Open PDF directly
Document details
- Brand
- Kodak
- Model / document
- Kodak Medalist & Kodak Medalist II
- Document type
- User manual
- Language
- English
- Pages
- 21
- File size
- 2.4 MB
- Category
- Film cameras
- Document date
- Not specified in catalog
Search available document text
Find a term, then jump to its page in the original PDF. Image-only pages may not be searchable; check the PDF for exact wording and diagrams.
Page 3 · Read text
l(ODAl(
|vIEDALISIil

      GA'UIERA


  This  precision-built, sturdy, and versatile camera has
   features which give you unequalled performance:
     . . . the fast, highly correctedf 13.5 Kodak Ektar Lens
          . the new Kodak Flash Supermatic Shutter
     . . . an automatic parallax-correcting view finder
     . . . a brilliant, lens-coupled range finder
     . . . firrger-tip controls entirely visible from above.
    Your Kodak Medalist has the speed and easeof use of
  a fine miniature-with   a new freedom in the choice of
    all negative materials in the 2rA" x 3r/4.' size. To realize
   its full picture-making possibilities,read this manual and
  keep it for reference.


                      www.orphancameras.com
View original page 3Page 4 · Read text
Pagc
       L o o d i n g. . . . . . . . . .                . . . . . . . . . . .    2
      P i c t u r e - T q kPi nogs i t i o.n. . . . . . . . . . . . . .    6
       F o c u s i nwgi t hR o n g eF i n d e r . . . . . . . . . . .   7
      S h u t t eSr p e e d s. . . . . . . . . . . . . . . . . . . . .      8
       L e n s O p e n i n g s .                . o . . . . . . . . 1 0
       F o c u s i n g S c o l e               . . . . . . . . . . . 1 1
       T o k i n gT h eP i c t u r .e. .                      . . .  . . 1 2
      R e m o v i nTgh eF i l m. . . .   .           . . . . .   . . . 1 4
       F l o s hP i c t u r e s                          . . . . . . . . 1 6


o To get the most from your camera, follow the direc-
tions carefully-go   through the mechanical moti
         you fully understand the operations of your
::jn:-
  Before making any important  pictures-a    trip, some
special event, or any pictures expected to prove valuable
-you  should shoot a roll or two of film and take a few
flash pictures. This  will give you practice and will pro-
vide a check on your  equipment.   If  you have any
questions,your Kodak dealer will always be glad to help
you in any way he can.


                                                                                                                                                                               ,:it!i*i           !d.;
View original page 4Page 5 · Read text
LOADINO

                         cc0"                            uppears in  the EXPoSURE         Look  to See if
       CouNTER window.    If  any  figure  but  zero  is
            visible, depress and  turn  the CoUNTER KNoB
                                    (c0"            in either direction  until     uppears.


        Open  the back. The  back  of  the camera  is
                                                               at  2  hinged at both ends and  it can be opened
           either end or removed  entirely. To open the
          back, press the two pins toward  one another,
         and swing the back outward.


                    www.orphancameras.com
View original page 5Page 6 · Read text
UseKodok620Film;for block-ond-whitepicturesKodok
     Verichrome,KodokPlus-X0r KodokSuper-XX;for
     colOredpicturesuseKodocolor0r EktochromeFilm.

      Insert a  roll  of Kodak  620 Film  in the recess
     which  has a spring bracket.  Insert  the spool3     so that  r,r,hen the paper  is drawn  off, the side
     with  printing on  it  will be up.


     Break the seal and pass the protective  paper
     uaer the rollers and thread  the end of the paper4
       into the longer  slit in the empty spool as far as
           it  will  go. Handle  the  roll  carefully;  the  film
       will be fogged  if allowed  to unwind.
View original page 6Page 7 · Read text
LOADCAMERAIN SUBDUEDTIGHT_


      Turn  the WINDINGKNoB once or twice to bind
      the paper on  the  spool . Be sure the paper is5      started straight on the spool and acrlss the back.

      Close the back with  a firm  pressure until  the
      latches snap into place.6


      Hold back the slide which covers the red win-
                                   clockwise until a7   dol.  Turn  the winding knob
      small hand or arrow  appears in the window.
      Continue  turning  the winding knob slowly until


                www.orphancameras.com
View original page 7Page 8 · Read text
NEVERIII STRO}IG,DIRECTIIGHT

              the figure "1" just begins to appear at the edge
                                          *                of the red window.
              Depress and turn the counter knob in either
              direction until the figure "1"  appears in the
             exposure counter window. Then turn the wind-
               ing knob slightly until   it locks.
      O    Set the dial on the top of the camera to show the
      O    kind of film with which the Medalist is loaded.

                      *If  the camera  is loaded  with  the  exposurc
              counter at some figure other than "0r" the wind-
               ing mechanism will  lock before the figure "1"
             appears in the red window. To unlock, depress
            and turn the counter knob until "0"  appears in
              the exposure counter window. Bring the lens to
                picture-taking  position, as described on the next
             page,and pressthe shutter releaseall the way down.
View original page 8Page 9 · Read text
PICTURE-TAKINPOSITIO


Turn   the  large FocusING coLLAR on  the  lens barrel  to
bring  the lens to picture-taking   position. As the lens  is
brought  forward,  the nocusrNc scALE on the top  of the
camera  automatically   revolves  to  indicate  the distance
for which  the camera  is focused.
Nore:   To  prevent   accidental  exposures,  the  sHUTTER
RELEASEis locked until  the lens is brought forward almost to
the o  (infinity)  position (as indicated 6y the focusing scale).
Do not force the shutter release; the camera can be damaged
by depressing it before the lens is extended.
6


                   www.orphancameras.com
View original page 9Page 10 · Read text
THE RANGE FINDER       FOCUS


Adjusting   the  split-field  RANGE FINDER automatically
focuses the camera. The range  finder shows an enlarged
image  of the center  portion  of the vrEw FINDER image.
A  distinct  horizontal   line  cuts the range  finder  field  of
view  into two equal  parts.
  To  focus, look through  the eyepiece at a vertical  line
in  that  portion  of the subject  that you wish  to have the
sharpest  in  your  picture.  The  selected line  will  appear
broken. The  part seen in the upper  area will be either  to
the right  or left of the vertical  line seen in the lower  area.
Revolve  the  focusing  collar   until   the  vertical   line   is
unbroken.  The  range  finder  can  also be used with  the
camera  held  vertically.   In  this  position,  focus on some
hori<ontal line in the subject.
  Uses of the focusing  scale will  be found  on page  11.
View original page 10
Page 11 · Read text
SF|UTTERSPEEDS


The Flash Supermatic  Shutter on the Kodak  Medalist   II
is designed to make exposures from  1 to 11400 second as
         6(8"well as      exposures. The  black index  on the knurled
shutter spEED RINc  is used  for exposures from  1125 to
11400 second. For slower shutter speeds, turn  the speed
ring  until  the red index  is at the speed desired.
  The shutter should be set only  at the speeds indicated
on the camera-in-between     settings will  not  give  inter-
mediate speeds. The  shutter speed may be set with  the
shutter  either cocked or released. The  camera mav  be
left with  the shutter  either cocked or uncocked.


                    www.orphancameras.com
View original page 11Page 12 · Read text
33T" (long) ond 33B" (shorr) time  exposures
      Place the carnera on a tripod (such as the Kodak Ey.-
       Level Tripod)  o. other firm suppor t-do  not hold it in the
      handsor thepicturezaill be-blurred.
         t'8"          exoosures are recommended for short time exposures
        of ten secondsor less. Bring the red index to the letter
        (68."          The shutter will remain openas long as the shutterre-
       Ieaseis luld down.
         "Tt'  exposures can be made with the Kodak T. B. I.
      Cable Release No. 2 which is packed with the camera.
      Screw the cable releaseinto the cenI-ERELEASEsocKETon
        the  camera.  Turn   the  circular  piece on  the
        T. B.  I. Cable Release so that the notch on the
       edge  is directly  under  the  small  button;  see
                                          (5B"         illustration.  Set the shutter  for a      exposure.
       Press the plunger  of the  cable  release  to open
        the shutter.  Close the  shutter  by  pressing  the
        small button  directly  above the circular  piece. *
        The Kodak  T. B. I. Cable Release No. 2 rnay
                                368"I      also be  used  to make                                           or  snapshot  ex-
       posures. Turn  the  circular  piece  of the  cable
       release so that   it slides under  the small button
       as shown in the illustration.  Operate  the T. B. I.
       Cable Release as an  ordinarv   cable  release.
            *Wirl. T       roll ftlm, ofter eoch exposure, push lhe shulfer releose down os for os  if  will
          go ond lhen releose  it lo unlock lhe film winding mechonism.
                                                              9
View original page 12Page 13 · Read text
LENSOPENINOS

The lens openings regulate the amount of light passing
 through the lens. These openings are enlarged or reduced
 by moving the lever A of the diaphragm control ring;
/-numbers can be read on the front or top of the shutter.
  The lens opening is smallest when the lever is at;f lZZ.
 In a given exposure time, each succeeding number ad-
 mits twice as much  light as the one before-yf f ZZ lets
 through twice the light of -f 132,J116 twice that of f f2Z,
 and so on down to.f 13.5,the largest opening. This open-
 ing admits a third more light thanf f4. Thus, if the correct
exposureis 1150second atf 111,then the lens opening for
 11100second is f l8; for 11200second,"f 15.6;for 11400
second,           "fF; and for 1125 second,"f 176.


  Remember the exposure 1 150second at J 111. This is
 the exposure that should be used for average outdoor
 subjectsin bright sun with Kodak Verichrome or Kodak
 Plus-X Panchromatic Film.
 1 0


                    www.orphancameras.com
View original page 13Page 14 · Read text
FOCUSINOSCALE

The  focusing  scale will  be found  convenient   for  photo-
graphing  subj.ects ten  feet or  farther  from  the  lens. In-
stead of using the range  finder,  estimate  the distance  to
the subject and set the focusing scale at the black index.
  A  depth-of-field  scale has been combined  with  the
focusing  scale. This   tells  at a glance  the  nearest and
farthest objects that  will appear sharp at any selected lens
opening  for the particular  distance focused on.
  To  find  the depth  of field  for a given distance and lens
opening,  set the distance  at the center  index. Read  the
nearest and farthest distances
that  will  be  in focus at the
two  index  marks  opposite
the chosen ;f-number.
     If the camera  is focused at
15 [eet, withf  15.6everything
from about  1 1 to 20 feet will
be  sharp,  and  with    I  I 11
everything   from  about   glh
 to 35 feet  will  be  in  focus.


                                                                                    t 7
View original page 14Page 15 · Read text
TA](INOTHEPICTIJRE

Normally the shutter is cocked when the film  is wound;
however, after the first section of film  is brought  into
position,  it  is advisable to push the sHUTTERcocKrNG
LEVERback and toward the center of the camera as far
as it will go; then releaseit.
      1.  Bring the lens to the picture-taking position.
      2.  Set the lens opening and the shutter for the
          correct exposure.
      3.  Focus the camera. For rapid focusing, center
         the object on which you wish to focus in the
        view finder. Tben, without changing the posi-
          tion of your head or of the camera, shift your
        eye to  the range  finder window;  focus the
        camera as described on pag e 7 .
      4.   Shift your eye back to the view finder to com-
        pose the picture. Hold the camera so that you
        can just see the edges of the front opening in
         the finder.
      5.  Make the exposure. To minimize camera mo-
           tion, hold the camera as shown, with the thumb
        on the bottom of the camera and the middle
          finger on the shutter release.To make the ex-
         posure, depress the shutter release by squeezing
         the hand together.
1 2


                    www.orphancameras.com
View original page 15Page 16 · Read text
The shutter release is automatically locked and the
winding knob unlocked when the exposureis made. Turn
the winding knob until  it locks; this advances the film,
cocksthe shutter, unlocks the shutter releaseand changes
the exposure number in the exposure counter. Be sure
that the shutter releaseis not depressedwhile the film is
being advanced.
  When, the shutter release is used, the RED SIGNAL'
located directly behind the focusing scale, is a warning
that a new section of film must be brought into position'
The red signal disappearsas the winding knob is turned.
It reappears after the exposure has been made.
 Intenlional dovble exposures rr:raybe desired for special
effects.Make the first exposure; push the shutter cocking
lever back and to the center of the camera as far as it will
go; then releasethe lever. Make the second exposure by                                                                                             t 3pressing the shutter release.
View original page 16
Page 17 · Read text
RIIvlO\lINOTl|EFIL|VI


To unload the camera after the last picture has been
made, turn the winding knob until the end of the paper
on the roll passesthe red window. *
   In subdued light, open the back of the camera. Take
hold of the end of the protective paper with the right
hand and pull out and up to remove the lower end of the
roll from the camera. Grasp the roll in the left hand as it
is removed to prevent the film from unrolling.
*lf  film is fo be removed before  olt theexposures hove been mode or  if |hecornero
hos been looded  with o six-exposure  roll of Kodocolor  Film,  ofter shufler releose
hos been depressed to moke lhe losf exposure, depress ond  lurn fhe counfe r  knob
unlil "0"  oppeors  in lhe exposure  counler window. The winding knob con lhen be
turned   until  the end  of  the popar on rhe  roll poeses lhe  red window.
7 4


                    www.orphancameras.com
View original page 17Page 18 · Read text
REl,tOVtlN SUBDUEDIIGHT0NtY

lmportonl: Do not wind the film with a twisting motion,
as'this may scratch the film.
  To remove the empty spool from the load-spool end
of the camera. turn  the camera with  that end down,
grasp the spring roller bar with a finger at each end and
iru*     it away from  the spool. The empty  spool rvill
drop out. Place the empty spool in the winding end of the
.u-.ru;   insert the spool flange next to the winding knob
 first. Turn  the winding knob until the key slips into the
slot in the spool flange. Reload with Kodak Film No' 620'


 AII  slass-air  surfaces  of  your   Medalist's  Kodak   Ektar
 lll.S'fOOrrm   Lens are Luinenized.  This  reduces internal"reflections          and increases light transmission to assure greater
               brilliance  in b-lack-and-white  negatives as well
 "f..ii,;r   ;;f";  ""ap;rity   in  full-color   pictures.  The tinted appe.aranceoJ
 ih,  lrrt    ii due io this surface-coiting. Clean  the lens with  care;
 J"rt     any  grit  or  dist  with Kodak  Lens Cleaning Paper
 o, r.l.att,"tr    sofT,Iintless cloth.  If moisture is necessary, breathe
 on--Ci*the lens or'use a drop  of Kodak  Lens Cleaner'
        vour Medalist   Ii Camera the care  it deserves' Keep
 it  .leatt;  dust will  ruin  the best negative' The  lens, shutter,
 and range finder should only be disassemJrle{ b{."  compe-
 tent  facibry-trained  camera  repairman'  Don't  disassemble
 vour'-N" camera or its lens.        typ.  of lubricant  should be applied  to the helical gear
 focusing tube or to other parts of your camera'
                                                       1 5
View original page 18Page 19 · Read text
FLASl|PICTURES

The Kodak  Medalist   II may be used to make  flash
pictures-withouta  synchronizer. Its Kodak Flash Super-
matic Shutter assuresthat, for the selectedexposure time,
the shutter will be open when the flash of the lamp  is
brightest. A Kodak Flasholder, flash lamps, and power
source, such as two size "C"  photoflash batteries or the
new Kodak B-C Flashpack, are all that are needed.
  To acljust for the type of lamp, pull up on the synchro-
nizer scerE KNoB and move  it  to the end of the slot
marked "F"  (for Class F bulbs such as the SM or SF
flash lamp) or to the end marked "M"   (for Class M bulbs
such as the No. 5 or25  flash lamp). Be sure the synchro-
nizer scale knob is firmly seated at the end of the slot.
  With  roll  film, advance the film-with   the Accessory
Back, cock the shutter-liaz  push down the svNcnRo-
NrzERLEVERon the shutter as far as it will go. Make the
                             exposure by depressing
                                the  shutter  release as                                        I                                      far as it will go and then
                               releasing it.
                          Do not force the syn-
                                chronizer lever;  it can-
                                not be depressedbefore
                                the shutter is cocked.
                             1 6                         I
                    www.orphancameras.com
View original page 19Page 20 · Read text
lmporlonl:  Be sure the bottom of the lamp base is clean
and bright before inserting the lamp  in the flasholder.
If the contact point is tarnished, rub  it on a rough surface.
Cqution:  Since lamps may shatter when flashed, the
use of a Kodak 2-Way Flashguard or other transparent
shield over the reflector is recommended. Do not flash
the lamps in an explosive atmosphere.
  Do not insert a flash lamp in the socket if the shutter
blades are open. The lamp may  flash and a serious
burn may result.
FLASHTXP()SUREGUIDENUMBERS
  To colculote the  lens opening,  divide  lhe proper  guide number by  thc
   distonce in feet from lomp  to subiect.

                                     Verichrome    I  Kodocolor
                                F i l m      I T y p e A F i l m
                       Flosh Lomp   Flosh Lomp   I Flosh Lomp   I Flosh Lomp
                      SM N o . 5  St*   | No. s                                     or     or   o r l o r
                          SF  No. 2                                   SF [No. 25                                                         -t-
                      l l o   | 2 0 0 1 7 5   |    l , l 0  6o       I  l o   5 0   |  ro o
   l / 1 0 0 1 9 s l   l 4 0 l 6 s    l   l 0 0  5 5    80  4 5 1   7 s
 1 . l 2 o o 7l 5 |   l l o   l s s   |  8 0  45    65   4 0 1   6 0
    *Shutter speed   I /25  second or longer qnd B.
   These exposure  guide numbers opply  with lomps  in o  4'  lo S-inch sotin-
    flnished refeclor  such os thot of ihe Kodok  Flosholder.
    EostmonKodokCompony' Rochester4, N'Y'


                                       PRINTED   IN  THE  UNITED  STATES  OF AMERICA
View original page 20Related documents and language editions

From the M. Butkus Camera Manual Library. Original publisher and archive notices are retained.
Check the model and edition against your equipment.
PDF verified 2026-10-10.