Film cameras
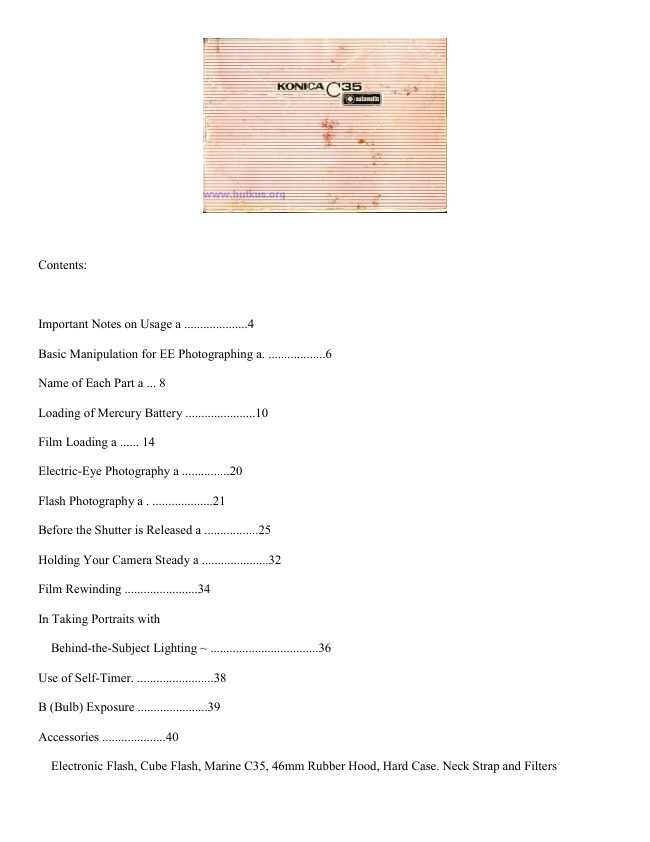
Konica C35 Automatic User manual
User manual for Konica C35 Automatic. 16 pages in English. Read the original PDF, download or print a copy without registration.
16 pagesEnglish1.1 MB PDF
Loading your manual…Open PDF directly
Document details
- Brand
- Konica
- Model / document
- Konica C35 Automatic
- Document type
- User manual
- Language
- English
- Pages
- 16
- File size
- 1.1 MB
- Category
- Film cameras
- Document date
- Not specified in catalog
Search available document text
Find a term, then jump to its page in the original PDF. Image-only pages may not be searchable; check the PDF for exact wording and diagrams.
Page 2 · Read text
Contents:


Important Notes on Usage a ....................4

Basic Manipulation for EE Photographing a. ..................6

Name of Each Part a ... 8

Loading of Mercury Battery ......................10

Film Loading a ...... 14

Electric-Eye Photography a ...............20

Flash Photography a . ...................21

Before the Shutter is Released a .................25

Holding Your Camera Steady a .....................32

Film Rewinding .......................34

In Taking Portraits with

  Behind-the-Subject Lighting ~ ..................................36

Use of Self-Timer. ........................38

B (Bulb) Exposure ......................39

Accessories ....................40

  Electronic Flash, Cube Flash, Marine C35, 46mm Rubber Hood, Hard Case. Neck Strap and Filters
View original page 2
Page 3 · Read text
Major Specifications of KONICA C35 Automatic 46


1. The KONICA C35's CdS meter operates on a mercury battery. Place the mercury battery which is available
as an accessory to your camera into the mercury battery chamber and look into the viewfinder, If the meter
needle is seen swinging, it means that the CdS meter is functioning correctly.


                             2. If some object other than an
                         accessory is inserted into the
                         accessory clip the camera will be
                          automatically set to flash exposure. So
                      do not try to put into the clip anything
                           other than a flash or electronic flash
                              unit.

                             3. When turning the guide number
                             ring, make sure that the guide number
                         button is kept pressed down.


Basic Manipulation for EE Photographing
View original page 3Page 4 · Read text
Loading of Mercury Battery


                               The KONICA C35's CdS meter operates on a mercury
                                          battery. Completely wipe the mercury battery, which is
                                        available as an accessory, with a piece of dry, clean cloth
                                 and then place in the mercury battery chamber.

                                           1. Take off the lid of your camera's Mercury Battery
                              Chamber (19) by turning it counterclockwise with a coin.
View original page 4Page 5 · Read text
2. Insert the mercury battery so that the "+" side of the
                                 mercury battery comes in contact with the "+" side of the
                                       cover. Put the cover on the chamber, turn it clockwise and
                                  screw it up tightly.

                                                · The life of a mercury battery exceeds one year when it is
                                     put to normal use. Instead of gradually dropping according
                                         to the frequency of its use, a mercury battery tends to
                                   suddenly drop in voltage when its life has practically
                                       expired.

                                                · When it is found that the meter needle does not swing
                             when your camera is trained at a bright subject, replace the
                                 mercury battery with a new one,


· The meter of your camera takes a 1.35V Mallory PX-675 or Eveready EPX675.

(webmaster - see my site on what to do for replacements for mercury batteries )


Note that there are batteries similar in shape to but different in voltage from a mercury battery.

· When your camera is not to be used for a long period of time, take out the mercury battery and keep it in a dry
place.


Film Loading


                                                       1. Flip up the Film Rewind Crank (6) and
                                                   forcibly pull it up, and the Back Cover (18) will
                                          open and the film counter will indicate the mark
                                             "S" (start).
View original page 5Page 6 · Read text
2. While the crank is kept drawn, load a roll of
                                35mm cartridge film (for 20 or 36 exposures)
                                                     into the Film Cartridge Chamber (15) and return
                                                  the crank to the original position.


3. Insert the film tip into the slit of the Film Take-up Spool (17). The film tip can be inserted into
any slit.

4. Turn the Film Wind Lever (3) and ascertain that perforations on both sides of film are in gear with
the film Sprocket (16), before the back cover is closed.

· When the film is correctly transported the film rewind crank turns.


5. Repeat the winding of film and the depression of the Shutter Release Button (2) until the number
"1" appears in the Film Counter (1)
View original page 6Page 7 · Read text
6. Turn the Film Speed Ring (9) and set your camera to the speed of the film you use in your camera.
Note any intermediate point between film speed readings is unusable.


Electric-Eve Photography


                                                Pictures may be taken in the electric-eye system as
                                           long as the index mark "AUTO" is aligned with any
                                             (guide number) on the Guide Number Ring (13).
                                    Once tfiu index mark "AUTO" has been brought
                                                 into line with the guide number of your flash bulbs,
                                                                     it makes it possible for you to take pictures in flash
                                           photography. (The guide number is 90 with ASA 80
                                                 to 125 for flash cubes and 45 for the MONICA
                                               Electronic Flash X-14.) !n setting the guide number,
                                         push down the Guide


                                When you use an X-14, clip it into the accessory clip
                                              of your camera, and your camera will shift from EE
                                                 to flash photography as long as the guide number is
                                                    set to 45 (when film with ASA ratings from 80 to
                                      125 is used). The aperture will be automatically
                                              adjusted in conjunction with focusing.

                                                          · When pictures are not to be taken in flash
                                           photography, make sure that the flash unit is
                                           detached from the accessory clip of your camera. If
                                               the flash unit remains clipped into the accessory
                                                       clip, the electric-eye system does not
View original page 7Page 8 · Read text
To Enjoy Flash Photography

1. In using the MONICA Electronic Flash X-14, set your camera to the guide number 14 in advance, and no
other adjustment will later be required. Clip the electronic flash light into the accessory clip of your camera, and
you will be ready to take pictures. Take pictures at a subject-to-camera distance of 3.3 to 15 feet.

2. When a flash gun or electronic flash light with a cord is used, make sure that it is fitted to the Accessory Clip
(5) and the tip of the cord is inserted into the PC Flash Contact (14) on the side of your camera.

The guide number is indicated on container of the flash bulbs. Set your camera to this guide number.

· When the index mark "AUTO" has been aligned with any figure larger than 14, there are some restrictions
over the taking of pictures at close distances in flash photography for the correct exposure. So pictures cannot
be taken at 3.3 feet in this situation. For the taking of pictures at the close distance of 3.3 feet, bring the index
mark into line with 14.


Before the Shutter Is Released

1. Look through the finder While looking through the finder, you may be able to
(1) ascertain the exposure,
(2) focus the lens and
(3) frame the subject.

 2. When either an electronic flash unit or a flash gun has been clipped into the accessory clip of your camera,
the Flash Signal will appear in the finder.
View original page 8
Page 9 · Read text
3. Focusing: While looking through the finder, turn the focusing knob, put together the double image visible at
the bright, yellow-colored center of your finder. This means that the lens of your camera is perfectly focused on
your subject. Depress the shutter button without too much force.

Bright Frame: The scope of area in the bright frame will be photographed. When your subject is situated at a
point 3.3 feet from your camera, put your subject within the inner Paralax Compensation Mark.
View original page 9
Page 10 · Read text
The lens is out of focus (note the double image is split).

           The lens is in focus (note the double image is aligned).


In the event that the Meter Needle points to f/5. 6 or a higher stop on the aperture scale when pictures are taken
outdoors during the daytime, bring the reading 15 feet inscribed in green on the distance scale in line with the
index mark, and the lens of your camera will be focused on anything situated within a range of 10 feet from
your camera to infinity. This feature is recommended for snap-shots.


Holding Your Camera Steady


To obtain well-focused pictures, it is imperative that your camera is held steady to prevent your camera from
being accidentally jarred when the shutter button is depressed. Hold your camera in both hands and put it to
your face to assure its stability. To release the shutter, gently depress the shutter button with your finger.


Film Rewinding
View original page 10Page 11 · Read text
1. When a predetermined number of pictures have been taken, push down the Film Rewind Button (21) on the
bottom of your camera.
2. Flip up the Film Rewind Crank (6) and turn in the arrow marked direction, and the film will be rolled back
into the film cartridge.
3. When there is a sudden drop in the pressure felt in your hand and the film rewind button stops turning, open
the back cover and take out the cartridge.

In Taking Portraits with Behind-the-Subject Lighting...


When a man is photographed with behind the-subject lighting or his background constitutes the skies or the
shining water surface, the pictures will be under-exposed. In this situation, train your camera downwards and
slightly depress the shutter button so that the meter needle may be temporarily fixed. With the needle kept
stationary, train your camera at your subject and fully depress the shutter button, and you will be able to take a
clear picture of your subject.

· Another way would be to set the film speed scale to ASA 40, instead of 80.


Use of Self-timer


Turn the Self-timer Lever (8) to the full extent and set it. Depress the shutter button, and the shutter will be
released in about 10 seconds.

· Do not depress the shutter butter while standing in front of your camera. Otherwise, the correct exposure will
not be assured.

· Do not forget that the film wind lever has been wound before a Picture is taken.
View original page 11
Page 12 · Read text
(Bulb) Exposure


While the guide number button is depressed, rotate the guide number ring and bring the reading "B'' in line with
the index mark for B (bulb) exposure shooting, With B exposure, the shutter will remain open as long as the
shutter button is kept depressed. This method is fitted to the taking of pictures with long exposure at night. The
lens is fully opened at f/2.8.  For B exposure, use a tripod and the KONICA cable release.


· X-14 Electronic Flash


Extremely small cordless electronic flash, Guide Number 45 with ASA 80/125 film. Permits shooting distances
to 16 feet with C35. Approximately 200 flashes with standard AA Alkaline batteries.
View original page 12
Page 13 · Read text
· X-20 Electronic Flash


                                                    Exceptionally compact electronic flash
                                                    permits cordless or cord-type operation.
                                             Guide Number 64 with ASA 80/125 film
                                                    permits shooting distances to 23 feet with
                                              C35. Up to 200 flashes with standard AA
                                                    Alkaline batteries.


                             A flash cube designed to flash 4 bulbs in a
                                                 successive manner this gadget also servers as a
                                                small flash gun using an AG-type adapter.
View original page 13Page 14 · Read text
Explore the Secrets of the Seabed


                                      The KONICA Marine C35 is the full
                                              fledged underwater camera which
                                      makes it possible to enjoy picture-
                                               taking at a water depth of up to 44
                                                 yards. Film wind and focus adjustment
                                           can be done with ease from the outside.
                                            This camera comes in with an easy-to-
                                       aim underwater finder. With the grip
                                         and flash gun designed specifically for
                                                      this camera, you will be able to take
                                                  beautiful color pictures of deep sea
                                               beds. There is no danger that you will
                                                 lose your camera, as it floats on the
                                            water even when you have accidentally
                                          dropped it into the water. This
                                             photographic device is also usable on
                                                the beach and in the rainy day, as it is
                                             proof against water.


                            Equipped to the lens of your camera, the Auto-up
                          makes It possible for you to take close-up pictures at
                                3.3 to 1-2/3 feets, while the ranger finder is coupled as
                                   in normal photography. This accessory facilitates the
                                taking of close-up pictures of men and flowers and the
                             copying of books and painting.


                              In practical use, there is no need to compensate for the
                           exposure factor of the filter used.
View original page 14Page 15 · Read text
Folding-type rubber lens hood to prevent harmful
                                   reflecting light.


                            Sturdy case designed specifically for KONICA C35
                      Made of black leather.


                          Used for hanging your camera from your neck or shoulder.


Major Specifications of Konica C35 Automatic

Type: 35mm EE camera with lens-shutter

Film: 35mm film in cartridge

Picture Size: 34x 26mm (1"x 1-1/2")

Lens: Hexanon 38mm f/2 8 (3-groups and 4 elements

Focusing:  Turning all groups of lens in helicoid action in an arc of 48 degrees closest taking distance 3 .3 feet.
View original page 15Page 16 · Read text
Shutter: Copal Mat special automatic programmed shutter, B. 1/30, 1/650 sec., non-stage speed change, B
exposure permissible at full lens opening, Automatically set to 1/25 sec. in taking pictures with flashes, X
contact and built in self-timer.

Exposure Adjustment: Automatic exposure adjustment with system using CdS, 1.35V mercury battery used as
power source EE coupling range EV8 (f/2.8, 1/30sec.) to EV17 (f/;4.3, 1/650sec. with ASA 100 film. Film
speed scale, ASA 25 - 400

Finder: Bright frame, magnification 0.46X,parallax compensation mark, shutter speed and aperture scales,
exposure warning signals and flash signal visible in Viewfinder.

Range finder: Single-eye double-image alignment, color compensation glass, effective base line 12mm.

Flash: Auto Flashmatic System with automatic switch with flash gun or electronic flash light inserted into
accessory clip, guide numbers (feet) 22, 32, 45, 65, 90, 130, 180. cordless flash contact and PC flash contact
socket.

Film Wind: Winding in one action with camera top lever, shutter self winding in an arc of 132 °, pull-out angle
30°, double exposure prevention.

Film Counter: Automatic film counter. Indicates number of pictures taken.

Film Loading: KONICA EL System

Film Rewind: Rewound with crank as rewind button is kept depressed. Rewind button automatically returns to
the original position.

Filter: Screw-in type, 46mm in screw diameter.

Dimensions: 4-2/5" x 2-3/4" x 2"

Weight: 13-2/5 ounces.
View original page 16
Related documents and language editions

From the M. Butkus archive. Original publisher and archive notices are retained.
Check the model and edition against your equipment.
PDF verified 2026-10-10.