Film cameras
Lumiere Lumirex 6X9 User manual
User manual for Lumiere Lumirex 6X9. 7 pages in English. Read the original PDF, download or print a copy without registration.
7 pagesEnglish0.8 MB PDF
Loading your manual…Open PDF directly
Document details
- Brand
- Lumiere
- Model / document
- Lumiere Lumirex 6X9
- Document type
- User manual
- Language
- English
- Pages
- 7
- File size
- 0.8 MB
- Category
- Film cameras
- Document date
- Not specified in catalog
Search available document text
Find a term, then jump to its page in the original PDF. Image-only pages may not be searchable; check the PDF for exact wording and diagrams.
Page 1 · Read text
www.butkus.us

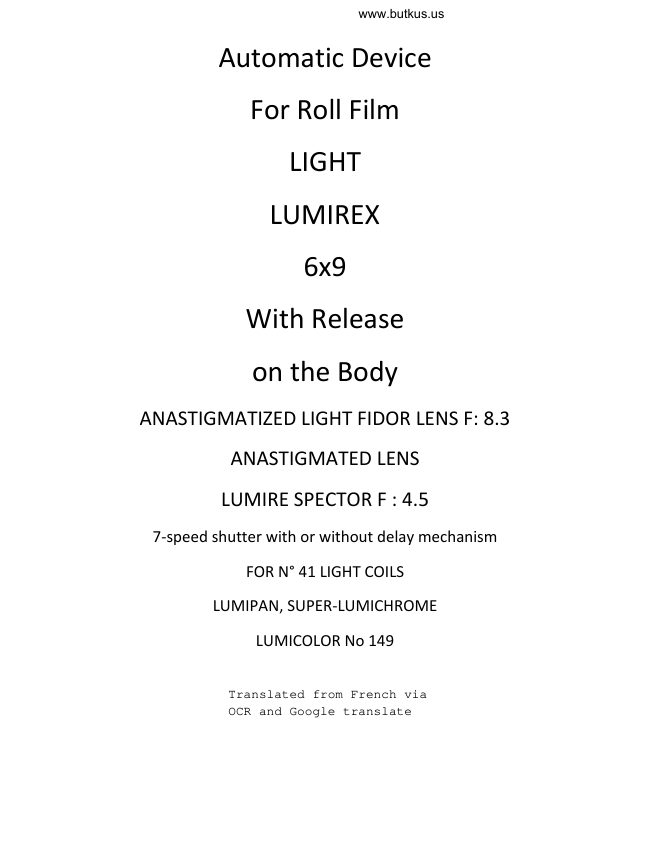
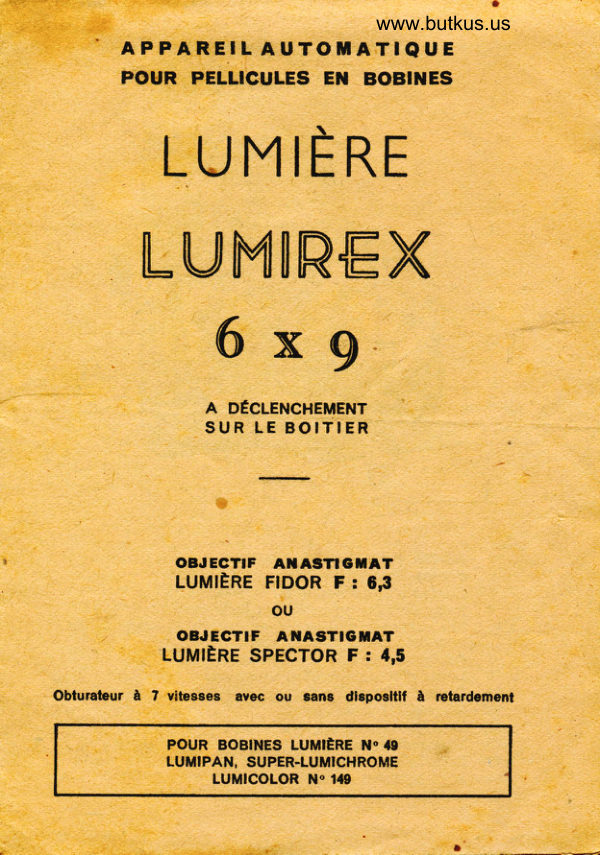
      Automatic Device

        For Roll Film

          LIGHT

        LUMIREX

           6x9

       With Release

       on the Body

ANASTIGMATIZED LIGHT FIDOR LENS F: 8.3

        ANASTIGMATED LENS

       LUMIRE SPECTOR F : 4.5

  7‐speed shutter with or without delay mechanism

           FOR N° 41 LIGHT COILS

        LUMIPAN, SUPER‐LUMICHROME

            LUMICOLOR No 149


            Translated from French via
            OCR and Google translate
View original page 1Page 2 · Read text
Digitally signed by Mike Butkus

                                                                                                                                                                      email=mike@butkus.org,                                                                                                                                                                   c=US                                         Mike Butkus DN:org,Date:cn=Mike Butkus, o, ou=Butkus.                                                                                                                                                                               2026.05.30 00:48:46 -04'00'


1. Front cover release button.
2. Back cover release button.
3. Film advance knob.
4. Focus distance index.
5. and 6 Red distance and aperture markings to facilitate focusing on different planes.
7. Shutter speed setting index.
8. Shutter cocking lever.
9. Shutter release button (on body).
10. Self-timer mechanism.
11. Aperture control lever.
12. Optical viewfinder.
13. Support strut.
14. Rear support struts.
15. Cable release socket.
View original page 2Page 3 · Read text
www.butkus.us


          INSTRUCTIONS FOR USE

OPENING THE CAMERA. — Hold the camera vertically. Press button (1), grasp the
upper edge of the front cover, and pull it down fully into the horizontal position until the
articulated struts lock into place—indicated by a metallic click.

OPENING THE CAMERA BACK. — Press button (2), located beneath the camera
handle; slide it in the direction indicated by the arrow, and swing the back open on its
hinge. You will then observe two spool compartments: the lower one is intended to
receive the unexposed film spool, while the upper one—located near the film advance
knob (3)—is intended to receive the exposed film, which will be wound onto an empty
take-up spool (previously inserted) using the advance knob.

LOADING THE CAMERA.—Loading can be performed in broad daylight. With the back
of the camera open, ensure that the shutter is closed. Place the film spool to be
exposed into the lower ompartment; remove the gummed paper band securing the film,
and unroll approximately 10 to 15 cm of the
two-tone backing paper—keeping the red or green side facing outward at all times.
Fully insert the tip of the paper into the large slot of the empty take-up spool, which
should be positioned—as mentioned
above—in the compartment reserved for this purpose. Turn the knob (3) two or three
times clockwise to initiate the winding of the backing paper; the paper must be wound
tightly around the spool. Guide the operation by hand to ensure that the edges of the
paper remain strictly parallel to the edges of the camera body. Next, close the camera
back, and slowly turn knob (3) clockwise again until the number "1" appears in the red
window on the back of the camera. When using panchromatic film, the window cover
must remain over the window at all times—except for the brief moment required
to wind the film until the frame number appears, or after exposing the eighth frame.
The film is now in position for the first shot. The camera must not be opened again until
the entire
spool has been exposed and the backing paper has been fully wound.

                          Filming
The following operations must be performed in the proper sequence: focusing for
distance, determining the exposure time, setting the aperture, setting and cocking the
shutter, framing the subject, and finally, making the exposure itself.

FOCUSING. — The following distances are marked around the rim of the shutter: 2 m,
3 m, 4 m, 6 m, 12 m, and "infinity" (∞). These correspond to the actual distance
between the camera and the subject. The sharpness of the subject on the film is
determined by aligning the index marker (4)—which is attached to the lens hood of the
front element—with one of the aforementioned distance figures.
View original page 3Page 4 · Read text
Once the distance from the subject to the camera has been estimated, simply rotate
the lens hood to align this index marker with the corresponding figure to achieve focus.

To ensure sharpness across various planes of the subject situated between 5.5 meters
and infinity, simply position this same index marker on the red reference mark (5)—
located immediately beneath the front lens element—and move the aperture lever to
the second red reference mark (6), situated along the rim of the aperture scale.

DETERMINATION OF EXPOSURE TIME.— The exposure time is determined by a
combination of factors: the lighting of the subject, whether the subject is stationary or in
motion, the aperture used, and the sensitivity of the film being used. Generally, a well-
lit subject—whether stationary or moving—can be photographed using a "snapshot"
speed (1/10, 1/25, 1/50, 1/100, or 1/150 of a second); conversely, a poorly lit subject
requires a longer exposure (a "time exposure") or a slower snapshot speed (such as
1/10 of a second), provided that the subject remains stationary and the camera is
mounted on a tripod or a very stable support.
It is advisable to consult the Lumière Exposure Time Table—provided free of charge—
which contains all the necessary guidelines for estimating the correct exposure time,
taking into account the various factors involved.                                www.butkus.us

SETTING AND RELEASING THE SHUTTER.— The various operating speeds are
indicated on the upper section of the shutter: T (Time exposure)...

...two-stage exposures; 'B' mode allows for single-stage exposures, and the
"Instantaneous" settings—governed by the shutter speed—are: 1/10, 1/25, 1/50, 1/100,
and 1/150 of a second.

The shutter's outer, toothed ring controls an indicator mark (7), which is aligned—via a
rotary motion—with the desired shutter speed. The shutter must first be cocked by
pushing the cocking lever fully home. This operation is mandatory, whether for
instantaneous shots or for single-
or two-stage exposures.

a) Snapshots at 1/25th of a second or faster.
Release the shutter by pressing the button (9) gradually—
using a finger placed firmly and flatly—to avoid camera shake.
Then, allow the button to return to its original position as soon as the click is heard.

b) Time exposures (single or double action) and snapshots at 1/10th of a second.
The camera must be mounted on a tripod or placed on a stable support. Release the
shutter—preferably—by using the special flexible cable release designed for the
Lumirex, which must be screwed into the shutter release button (available upon
request).
View original page 4
Page 5 · Read text
www.butkus.us

For the two-step "T" exposure mode, press the shutter release once to open the
shutter, and allow it to return fully to its original position. Count the number of seconds
required for the desired exposure, then press the shutter release again to close the
shutter.
For the single-step "B" exposure mode, press the shutter release to open the shutter
and maintain pressure for the duration of the exposure. The shutter closes the moment
pressure is released.
For the 1/10-second instantaneous exposure, press the shutter release and release it
immediately upon hearing the click.

Thanks to its rapid operation, the stability afforded by the body-mounted shutter
release, and a high-precision optical viewfinder that allows for eye-level shooting, the
Lumirex is particularly well-suited for photographing moving subjects: sporting events,
street scenes, etc.                                                                                                   www.butkus.us

DELAY MECHANISM
This mechanism allows the shutter release to be delayed by 12 to 15 seconds—
sufficient time for the operator to step into the lens's field of view and have themselves
photographed.
To use this mechanism, gently push lever (10) fully in the direction of the arrow, either
before or after cocking the shutter. Then, trigger the shutter as described above; the
delay mechanism will begin functioning immediately.
The delay mechanism can only be used for instantaneous exposures ranging from
1/10 to 1/150 of a second.

DIAPHRAGM SETTING. — The purpose of using the lens diaphragm is to extend the
limits of sharpness—both in front of and behind the subject—that has been focused
upon at a specific distance. To determine the extent to which the operator should stop
down the lens, consult the depth-of-field table appended to the exposure-time table.
By increasing this depth of field, the diaphragm reduces the amount of incoming light,
thereby necessitating an increase in the exposure time.

The apertures corresponding to the various diaphragm settings are indicated by the
numbers 4.5, 6.3, 8, 12, 16, and 24, located on the lower section of the shutter
assembly. To set the diaphragm to the desired aperture, align the control lever (11)—
which serves as the actuator for the iris-type diaphragm—with the corresponding
number.

When stopped down to apertures 4.5, 6.3, 8, 12, 16, and 24, the diaphragm modifies
the exposure time in the respective proportions of 1, 2, 4, 8, 16, and 32.
Example: If the exposure time is estimated at 1/100 of a second at an aperture of f/4.5,
the exposure time will be 1/50 of a second at an aperture of f/6.3.
View original page 5
Page 6 · Read text
SUBJECT SIGHTING
To use the Galilean-type optical viewfinder (12), the eye must be placed against it so
that it appears to superimpose exactly over the rectangle of the front lens, thereby
precisely defining the exact field of view.

EXPOSURE.—For time exposures and for snapshots taken at 1/10 of a second,
operate with the camera mounted on a tripod(*) or on a stable, level surface, utilizing
the support strut (13) located beneath the drop-bed.
For snapshots taken at speeds of 1/25 of a second or faster, the camera may be
handheld; however, avoid any sudden movements that could disrupt the focus. After
setting the aperture and shutter—and cocking the latter—simply press the release
button as indicated on page 5. Once the exposure is complete, immediately advance
the film using the winding knob (3) until the number corresponding to the next frame
appears. This ensures that accidental double exposures on a single negative are
avoided.

REMOVAL OF THE EXPOSED SPOOL.— After exposing frame No. 8, turn the
winding knob (3) eight or ten times to completely disengage the film and its backing
paper from the lower compartment, where only the empty core of the exposed spool
should remain.

Open the camera in daylight, avoiding overly bright light. If the film's backing paper has
not yet been completely released, give the knob (3) a few more turns to fully detach it
from the lower compartment.
Moisten the gummed strip labeled "Exposée" (Exposed) located at the end of the
backing paper, and affix it so as to securely bind the film and its backing paper around
the take-up spool core.

The spool can then be removed from the camera by pulling the knob (3) outward.
After removing the spool, also remove the empty core occupying the lower
compartment and place it in the upper compartment; it will thus be ready to receive a
new exposed film. Return the knob (3) to its normal position.

CLOSING THE CAMERA. — Ensure that the shutter has not remained open and that
the focusing index has been returned to the ::lO (infinity) mark.
Next, press the upper part of the two rear struts (14) to release the front cover from its
fixed position;
raise it completely until a click is heard, indicating that the automatic closing latch has
engaged successfully.

(•) In addition to the foot nut located on the side, the device features a second nut
beneath its flap, concealed by a screw that can be easily removed with a coin.
View original page 6
Page 7 · Read text
www.butkus.us

FILMS TO USE.— Lumière No. 49 Lumipan spools are particularly recommended due
to their fine grain, high speed, balanced chromatic sensitivity, and perfect gradation.
Their use is indicated not only for photography under artificial light but also for any
subjects where the various colors must be rendered with their exact tonal values.
For contact prints, use Lumière Lugda Gaslight paper; for enlargements, use Lumière
Lumbrom, Luxor, or Rexor papers.
View original page 7
Related documents and language editions
From the M. Butkus archive. Original publisher and archive notices are retained.
Check the model and edition against your equipment.
PDF verified 2026-10-10.