Flashes & lighting
Metz SCA 368 Flash Adapter instructions User manual
User manual for Metz SCA 368 Flash Adapter instructions. 3 pages in English. Read the original PDF, download or print a copy without registration.
3 pagesEnglish0.6 MB PDF
Loading your manual…Open PDF directly
Document details
- Brand
- Metz
- Model / document
- Metz SCA 368 Flash Adapter instructions
- Document type
- User manual
- Language
- English
- Pages
- 3
- File size
- 0.6 MB
- Category
- Flashes & lighting
- Document date
- Not specified in catalog
Search available document text
Find a term, then jump to its page in the original PDF. Image-only pages may not be searchable; check the PDF for exact wording and diagrams.
Page 1 · Read text
ce

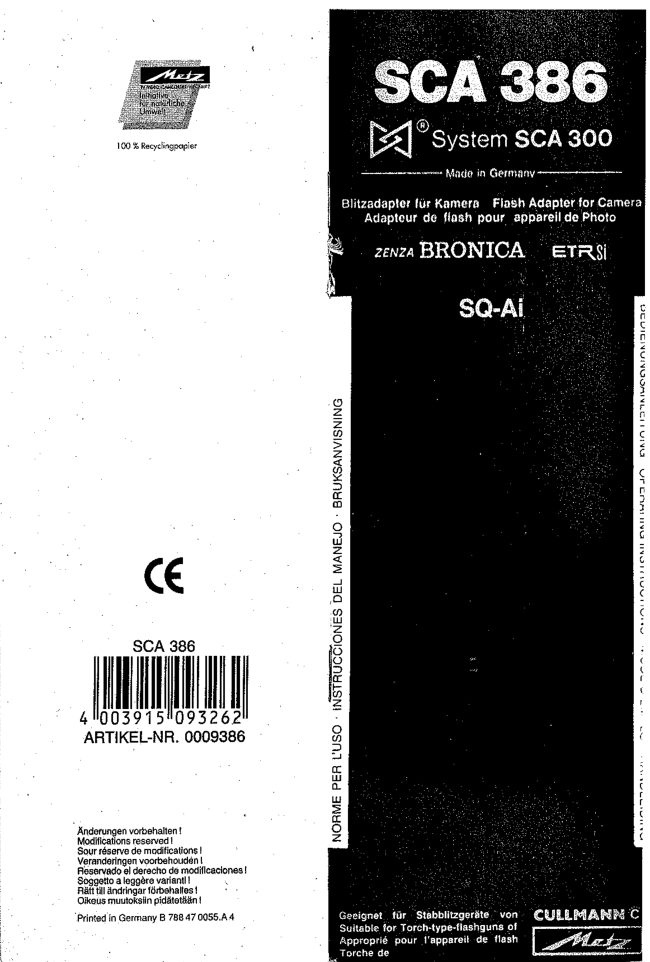
SCA 386

UNNI

410039159093262!
ARTIKEL-NR. 0009386

Andorungn vrbohatont
Noditeaions reson!

Sourrezowo de mosfeaone!
Veranderingen vootoenouzan
oma oye sacs!

oot alaggbre variant
Pat aniogar ooanates!
‘Okeus mautokatn pldaotin

Printed in Gormany B 78847 0056.84

SCA 386

[E<]°system sca 300

sae doin G

Blitzadapter fur Kamera Flash Adapter for Camera
‘Adaptour de flash pour appareil de Photo

zenza BRONICA — ETRSi

SQ-Ai

g
zZ
Z
a
S
2
&
g
5
5
rod
Z
z
3
a
a
@
2
S
1S
ey]
iS
e

NORME PER L'USO - 1

ignet tir Stabbiizgerste ‘von CULLMANRY C
table for Toreh-ype-flashguns of
roprié pour apparel -de flash

Torche de
View original page 1
Page 2 · Read text
i

@

Instructions for flash operation with the adapter
SCA 386

ENGLISH

The SCA 86 adapter can only be used for the
Bronica ETA Si and SQ-Ai camera in combination
with Metz and Cullman handle-mourt flashguns.
Do not switch on the flash unit before having con-
nected it to the adapter and the cameral

1, Camera and adapter capabilities:
© Flash readiness information in camera's view-
finder

© Auto check signal in camera's viewfinder

© TTL flash control

2. Connection of adapter and cable:

2.1. Insertthe fat multite(12-pin) plugintothe syne
cord socket providedon the flash unit or power grip.

2.2. The round pin cable plug of the adapter must
be connected to the camera. Turn the plug to find
the right position and then slightly press it into the
camera body unt itlocks in place. When removing
the plug, hold it by its metal part and pull sightly
to release it.

2.3. The adapter may be fastened to the flash
bracket or the optional M bracket, the shoe of the
‘motor winder or Speed Grip” (Bronica accessory)
by means of a commercially available tripod screw.

3, Operating modes of Hash unt
‘The camera controls the amount of ight
emitted by the flash unit (TTL flash

contro!)

‘Auto: The flash unit’s sensor controls the light
output

Manual: The flash unit emits the preselected

amountof energy (highest light output or
Partial output ratio)

4, Seitings on camera and flash unit:
‘See operating instructions for camera and flash
unit,

5, Film speed setting:
Set the film speed on the flash unit and on the
‘adapter. Due compensation may be required when
Using a smaller latitude color transparency film.

6. Operation

6.1. Ready light:
Flash readiness is established if the ".-" symbol
lights up in the camera's viewfinder. Flashes can
only be fired if flash readiness information is given.

6.2. Auto check:

=f, in the TTL or auto mode, the ready light
blinks after a flash was fired, correct exposure
is obtained.

— However, if the ready light goes out after a flash
was fired, your picture may be under-exposed.
Flash readiness is then no fonger established
and the camera operates in the set mode until
flash readiness is re-achieved.

— Hf, after fring flashes, the flash ready light ("-""
symbol) continues glowing without initial short
blinking, over-exposure may resut.

6.3, TTL flash control:
‘The light emitted by the flash unit is controlled by
the camera's electronic system with the aid of
measurements made by a sensor on the surface of
the film.

6.4. Firing trial flashes,

— Auto mode
In this mode, you can fire trial flashes manually
before shooting the picture in order to find out
if the selected auto aperture is sufficient for
correct exposure. Ifthe auto check signal onthe
flash unit does not blink when a trial flash is
fired, the setting on flash unit and camera must
bbe corrected (select a smaller f-number.

—TTL mode
This mode does not permit pre-exposure con-
firmation by pressing the flashgun's manual
firing button. To check if sufficient light will be
emitted for the aperture selected, an exposure
‘must be taken with the camera. For repeated
‘rial exposures, you can activate the camera's
‘multiple exposure system sothat ustone picture
will be lost.

Another possibility is to set the ffnumber pre-
‘selected on the camera as an auto aperture

prior to exposure and to then fire trial flashes
Bs described above inthe "Auto mode" section.
Thereafter, the flash unit must be reset to
"TTL".

donated to www. butkus.us
View original page 2Related documents and language editions
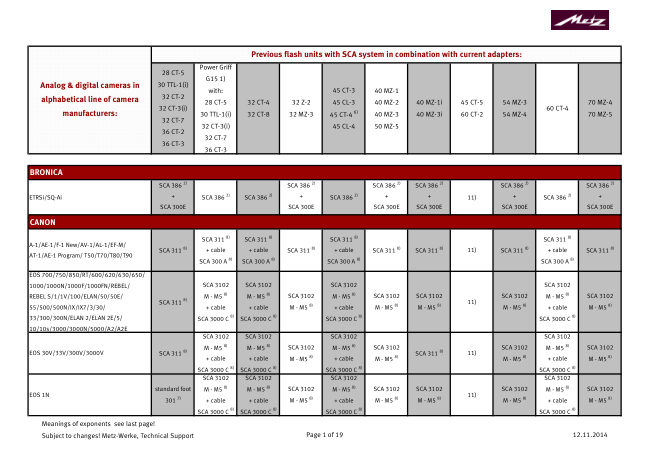
MetzPDF
Metz SCA Adapter instructions
User manual
19 pages · EnglishRead →
MetzPDF
Metz SCA 510 Adaptor instructions
User manual
15 pages · GermanRead →
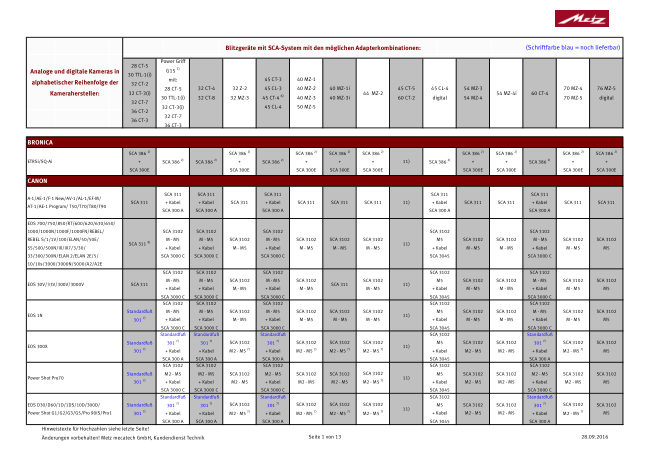
MetzPDF
Metz SCA Adapter
User manual
13 pages · GermanRead →
MetzPDF
Metz Sonnenschein S 73 e Service Instructions Wet cell battery
Service manual
7 pages · GermanRead →
MetzPDF
Metz Mecatwin 402T
User manual
30 pages · German, French, Spanish, Italian, DutchRead →
MetzPDF
Metz SCA 3000 C-M1 system connecting cable
User manual
36 pages · Not specifiedRead →
From the M. Butkus archive. Original publisher and archive notices are retained.
Check the model and edition against your equipment.
PDF verified 2026-10-10.