Film cameras
MINOLTA 7 User manual
User manual for MINOLTA 7. 26 pages in English. Read the original PDF, download or print a copy without registration.
26 pagesEnglish2.3 MB PDF

Loading your manual…Open PDF directly
Document details
- Brand
- Minolta
- Model / document
- MINOLTA 7
- Document type
- User manual
- Language
- English
- Pages
- 26
- File size
- 2.3 MB
- Category
- Film cameras
- Document date
- Not specified in catalog
Search available document text
Find a term, then jump to its page in the original PDF. Image-only pages may not be searchable; check the PDF for exact wording and diagrams.
Page 3 · Read text
Another  World's  Flrsr From Mlnoltcr

With   the  introduction  of  the  Hi-matic  7 Minolta  has  taken  the
popular electric-eye system and added new dimensions.
Hi-matic 7 works three ways  :
I.  Automatie  Operation  - With  this system you simply  focus and
    shoot.  Everything  is automatic.
2.  Manual  Operation  - You are in cornplete control  of the camera
   You select the shutter speed a nd aperture yourself .
3.  Light   Meter  System  - You  read  the  light  meter  scale  in  the
    'v'iewfinder.  It  tells you how  to set the camera  for  correct ex-
    posure.
Hi-rnatic 7 is the world's only camera to provide  this three-way  in-
tegrated photographic system.    It  is the most advanced system yet
devised.  With   it you have an answer  to every  photographic  situa-
tion  imaginable,     '  'i:,:,


               www.butkus.us
View original page 3Page 7 · Read text
Use a 35mm film, 20 or
36-exposure roll.

1.  Pull the back cover lock up-
   wards and the camera back
    will snap open.  This action
   automatically  sets  the  ex.
   posure counter at the  "start"
    position.


                                        2. Place the film magazine into       3. Advance the film lever so that
                                        the film chamber. Now insert          the  fihn winds around the
                                       the film leader into the take          take-up spool. When the film
                                  up spool.                         advance lever  stops, release
                              Make sure the sprocket gear          the shutter button so that you
                                        teeth are engaged with  the        can advance further.
                                              film perforations.


                           www.butkus.us
View original page 7Page 11 · Read text
.        tight Merer Warning Signol

     L o o k  t h r o u g h  t h e v i e w i i n d e r a n c l v o r , r w i l l  s : e a
            l i g h t  r n e t e r s c a l e r - u n n i n g a l o n g   i h e  r i q h t  e d g e .       N o t e :  5 7 o n   t h e   l i c h t    l n e t e r
    T h i s   t e l l s y o u    i f    l i g h t     i s a c l : c l u a t e f o i  c r r r e c t             s h u t t e r s p e e d w i l l a u t o r n a t i c a l l y b y  I    l i r s e c o n c l I
     e \ p'JSure.                                                                                                       t a t F 1 . 8 r .  A t   t h i s s p e e c ly o u   l l t u s t k e e p  t h e     i
         I f   t h e   i n c l i c a t u r n e e l l e    i s c l e a r o f   t h e u p p : r  u r             c: aa rr nn ee rr aa ss tt ii ll ll  rr vv hh ee nn  tt aa kk ii nn gg pp ii cc tt uu rr ee ss ..      ll 77  oo nn   tt hh ee   I
            l' lj 'l hy "et   r e l   r n a r k s , y o u r n a y c u n t i n u e t o p h o : o 4 r a p h .           scalejcale corresp'tnclscorresp'tncls toto   II 21-1021-10seconclseconcl atat FF 2'22'2               |          a u t o n t a t i c s y s t e i n w i l l  g i r , e v r L l a  c J r i e l r
     e x l ) l ) s u r e . I f   t h e  i n : l i c a t l r n : e l l - ' c i . , l s e r t e . - i n t o
         t h c  r e d a r e a s , t h e n   l i g h t   i s n o t a d e cul a t e   f o r e x -
            l ) o s u r e a n c l t h e a u t o l n a t i c s v s t e r r r r v r l l   l t o t   f u n c .
         t it.rn


I 0                            www.butkus.us
View original page 11Page 12 · Read text
The Eye of rhe  Llght Meter


You'll notice the light meter eye  is smaller than  a
pea and located just above the lens.  This  is an im-
portant feature.    It means the  light  meter measures
precisely the same light as the lens "sees".    It also
means you can forget about correction factors when
you use  filters.   Since the  filter  mounts  over  the
meter's eye, the  meter  will   still  measure  the  true
light reaching the film.
The  meter  is sensitive, covers an extensive range
from  candlelight  to bright  outdoors, and  is every bit
as accurate as the hand-held meters the professionals
use.   The  meter operates both on  the  automatic
system and when the camera  is manually  operated.

                                                                                                   1 l
View original page 12Page 13 · Read text
Operotlng  the Comero Monuolly

     For unusual conditions or  special techniques you           "auto"  release button  first.   Then  turn  the aper-
    may want  to operate the camera manually.  With           ture  and  shutter  rings  so  that  the  double AA
      this system you select the shutter speed and aper-         marks are not aligned with  the index.  Now you
      ture yourself depending on the subject  conditions          are  in complete command  of the camera and can
    and the effects you want  to achieve.                        set any shutter speed or aperture you wish.
     To  set the camera  for manual operation, push the


                                                      And  turn the shutter speed and aperture rings

t2                             www.butkus.us
View original page 13Page 14 · Read text
Use the Ught Meler  Scole qs o Gulde

                                                                                                       If  the indicator needle enters the red area at the
                                                              top of  the  scale, then  light  is too dim  for  the
                                                      speed you have set.   Try  slower  shutter  speeds.
                                                         Conversely  if  the  needle enters the  red a(ea  at
                                                              the bottom of the scale, light  is too bright.  Try
                                                                   faster shutter speeds.
                                                        Note :   You may  set aperture  first   if  you wish
 lens barrel and you are ready  to  take  a  perfect           and follow  the same procedure outlined above
 prcture.


i Set the number indicated on the light rneter scale...)              (In the EV window on the lens barrel.

                                                                                13
View original page 14Page 15 · Read text
Setting   rhe  Shutter  Speed

                    l - h e s h u t t e r  r i n g   i s n r a r k e d w i t h    f i g u r e s 4              T o s e t t h e d e s i r e d s h u t t e r s p e e d ,s i l n p l y  t u r n
         to 500 plus  B.  These correspond to 7,1 to                              t h e  r i n g s o   t h a t   t h e s p e e d  i s a l i g n e d w i t h
       1,5c0second. The  B  position enables you                              t h e b l a c k   i n c l e x o n  t h e    l e n s b a r r e l . W h e n
                t o  k e e p   t h e  s h u t t e r  o p e n a s    l o n g a s   t h e             speeds of less than  7,,tt second are used, it
        shutter released is pressed down.  This is for                    is  recon-lrnendedyou use a   t ripocl because
               t i l n e e x p o s u r e s o f  t n o r e  t h a n 1 + s e c o n d .                   calltera lllovetnents at sl0rv slteeclsrvill blur'
                                                                           y ' o u r p r c t u r e .


                                           J


l4                             www.butkus.us
View original page 15Page 16 · Read text
Setring  the  Lens Aperture

                                                       '2'2.'l'he                                                  J-o set     aperture  ring has figtrres f roltr 1.8 ttt
the aperture, line up the desirecl figure rvith the inclt'x
l'he click stops enable you to use interrnecliateapertut'e
o p e n i n g s b e t u ' e e n a n y   t r v o  f  s t o p s  i f  y o u w i s h .
 ' l ' h e     a p e r t u r e c o n t r o l s  t h e a l n o u n t o f   l i g h t  r e a c h i n g t h e
                  ' l ' h eh l r n .                  l a r g e r   t h e a p e r t u r e h g u r e ,  t h e    l e s s   l i g h t
vrrlultre is perrnittecl through  the  lens.  At  F2'2, fot'
exalnple, the ap€'rture is closecl clown to a  pin-poirrt
o p e n i n g;  a t  F l . 8   i t   i s   r v i d e o p e n .


                                                                                            r5
View original page 16Page 17 · Read text
Sublect

       Look through  the  viewfinder and  put  your
        subject in the bright diamond shape in  the
       middle of the viewfinder.  When the subject                                                                                                                 If  you wan t  to check  the  actual  distance
          is out of focus you will see a double image.
                                                                             after you have focused, look at the red dot       Turn  the focusing ring and the subject will
        dissolve into a sharp single image. Now you             on the focusing ring.  This will  indicate the
      know you are  in perfect focus and ready to              distance between the camera and the subject.
        shoot.

                     Out  of focus                                                         In focus


l6                              www.butkus.us
View original page 17Page 18 · Read text
In the viewfinder you will see a bright frame surrounding the visual field.
The area within  this frame  is what appears on the  film   The  frame,
therefore, is a guide so that you cannot inadvertently chop off areas you
want to appear on the photograPh.
Parallax Correction
Parallax is the difference between what the lens "sees" and what you see
in the viewfinder. This differenceoccurs only when the subject is close. In
the Hi-matic 7 parallax is automatically corrected. As you focus on a close
subject you will  notice the bright frame moves in order to give you a
corrected field of vision
View original page 18
Page 23 · Read text
Using      Self -Timer

T o  s e t   t h e  s e l f - t i r n e r  i n  o p e r a t i c n a d v a n c e  t h e
f i l r n  l e v e r s c   t h a t   t h e s h u t t e r    i s c o c k e d . T h e n
p u s h  t h e s e l f - t i m e r  l e v e r   i n   t h e d i r e c t i o n o f   t h e
arrow.  When you are ready  to shoot, press the
s h u t t e r   r e l e a s e b u t t o n .   T h e    t i m e r w i l l  a u t o -
rnatically give you a  l0 second delay before the
shutter operates.
N o t e :  T h e a u t o m a t i c  s y s t e n r r v i l l n o t o p e r a t e
        rvhen the self-timer  is used.  You ntust
         s e t   t h e  c a m e r a m a n u a l l y    f o r  c o r r e c t
        e x p o s u r e .


                            www.butkus.us
View original page 23Page 24 · Read text
2. Raise up the rewind crank and rewind in a
     When you have finished the  film, you will not               clockwise direction as the arrow on the knob
    be able to advance the lever any further.  Do not                indicates until you feel the film suddenly slip
     force the advance lever or the film will  tear out                out of the take-up spool
      of the magazine and be impossible to rewind.

    You must rewind the film back into the magazine
      in order to unload the camera


       When you have finished taking pictures, push
           in the rewind release botton on the camera
        bottom and it will click into place.

                                                                  3. Open the camera by pulling up the door lock.
                                                     Remove the film magazine.
                                                                Note:  Loading and unloading should always
                                                                  be done in the shade.
I                                                                                            23
View original page 24Page 25 · Read text
F l o s h  P h o t o g r o p h y

I i l : t s l t i s  r - r ' r ' o r n n t c n r l ef or lr - n i g h t s h o t s , i n c l o o r s ( ) r '     W l t e n : r     l l a s h b u l b o r  c l c c t t ' o n i cs l r c e r l l i t { h t  r s
otrlrloors :rntl l.or- llllinu  in shaclcrl ;ll't'ils.   \'otrr'           r.lsc(I,sct thc shtrttcr sl)ce(lat  I :10scc'oncl,trt;trkerl,
I I i - r n : r t i c 7   i n g r ' : r r . c <l 'lo r  l t o t h  t ' l e t ' t r - o n i lcl : r s h a n < l           in rcrl  ..  'l'o rlctcrrrtinc t hc ('or-r('('l;r1trr-lrrr-c,r'cl'cr
o r r l i n ; t r - tI' l : t s h b r r l l r s                                                                                                                        t o  t h c g r r i c l c n u r n l ) c r ' o l   t h c    l t L r l l t \ ' o u  : l l - c t r s i r . r g
                                                                                                                        : t n r l t h t '   i r r s t r r r t ' t i o n *s' h i t ' h  : t i ' c o r r t l ) a l l lvh t '   l t t r l b s


  4


                            www.butkus.us
View original page 25Related documents and language editions
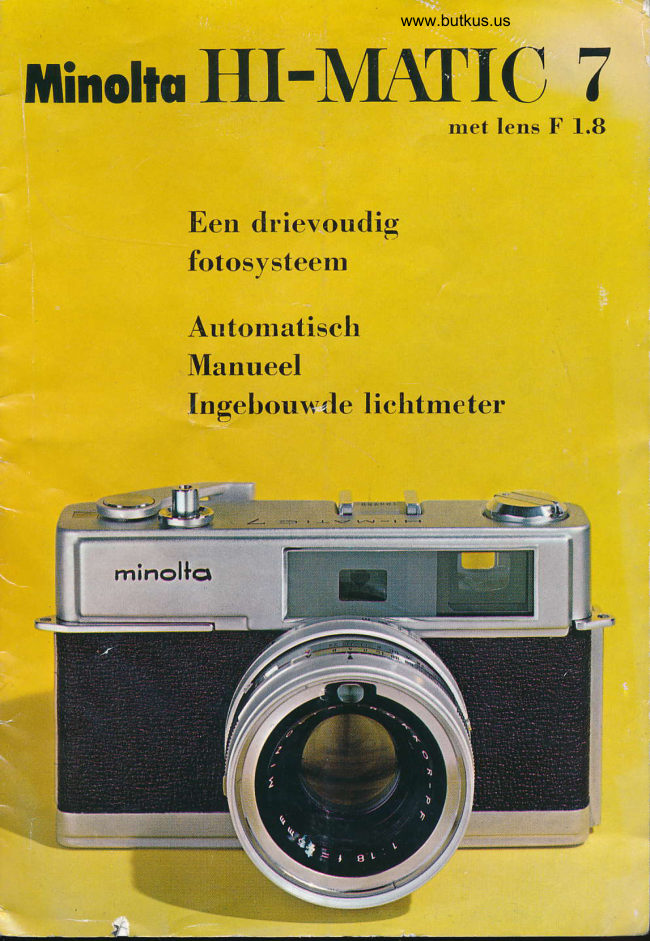
From the M. Butkus archive. Original publisher and archive notices are retained.
Check the model and edition against your equipment.
PDF verified 2026-10-10.